Testing - OBS Studio
WebCam Set-up
We will use the FREE OBS Studio to set up feeds from multiple devices to help us conduct user experience testing within a lab environment. You will need to install OBS Studio on your own computer, or you can access it in the university labs (if installed).
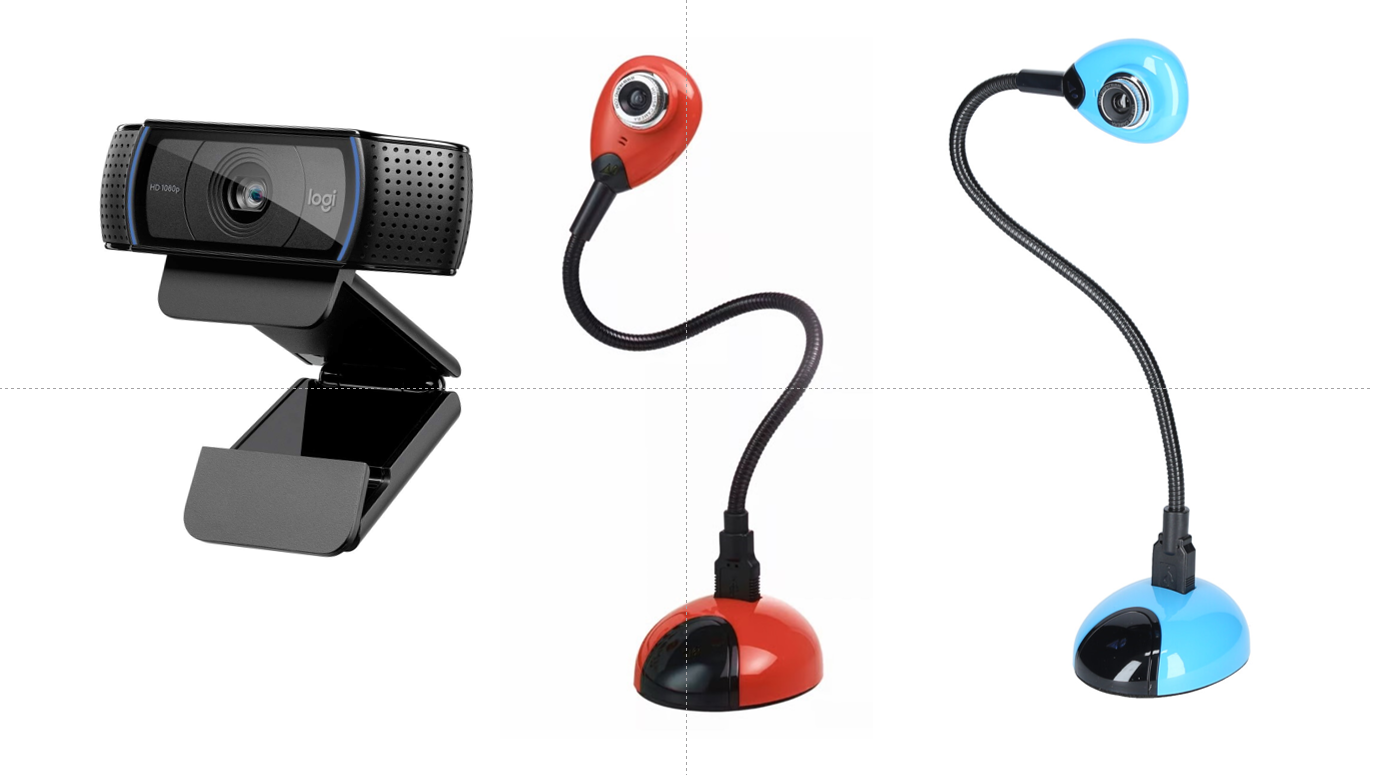
In this walkthrough, we will use HUE gooseneck webcams to capture testers’ interactions with a mobile application.
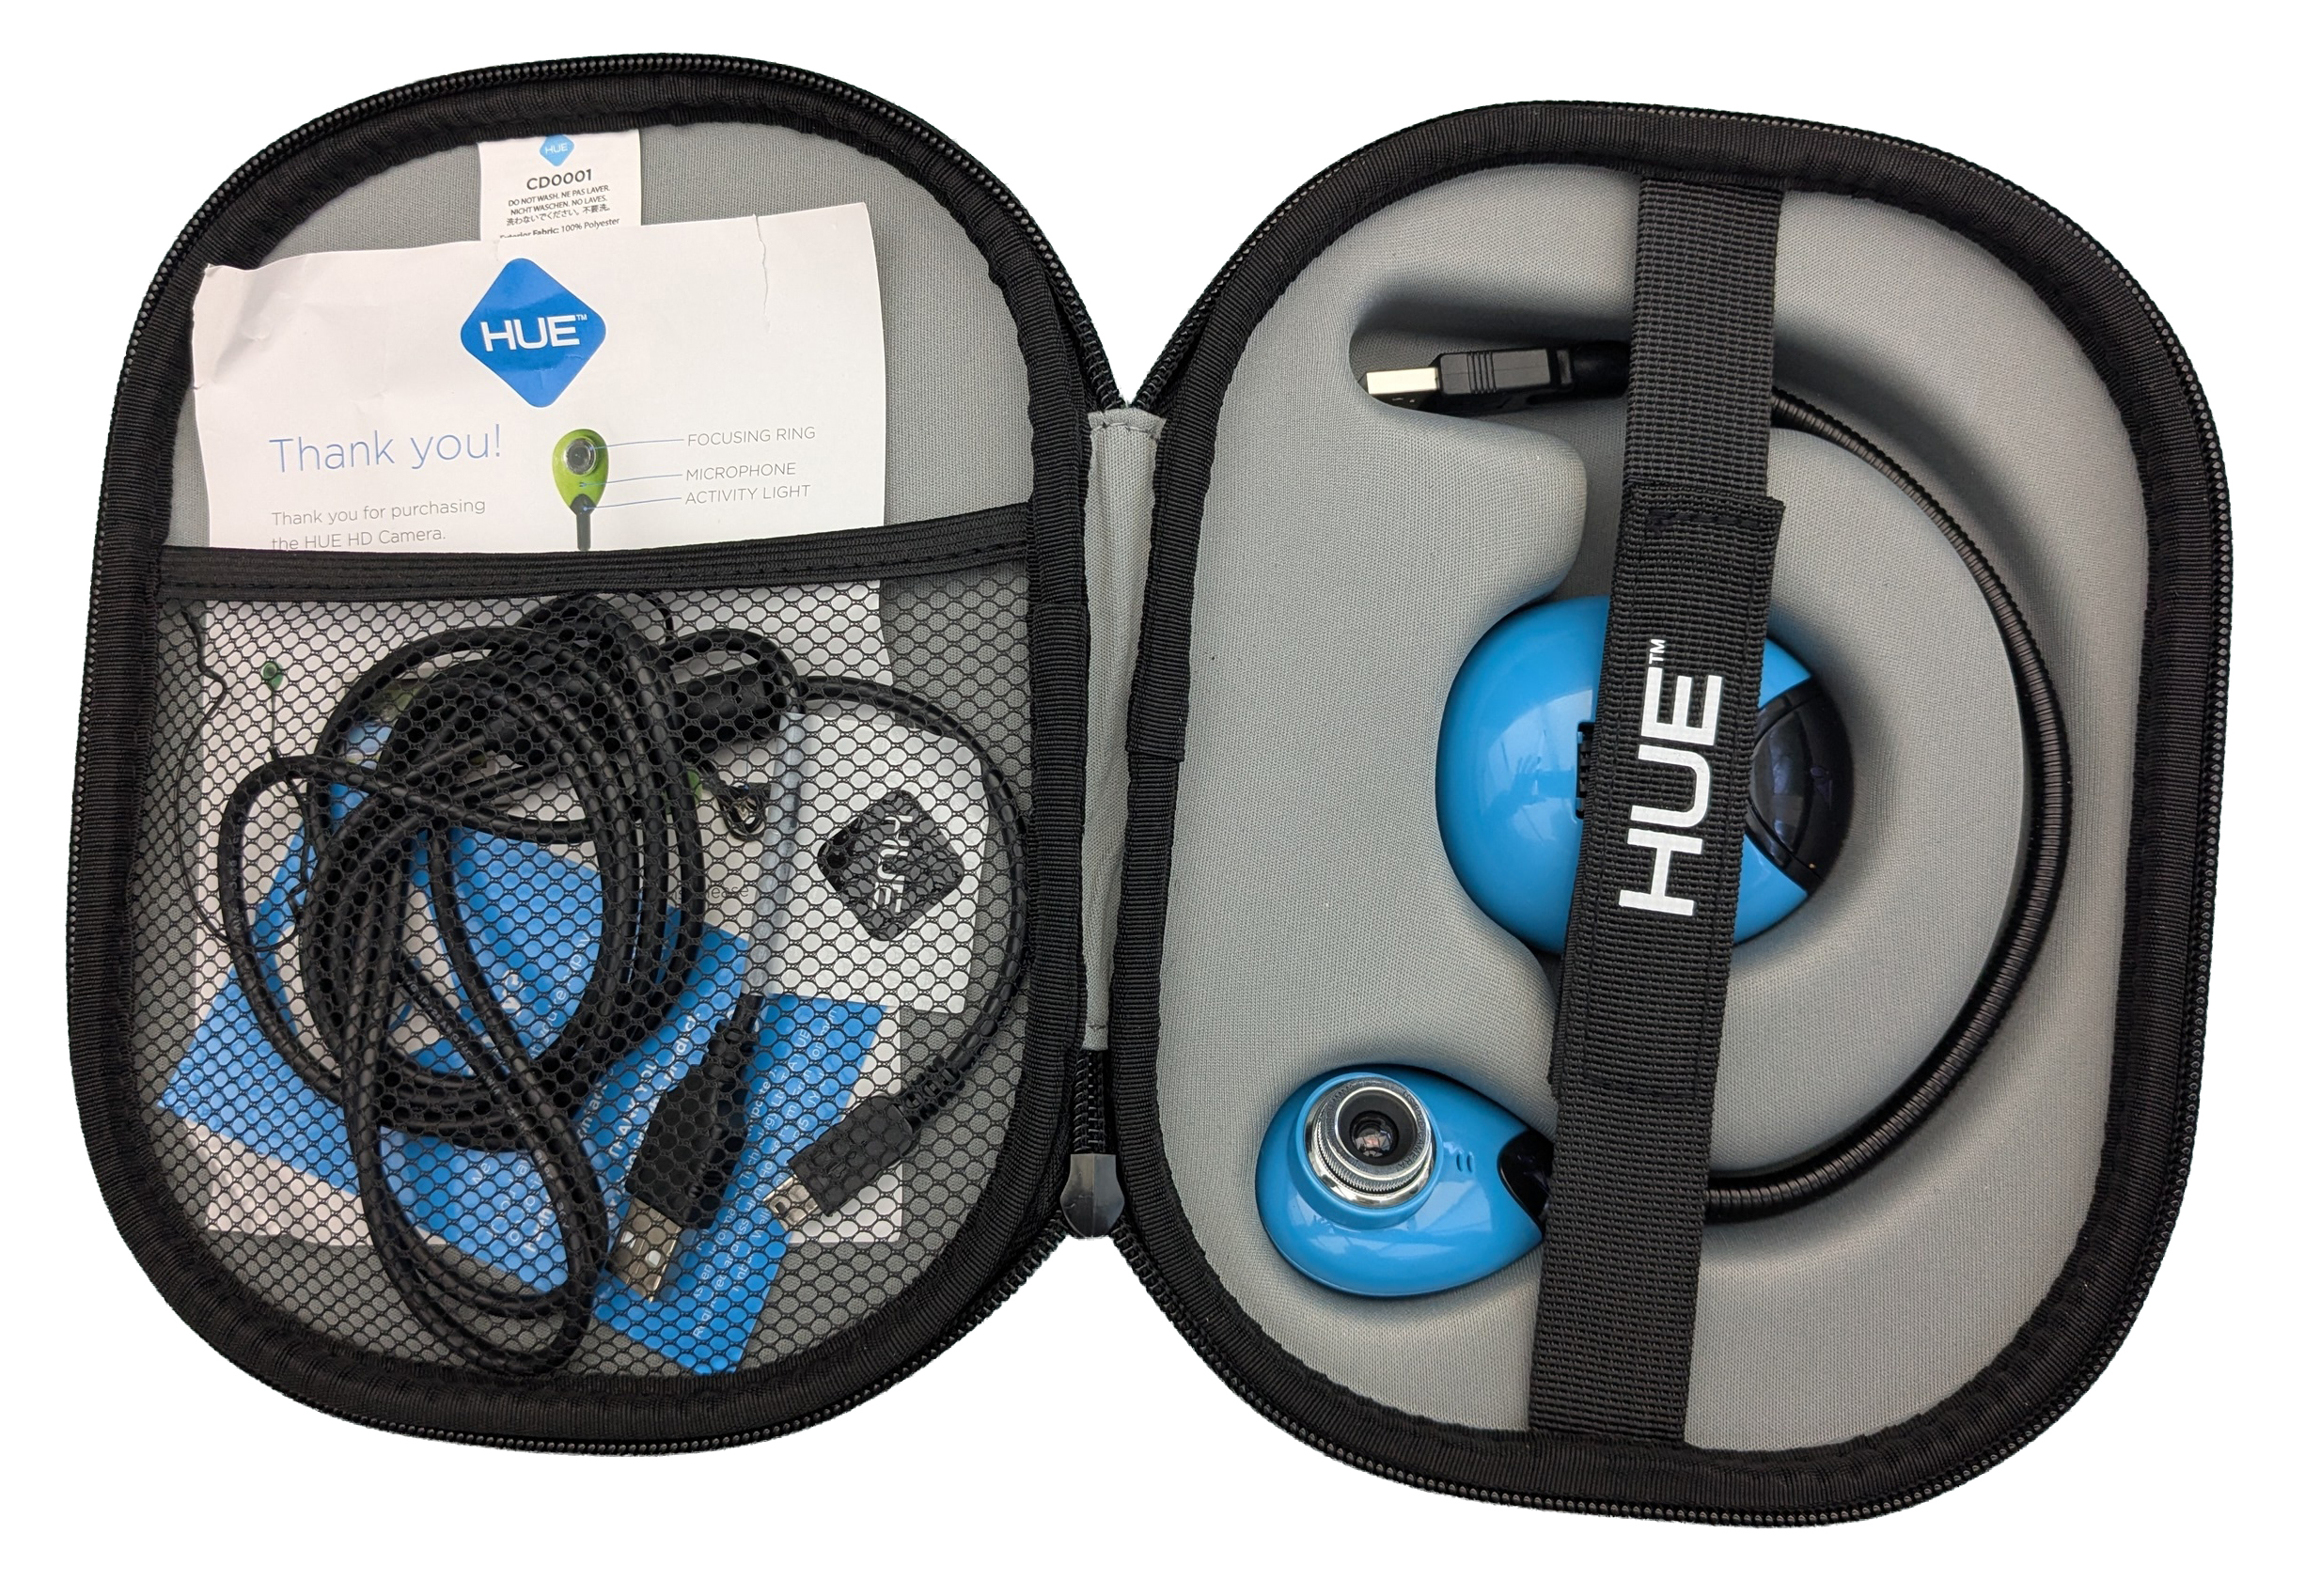
The HUE webcam kit includes the camera, the base, and a USB extension cable.
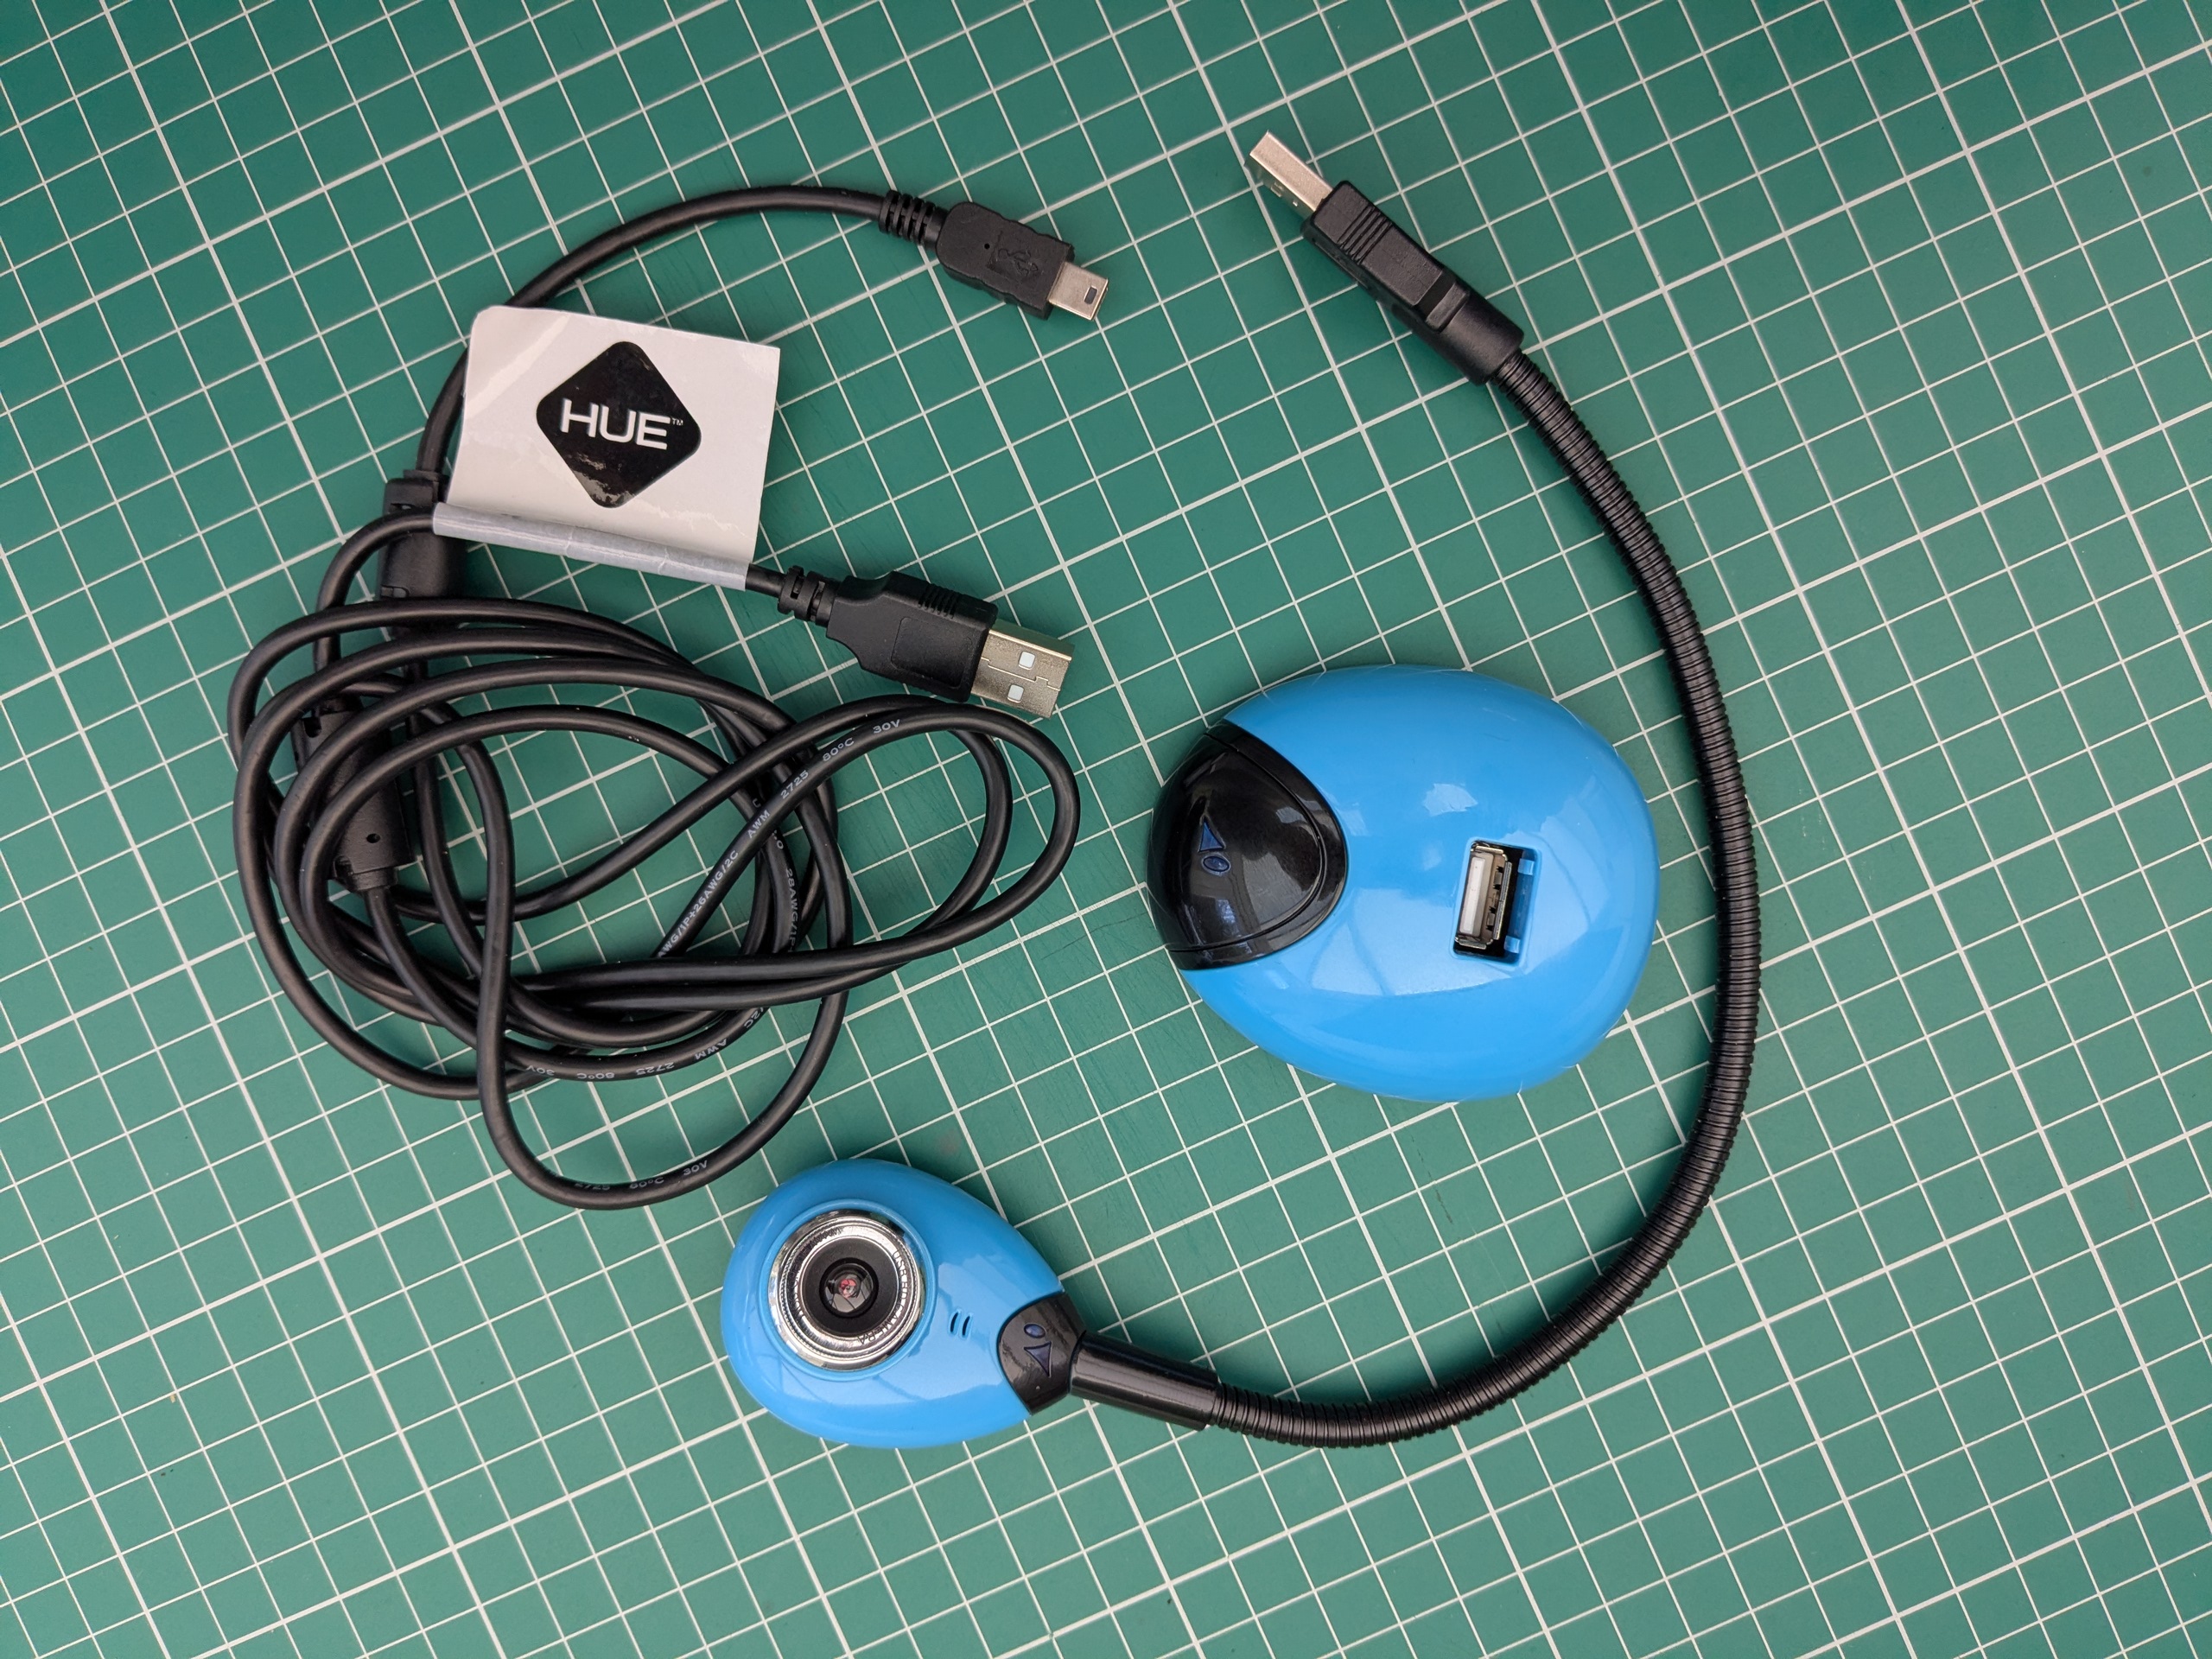
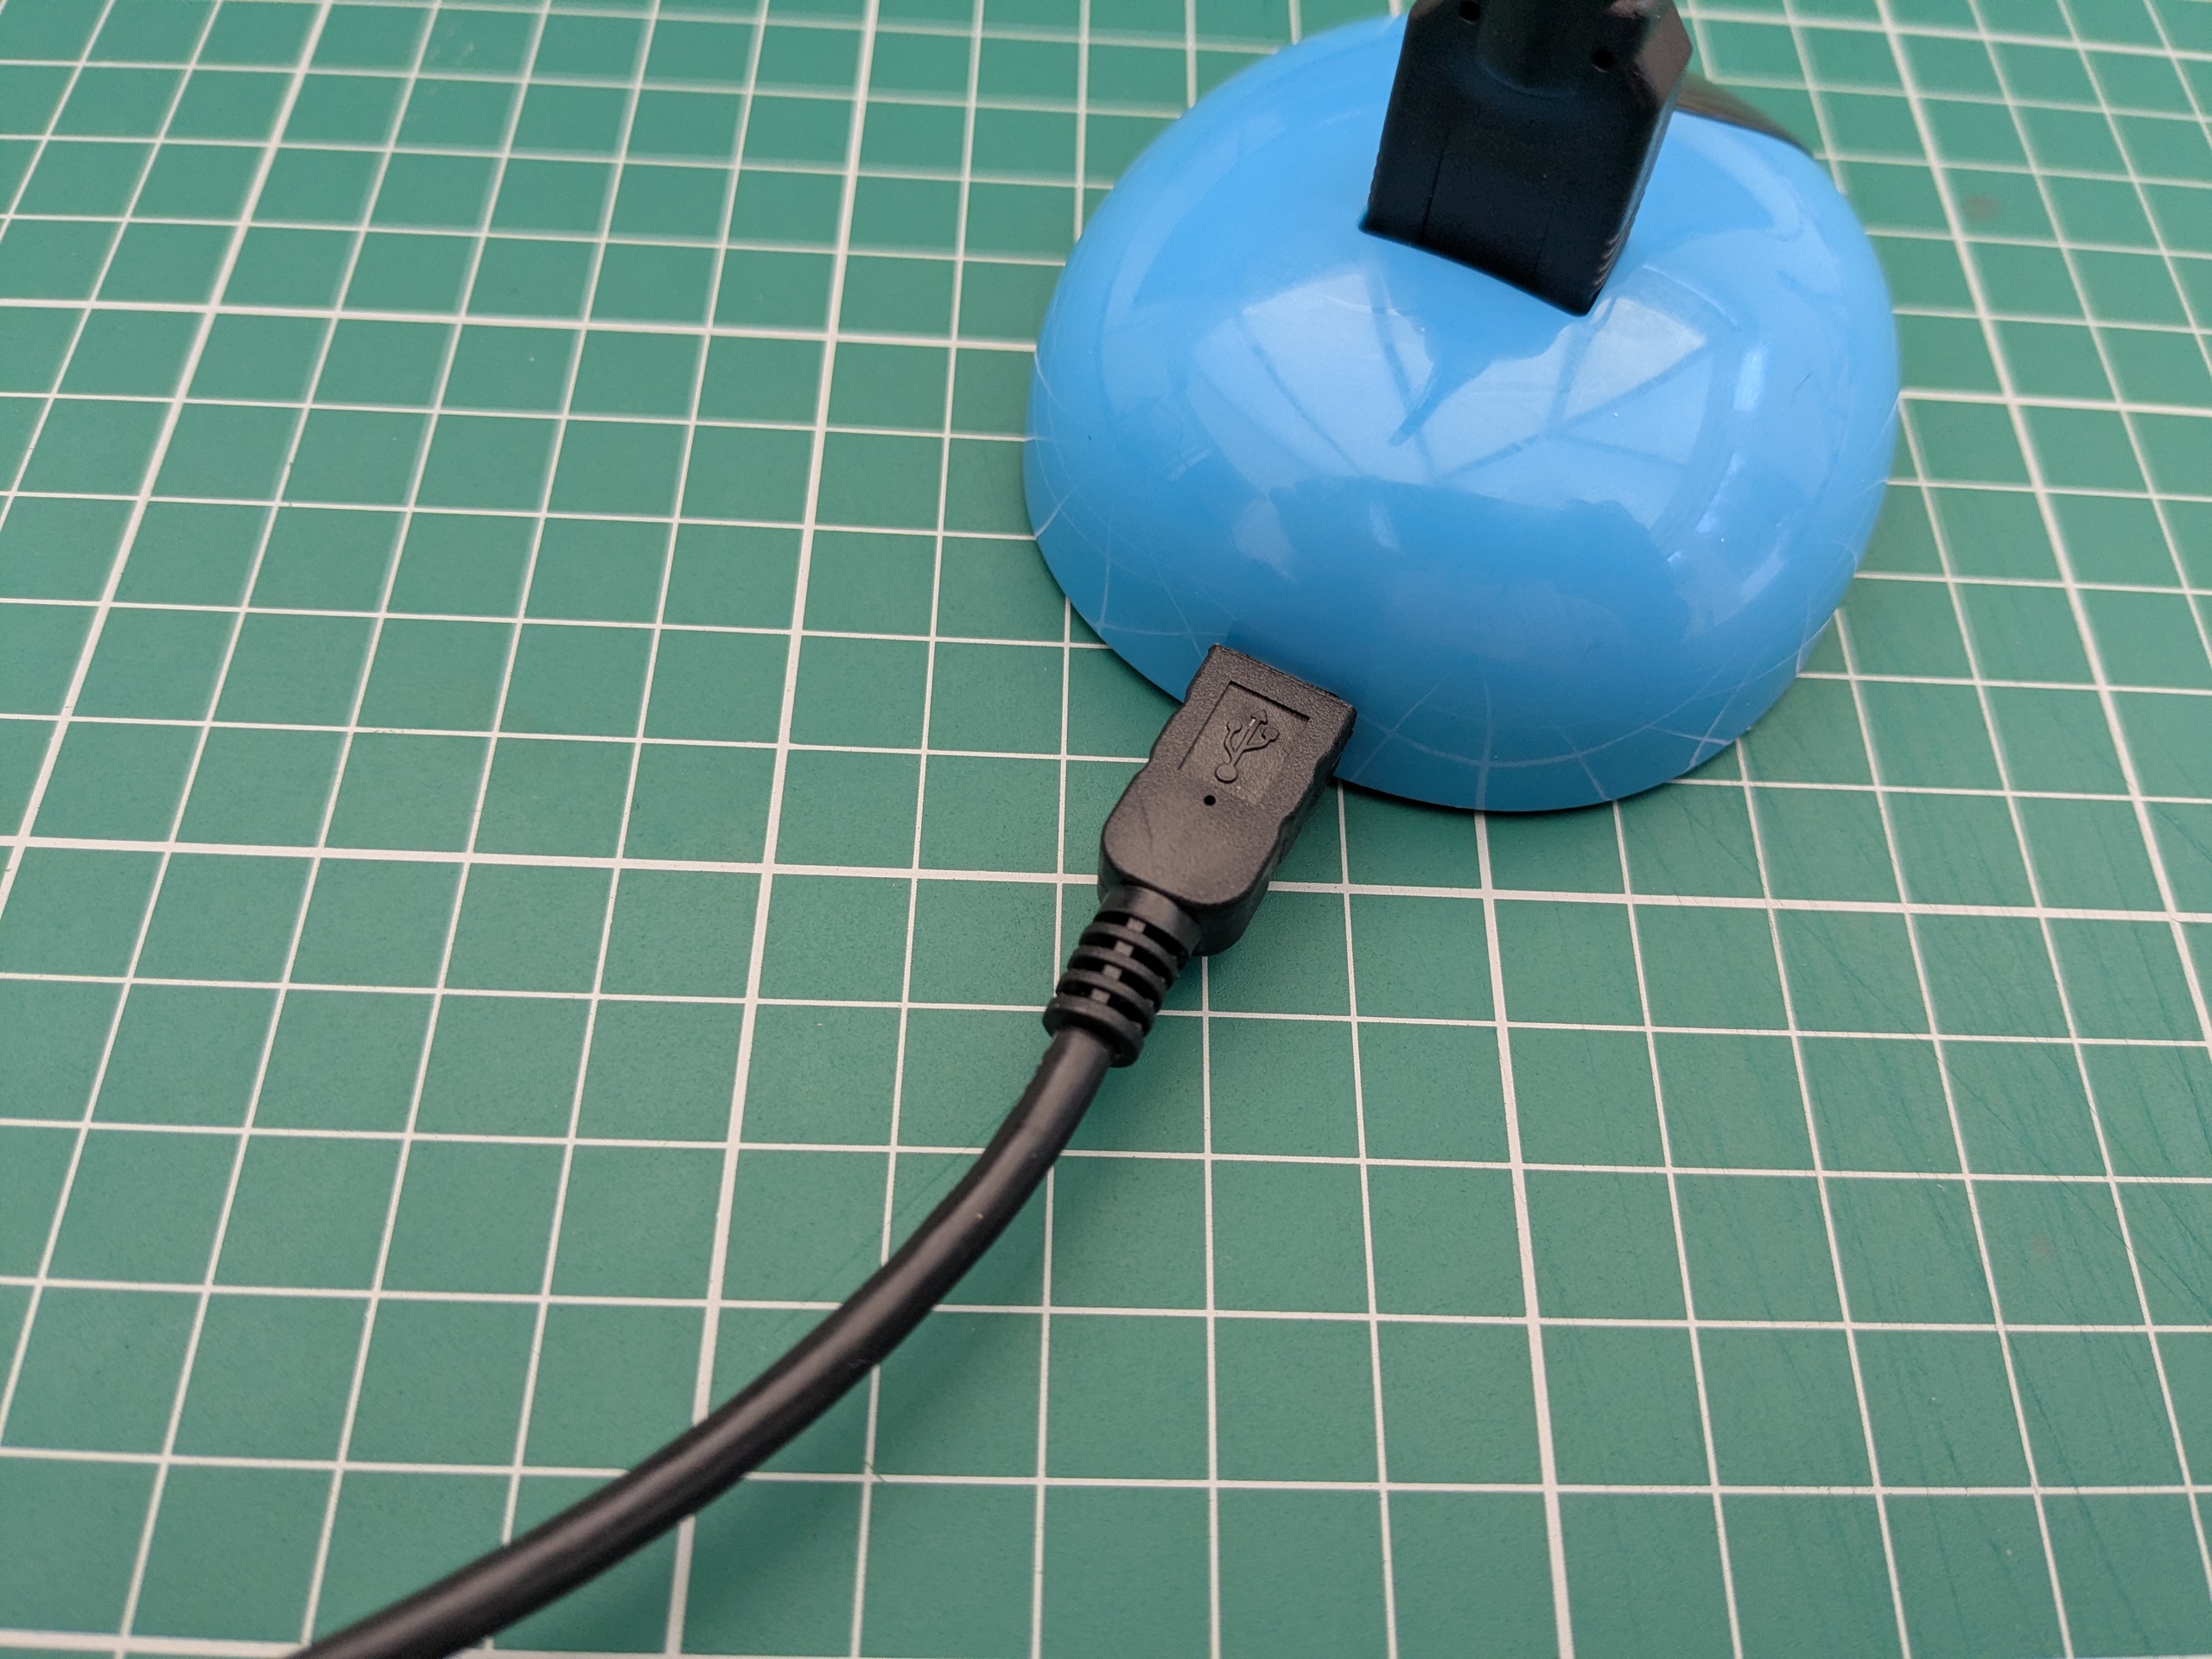
Plug the camera and the (mini) USB extension cable into the base. Place the other end of the USB cable into the computer.
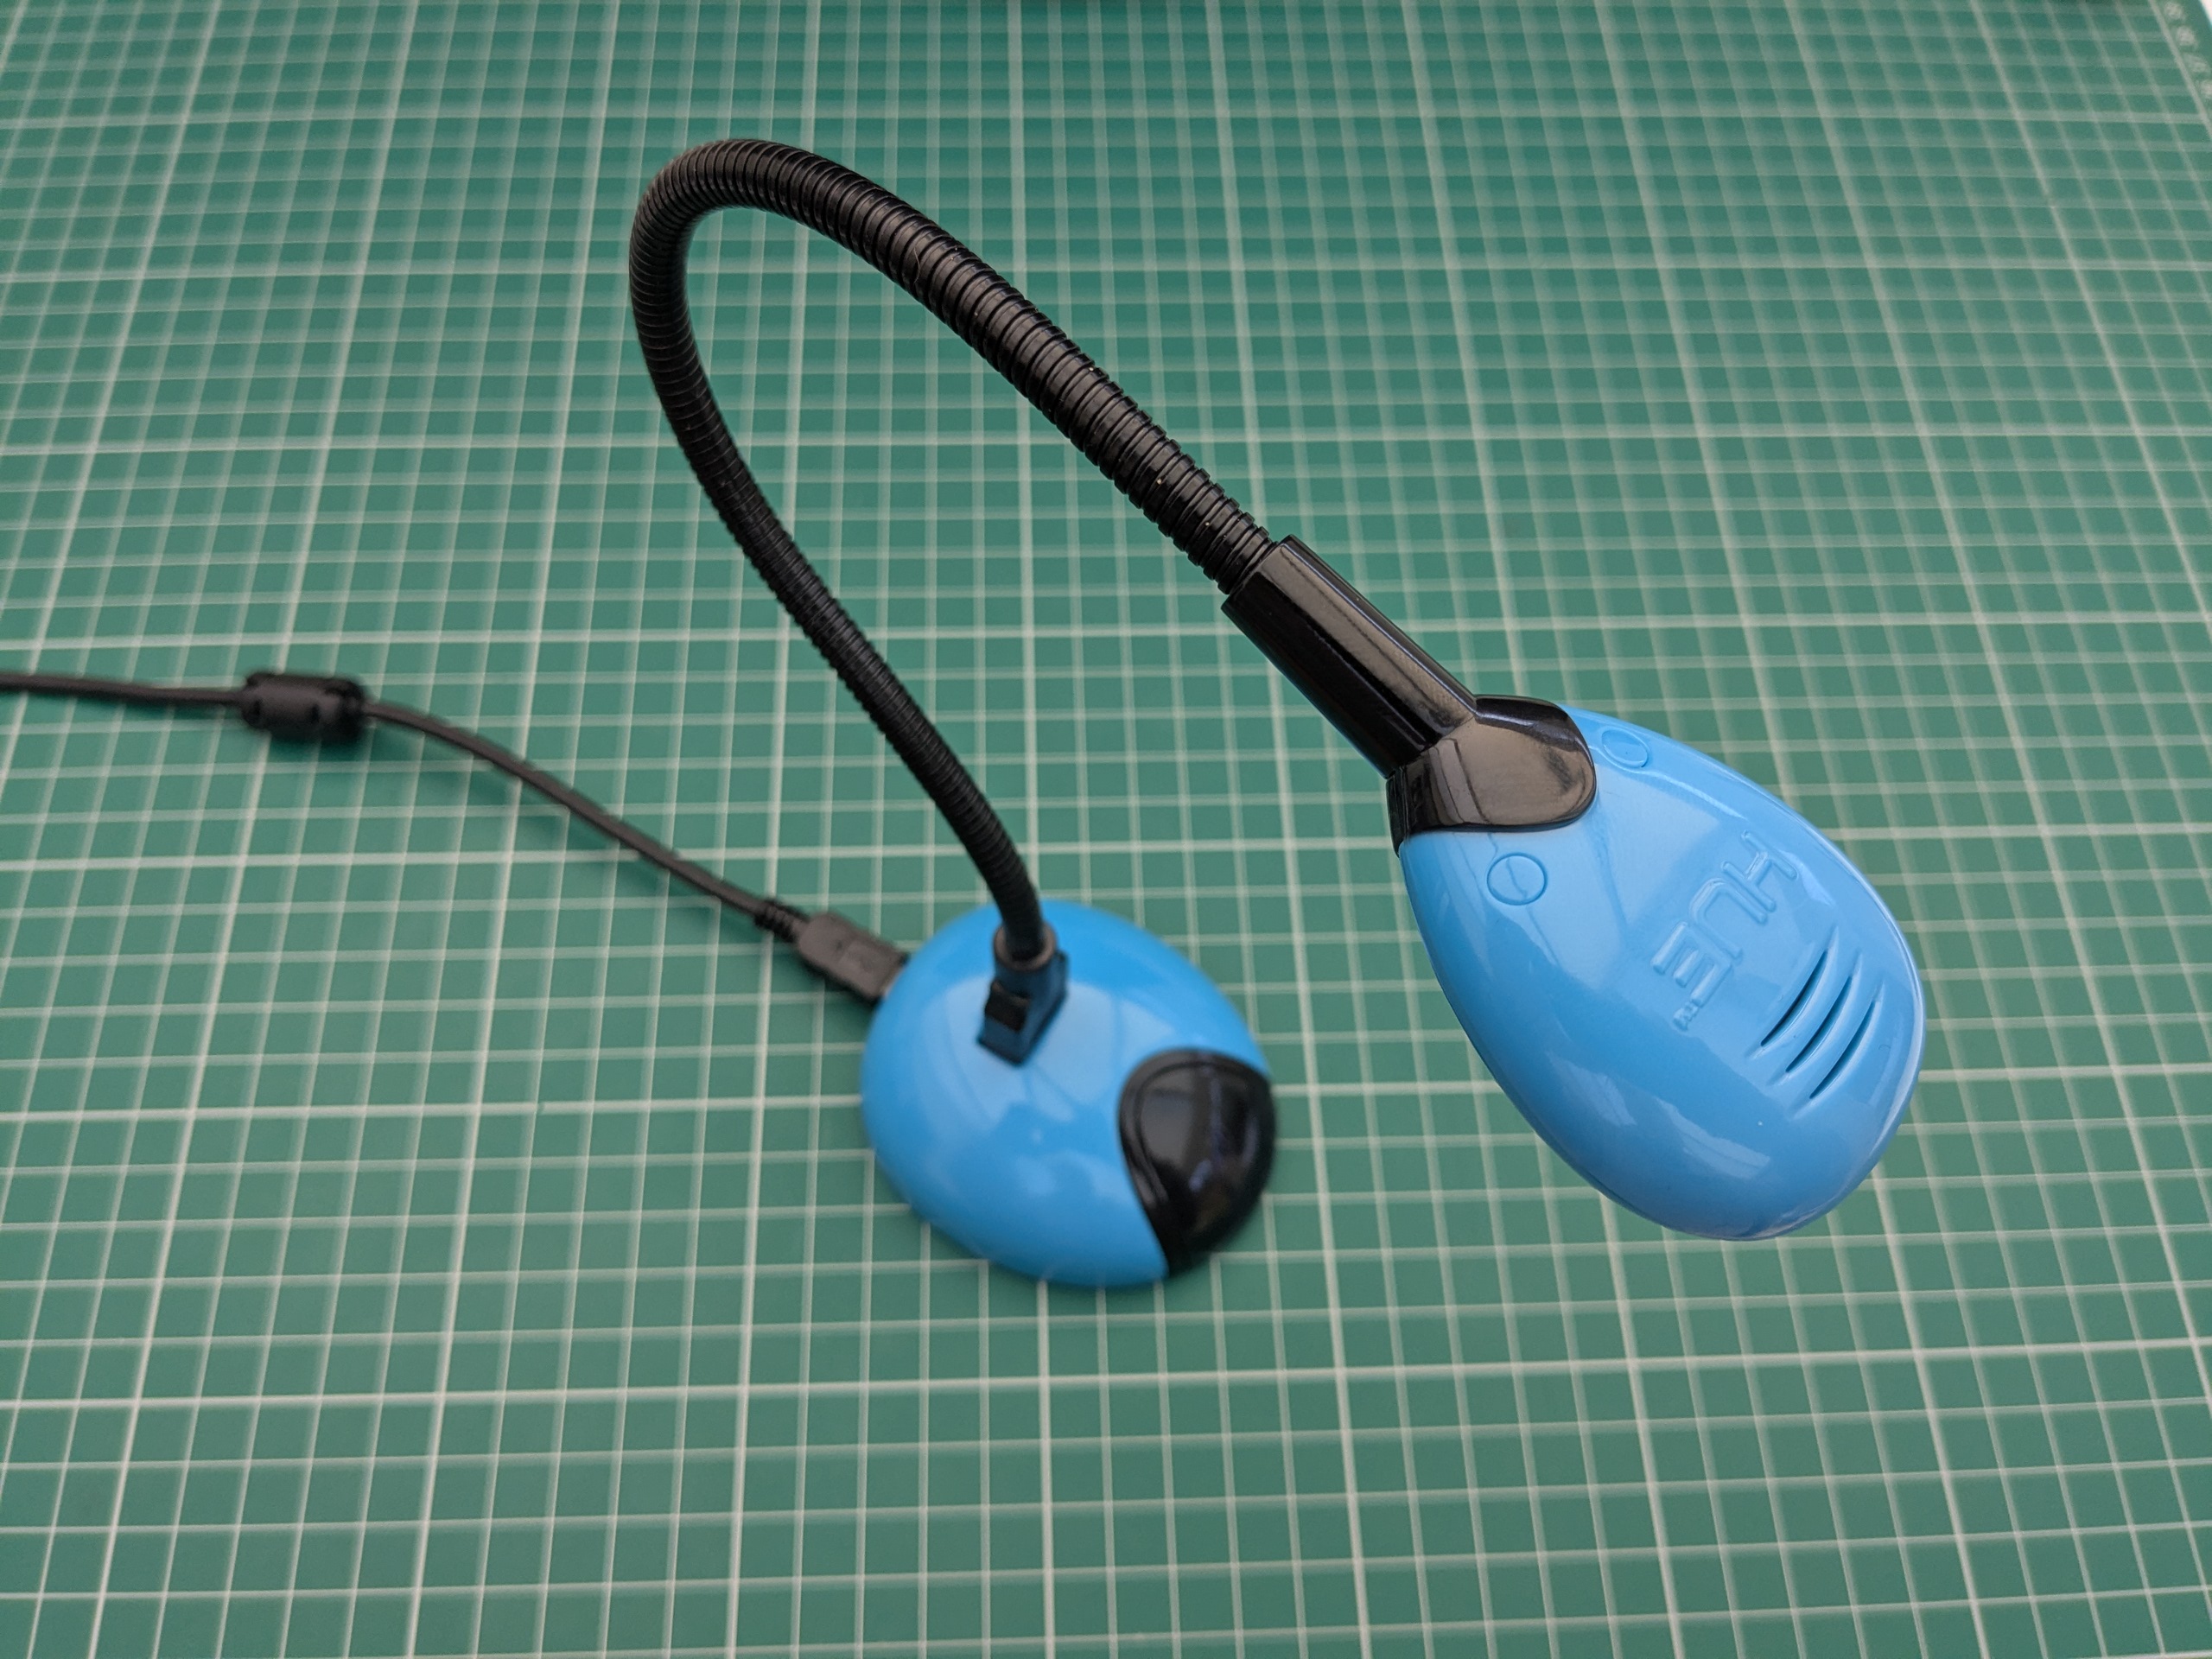
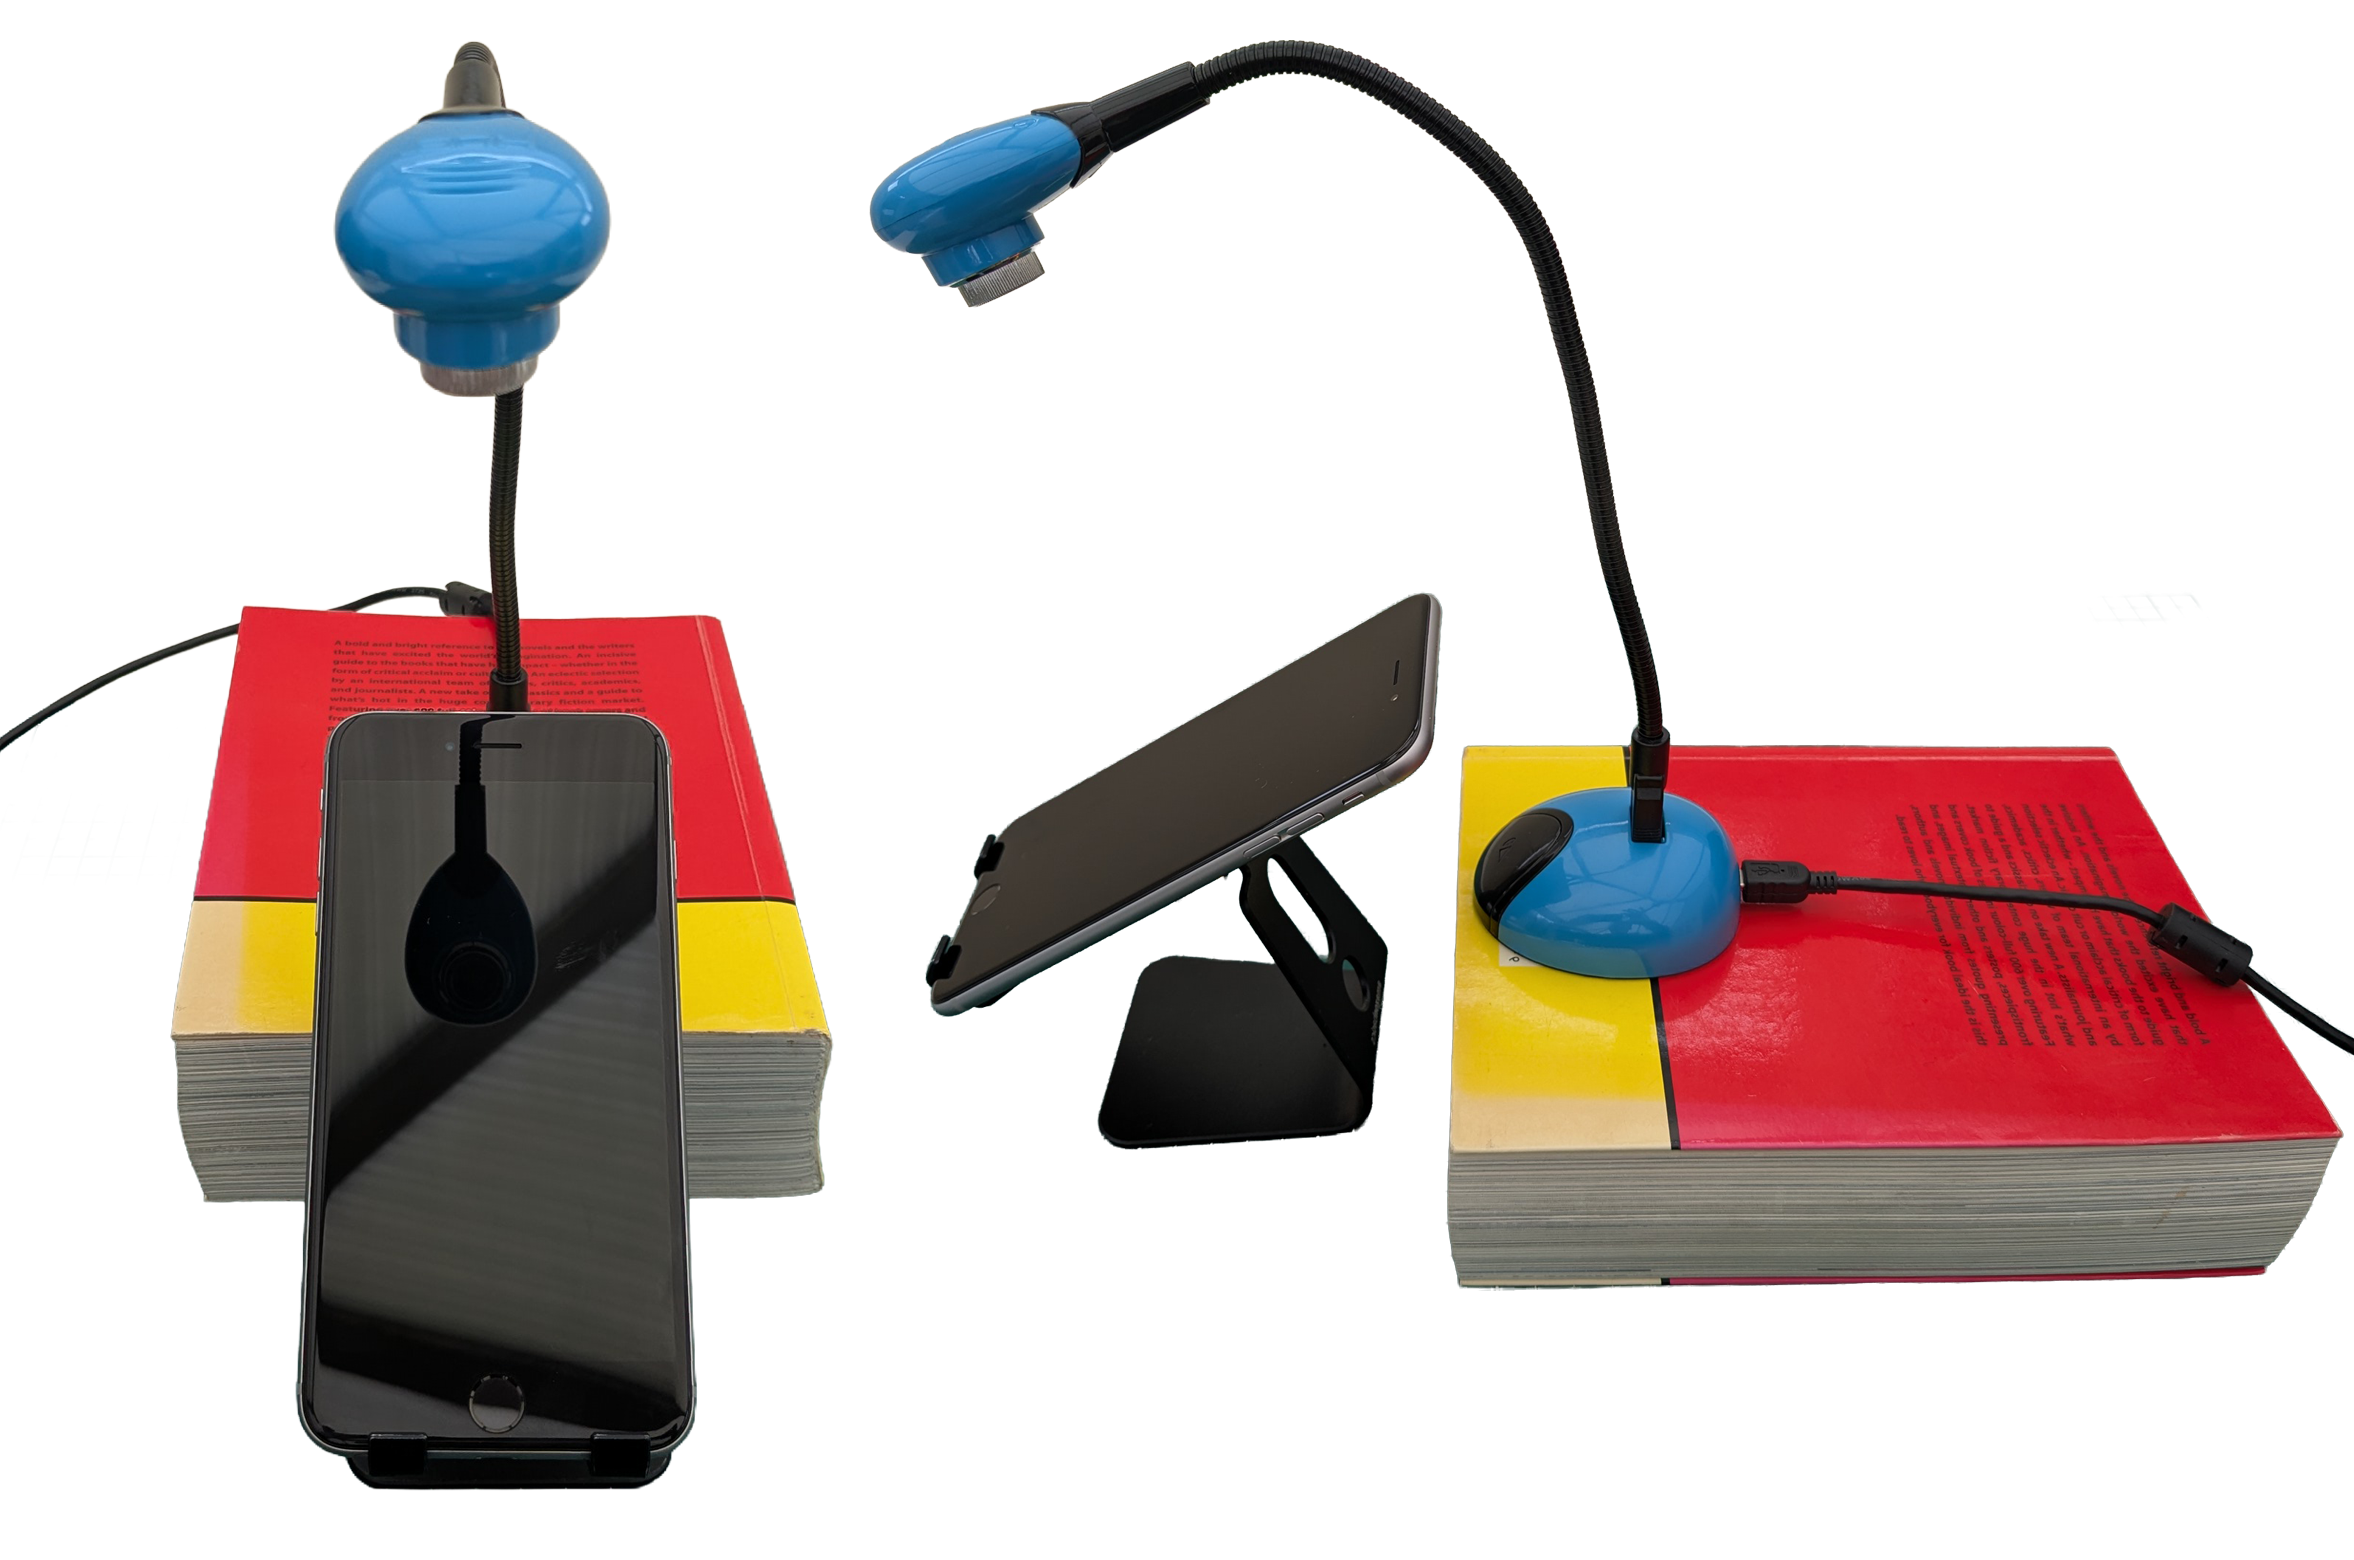
The setup should now look like this
We will use the webcam together with a mobile phone cradle. This cradle has a hinge that lets you adjust the phone’s position. Keeping the phone in a cradle like this makes it steady while being filmed, but still allows the user to interact with the app on the screen.
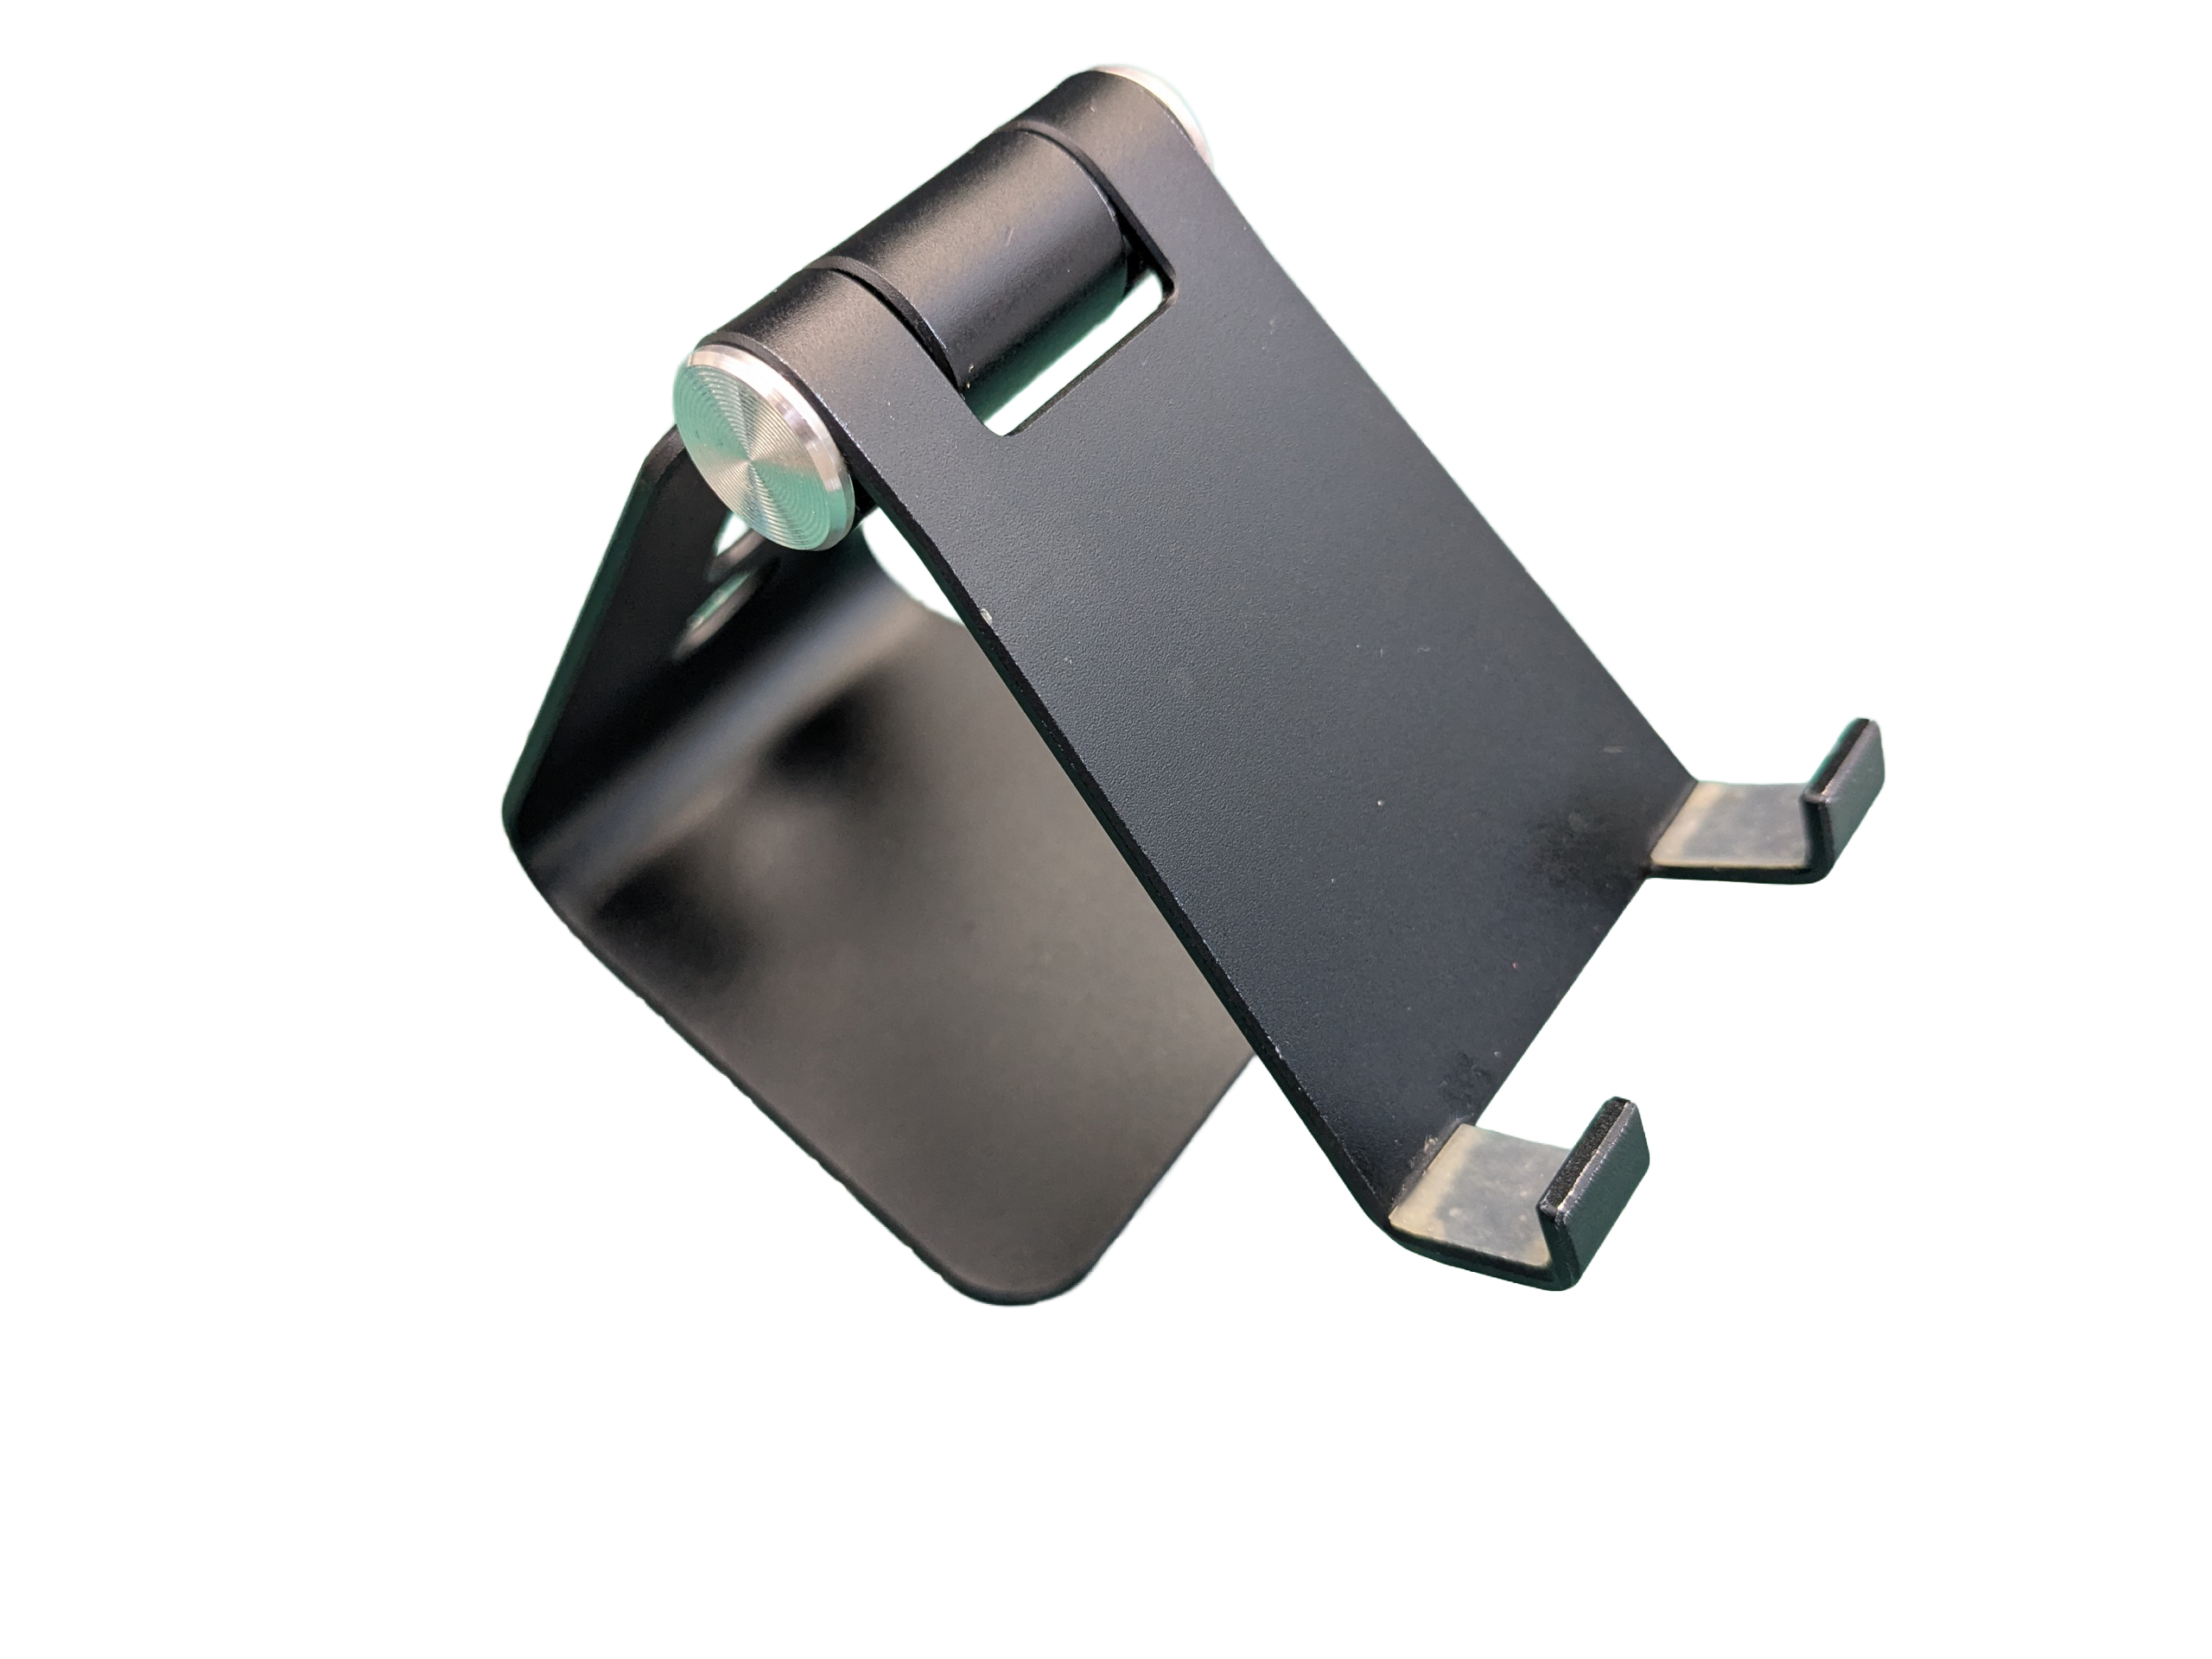
Phone set up in the cradle.

We have placed the phone in the cradle and positioned the HUE webcam over the screen, using a book to add some height. Make sure the setup is secure and that the cables are not causing any obstruction or hazard.
Testing Task Overview
We are going to use OBS Studio to capture a user experience test on a mobile application solution. This will involve multiple feeds: the Figma prototype itself, the user tester interacting with it on a device, and potentially a video feed of the user speaking aloud while completing the given tasks and scenarios. All of this can be recorded through a Teams meeting session for later analysis.
Figma prototyping can stay in lockstep across Prototyping across its desktop and mobile applications. Although there is some slight lag, it generally provides a seamless presentation.
OBS Studio Set-up
We will add a standard Logitech webcam to record the participant, which is important when they are “thinking out loud” Then we will connect one of the HUE webcams to capture the interaction on the phone. You can add more devices if needed, but we will focus on these two. The principle for adding and using them is the same, as long as you have enough USB connections on the computer.
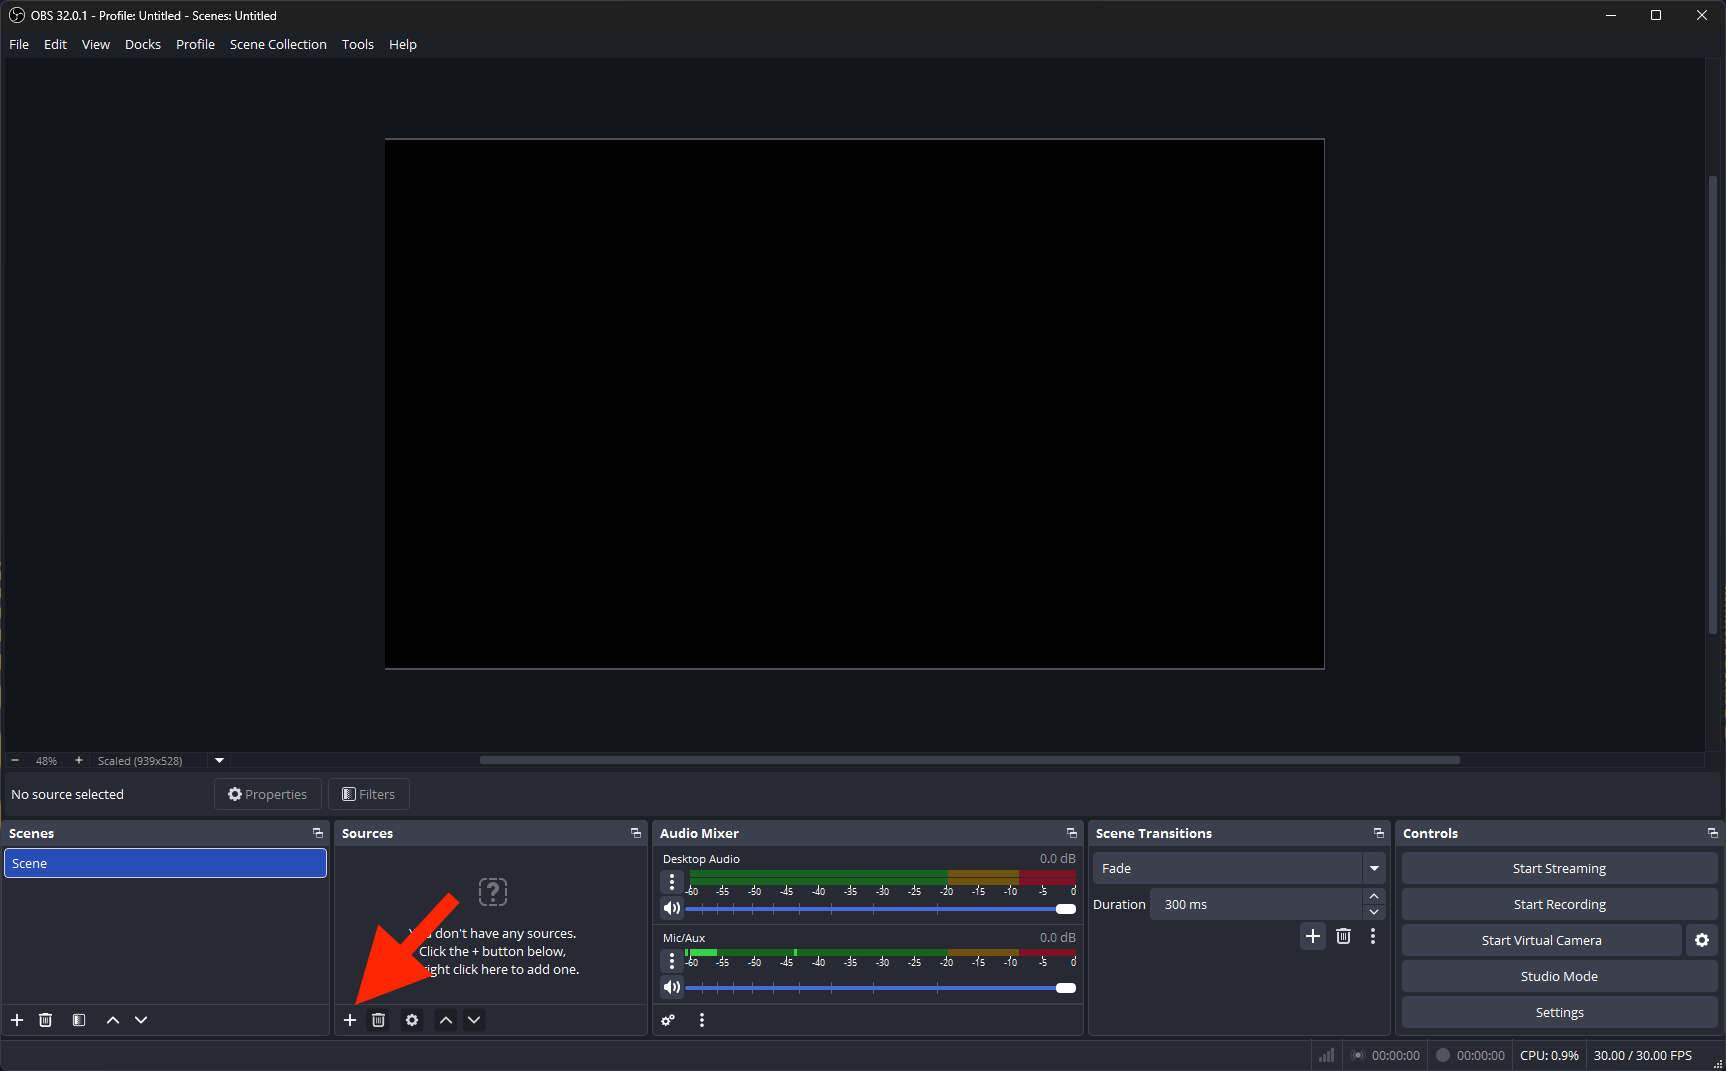
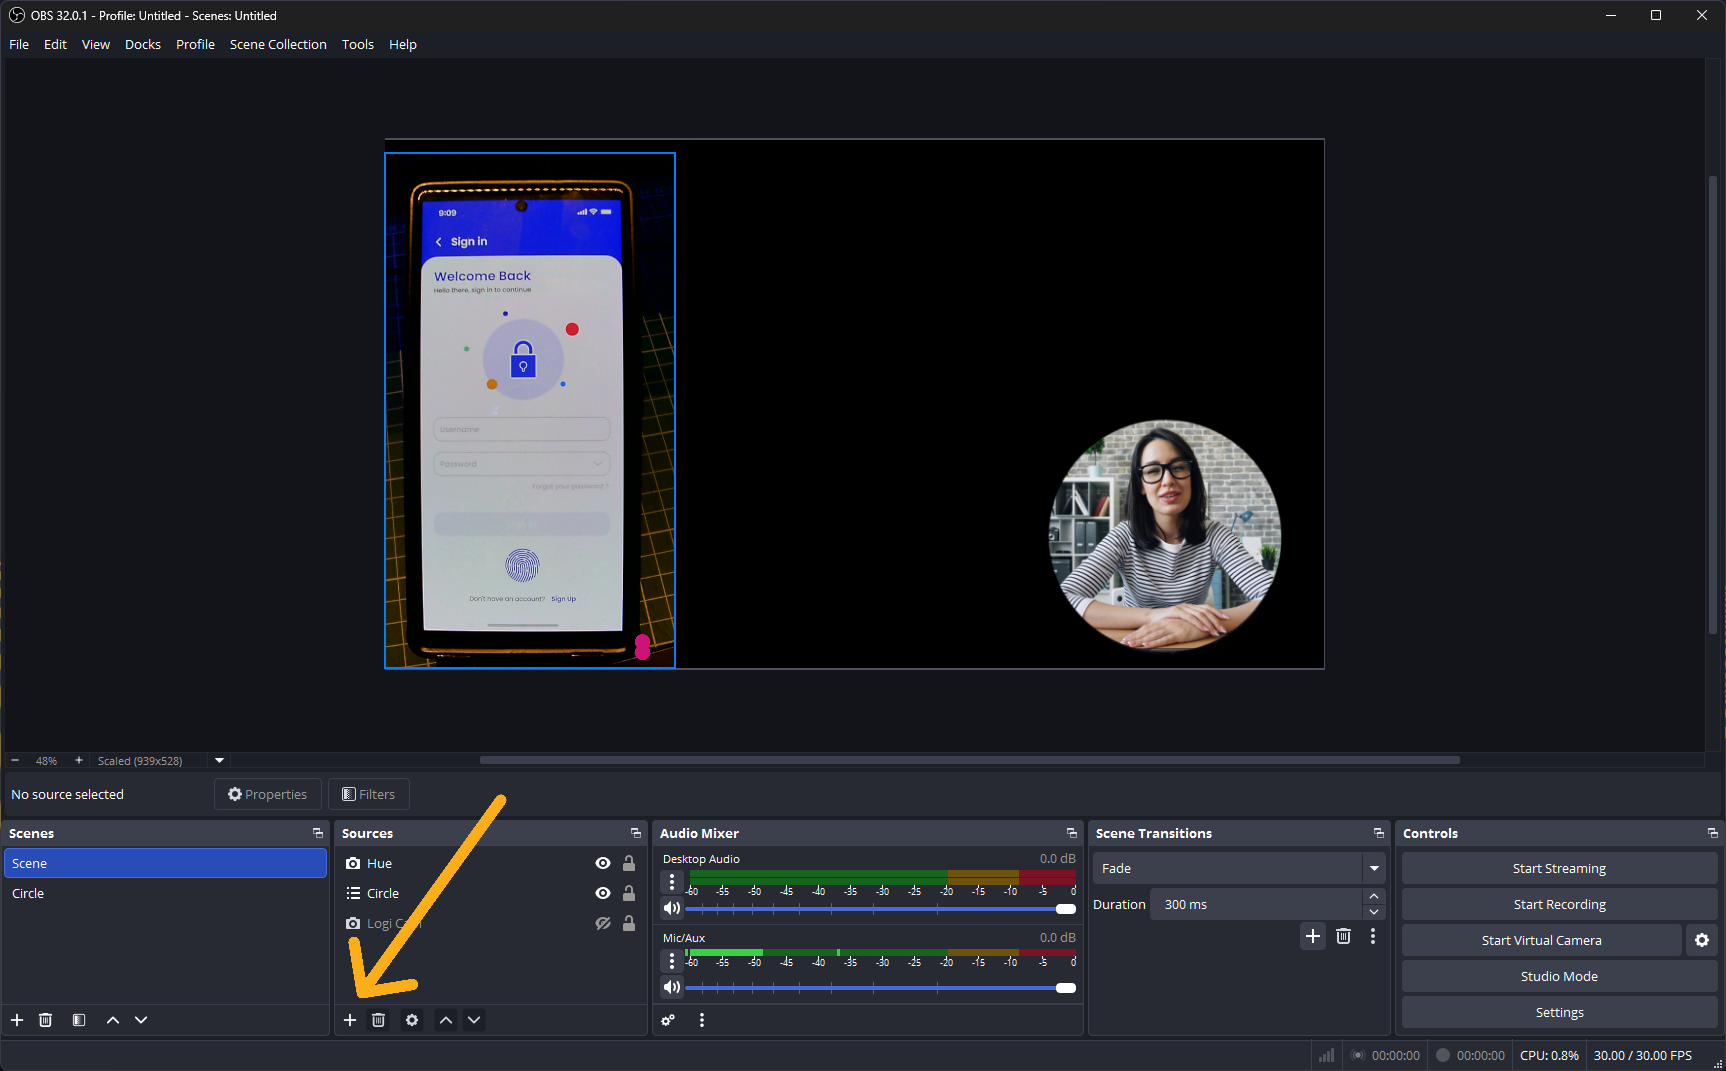
Once you’ve installed and opened OBS Studio, the first thing you need to do is add feeds and sources. In the Sources panel at the bottom of the screen, click on the +.
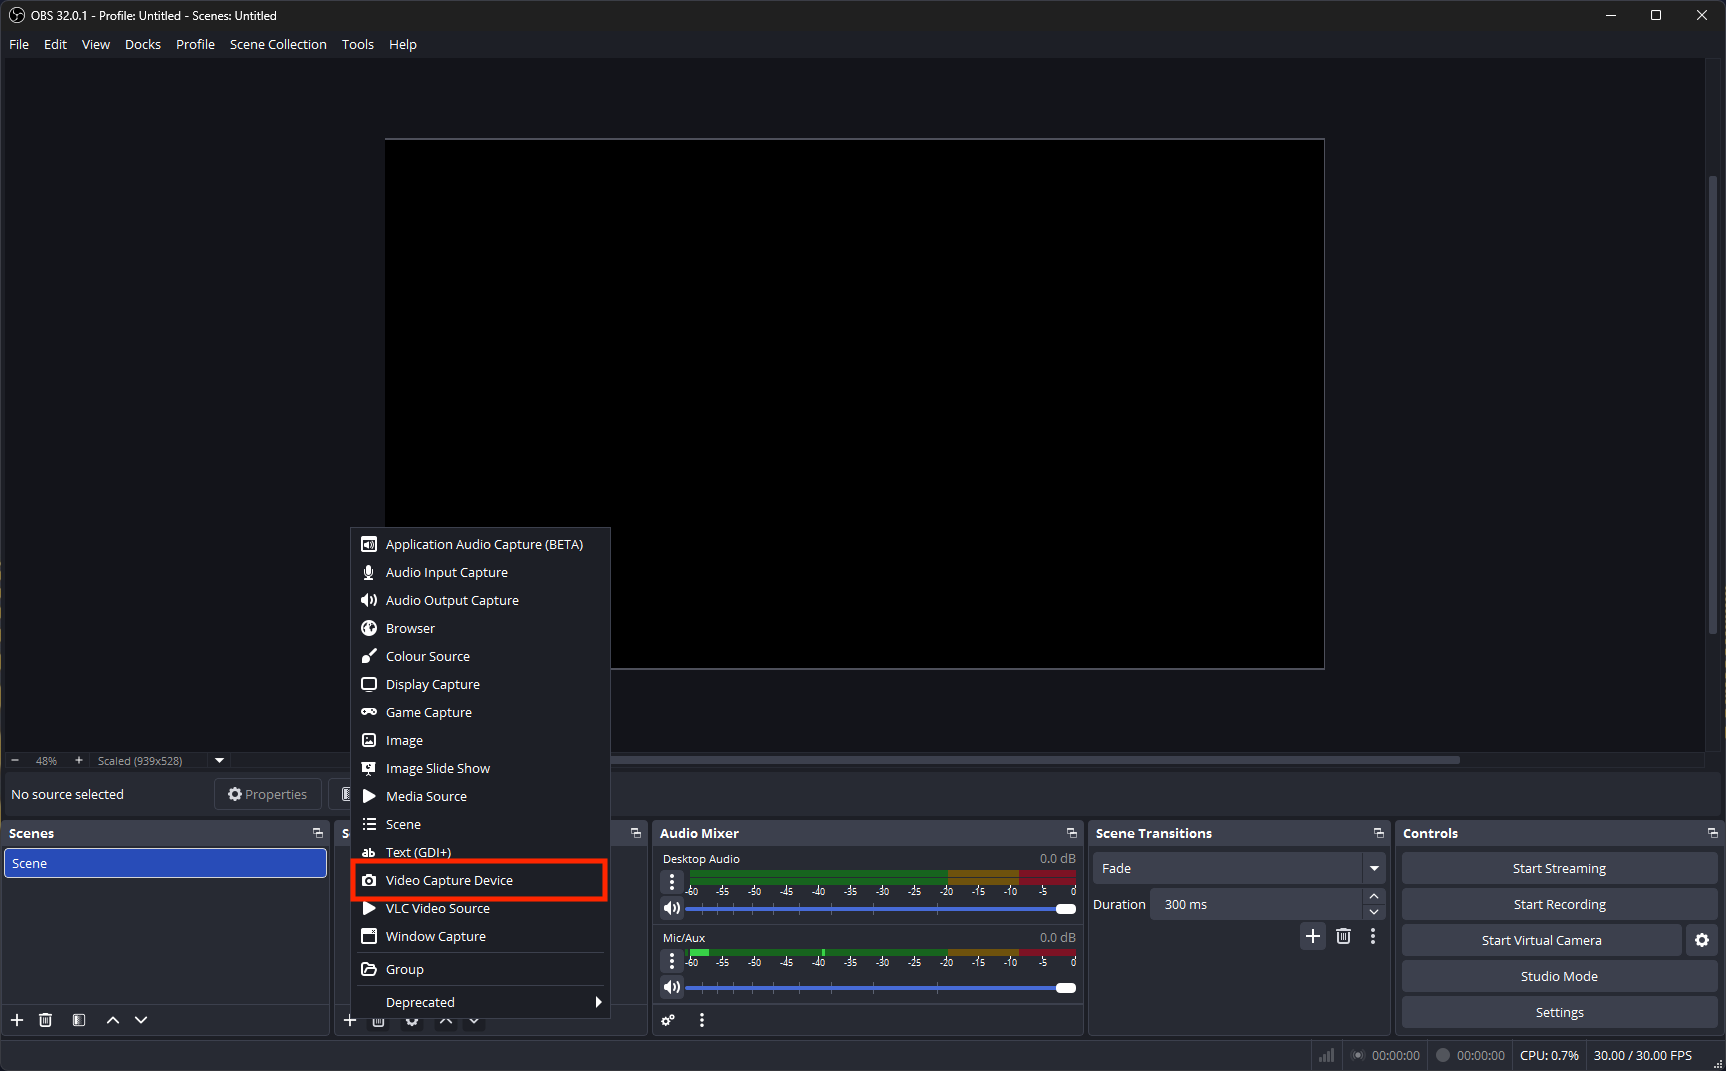
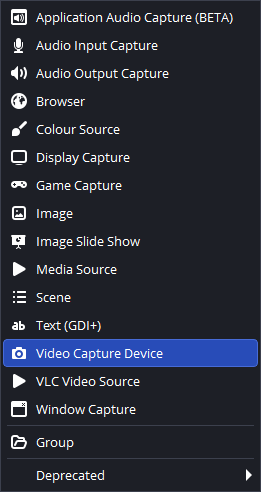
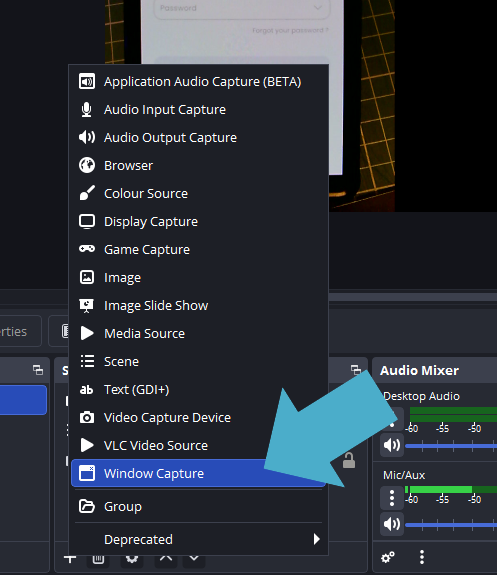
Then select the appropriate source type.
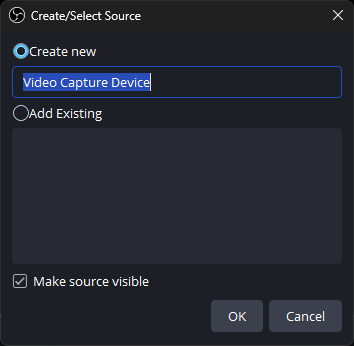
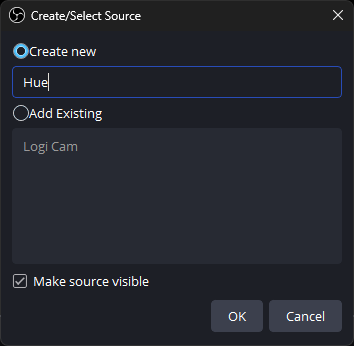
You can now name the device.
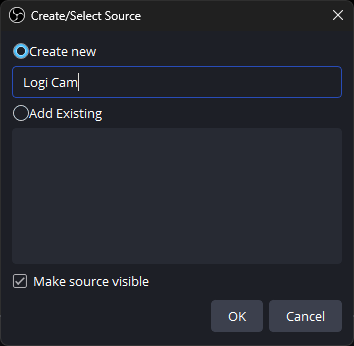
In this scenario, we are using a webcam, so we will call it Logi cam and click OK.
Now select the model (C920) and click OK.
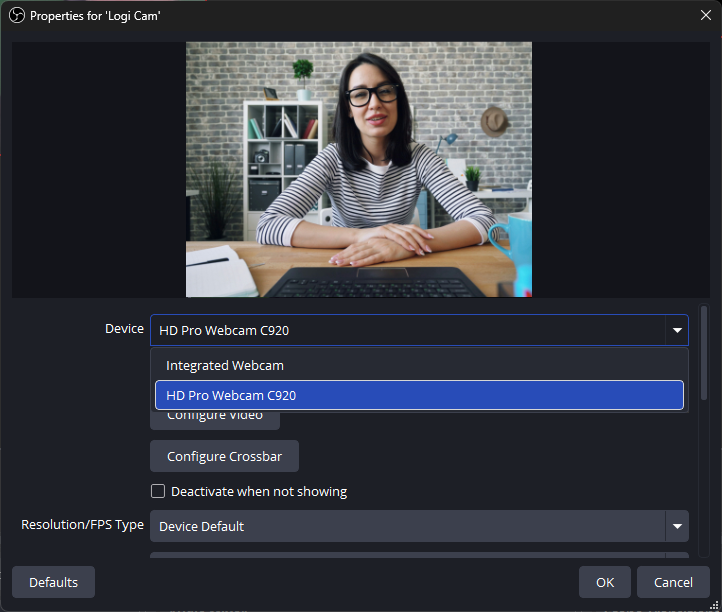
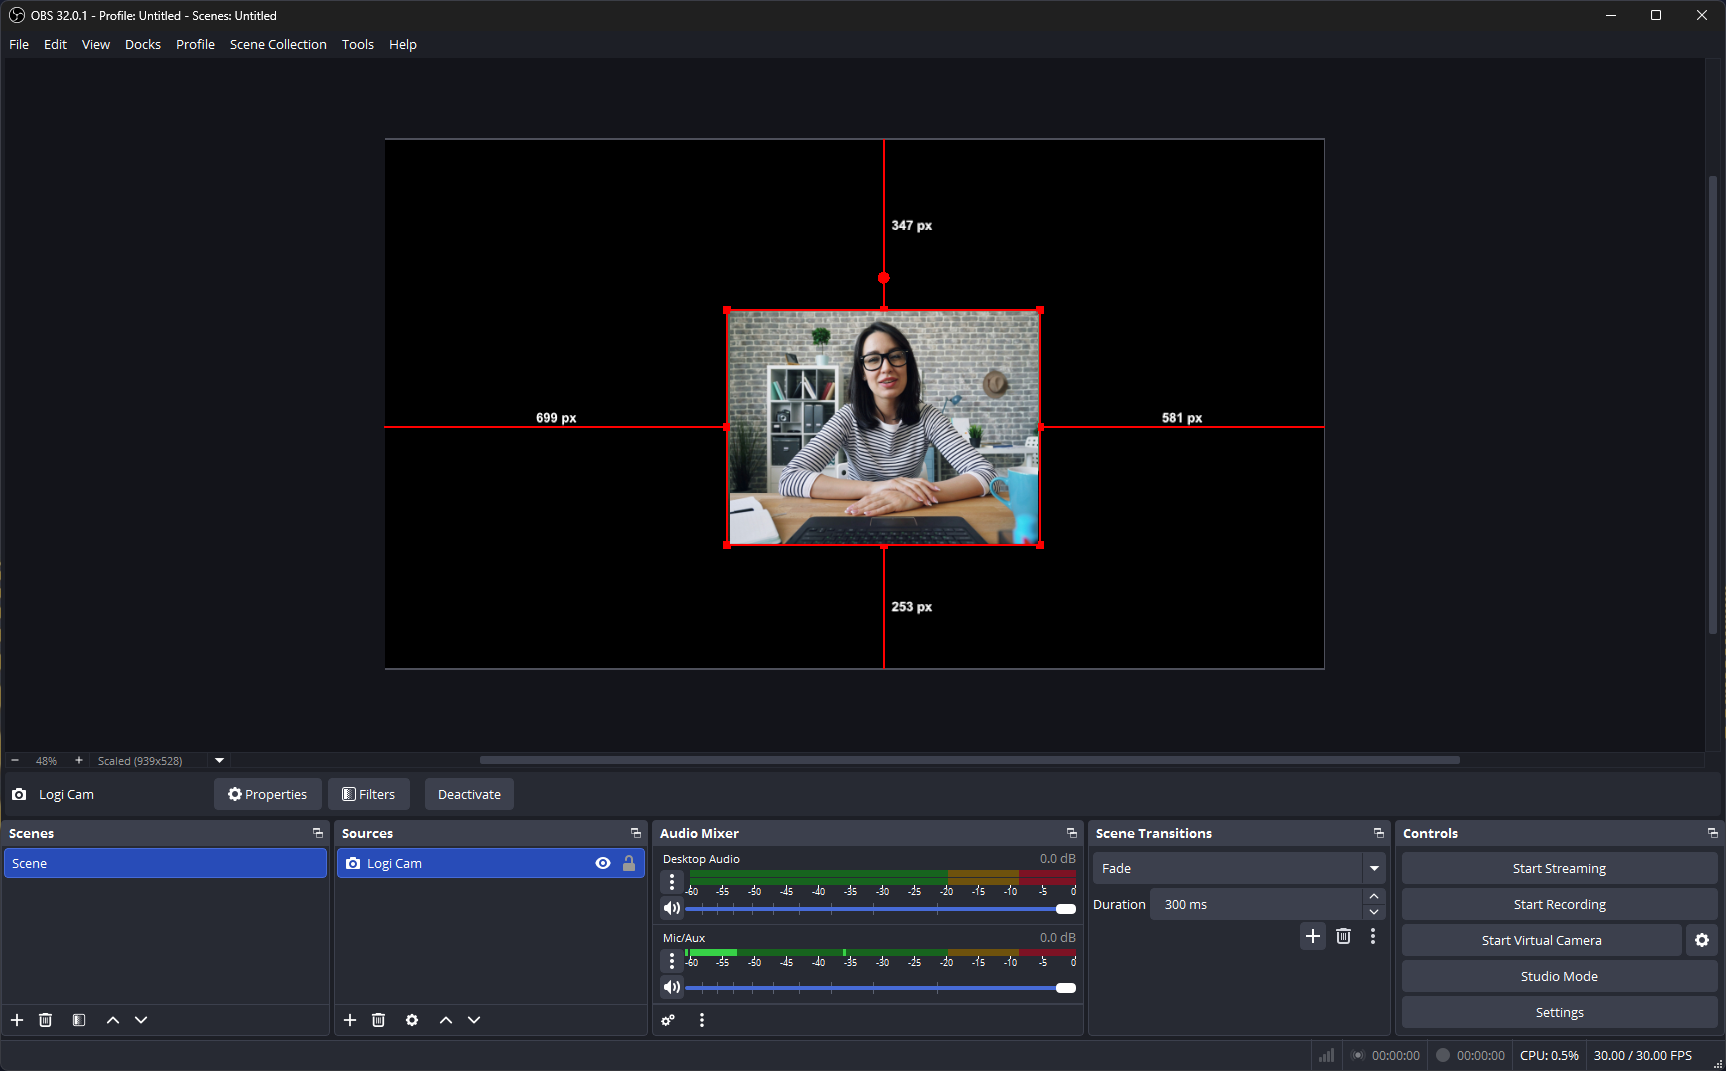
The image will appear.
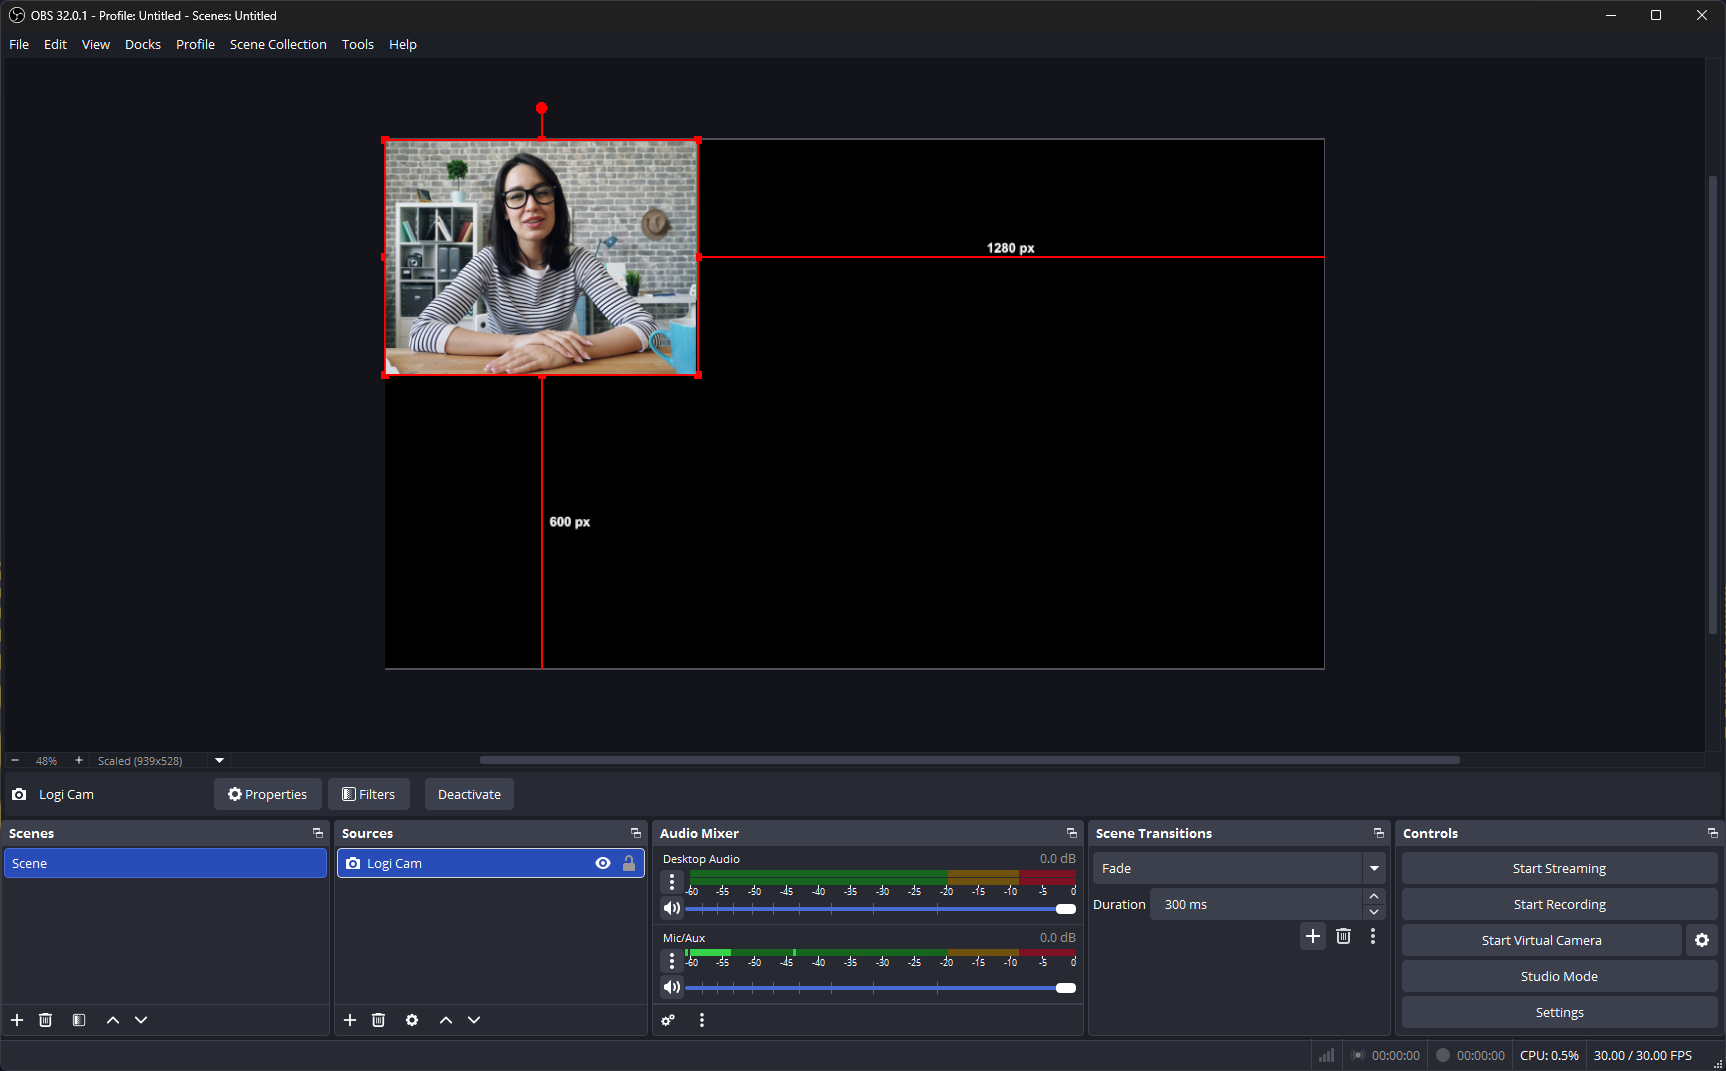
You can move this around and enlarge it by dragging one of the corners.
Creating the presenter in a rounded circle
In most user testing environments, you probably don’t need to place the tester in a circle. You can just leave them in the normal rectangle layout it comes with. However, this might be useful for other uses of OBS Studio.
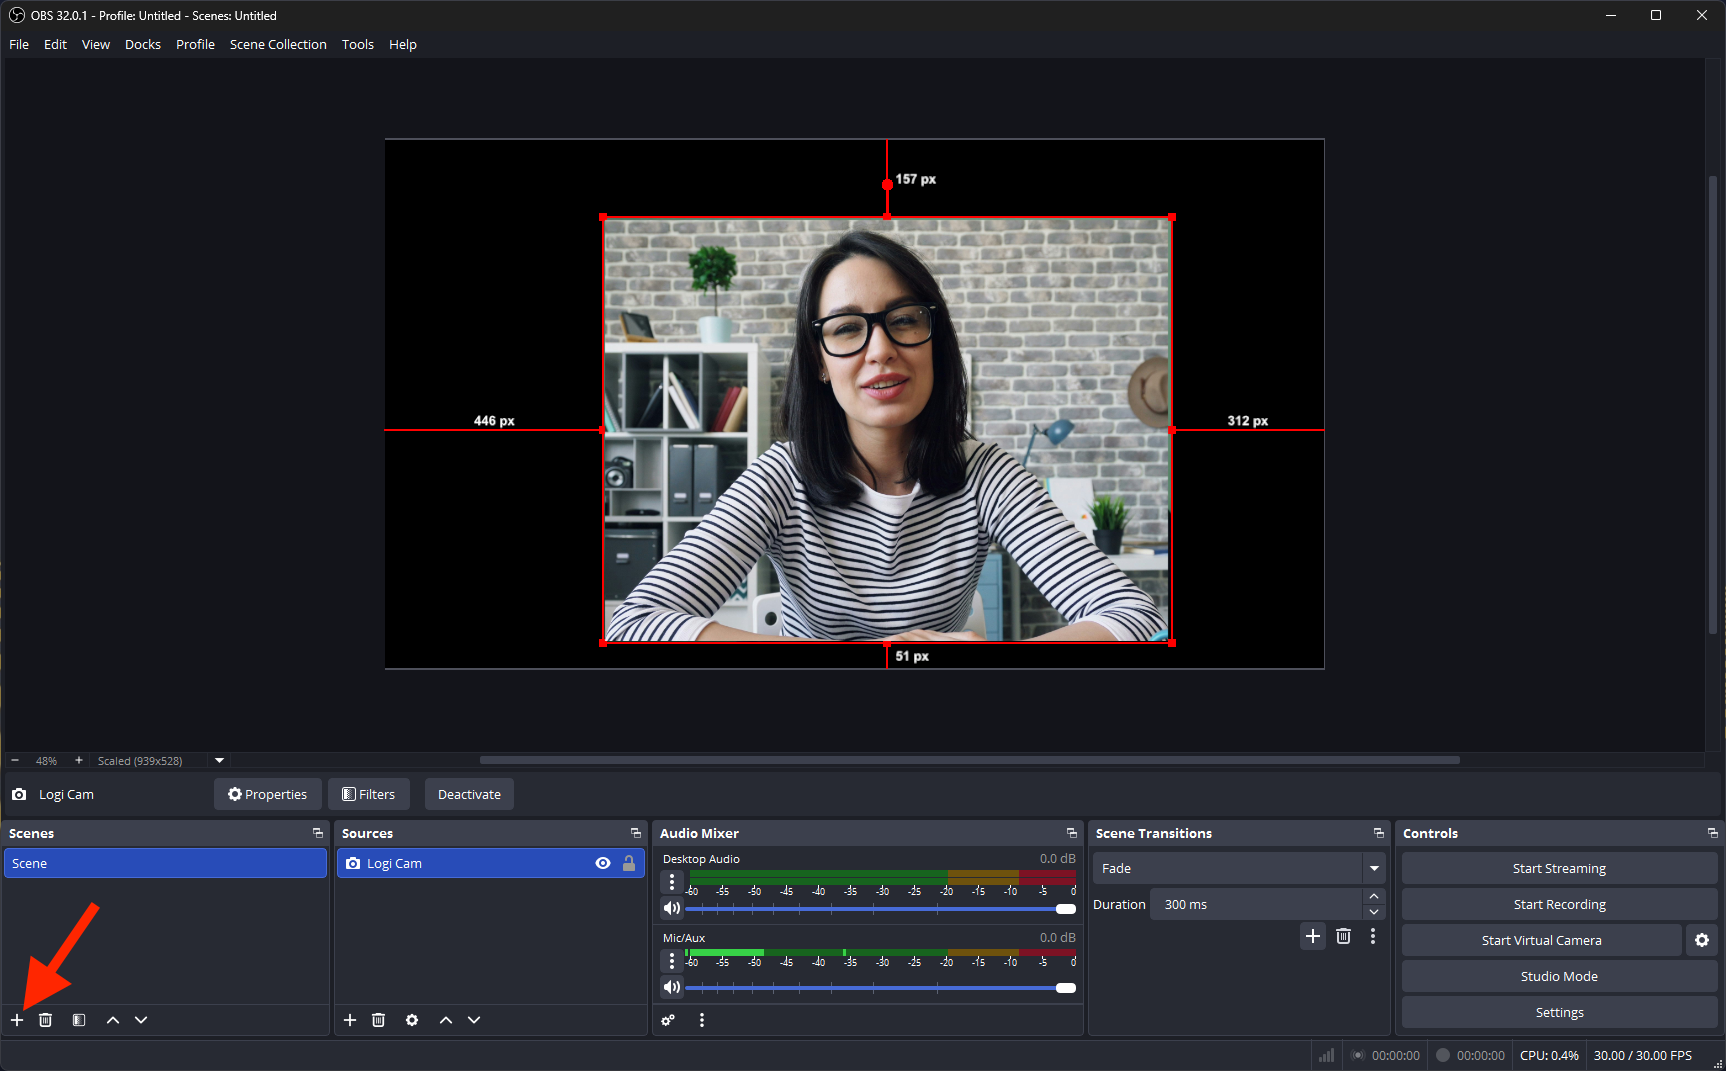
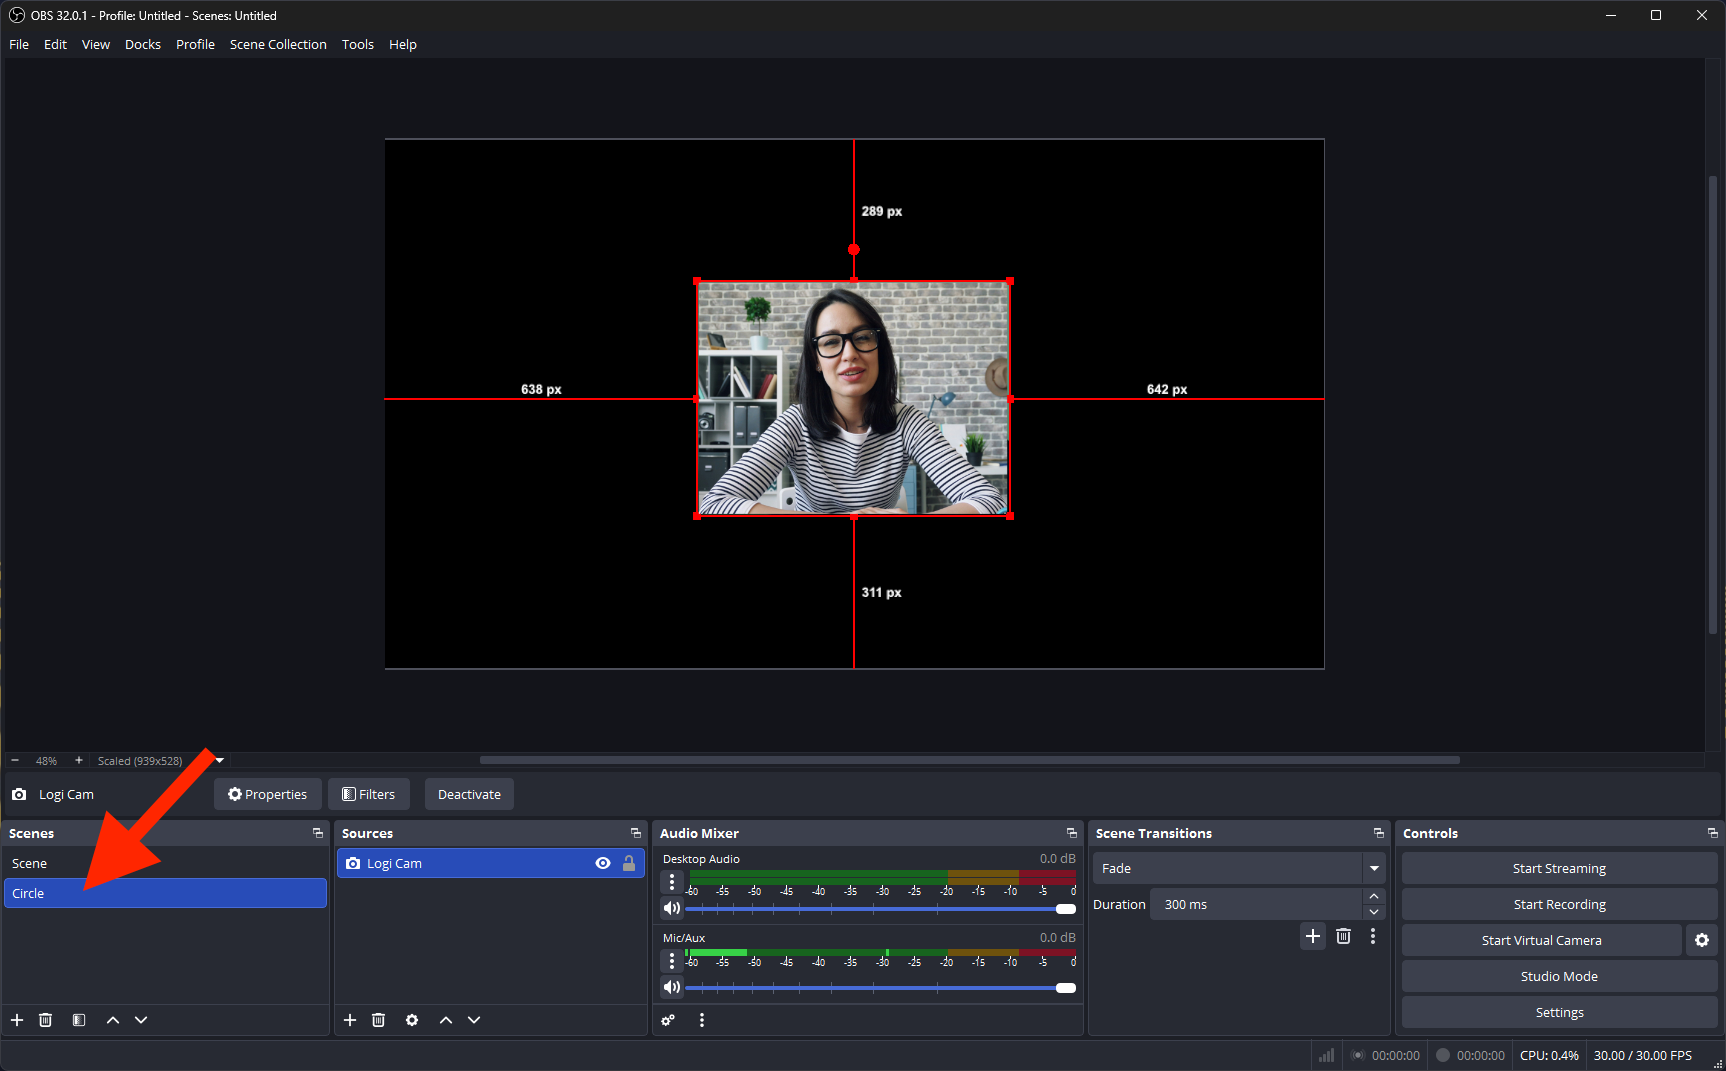
To do this, create a new scene. In the Scenes panel at the bottom of the screen, click on the +.
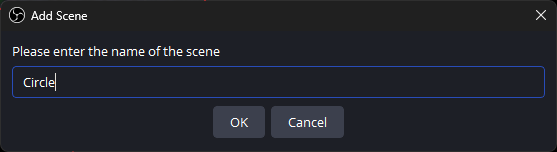
Name it Circle.
It will now appear as an extra scene under your main scene.
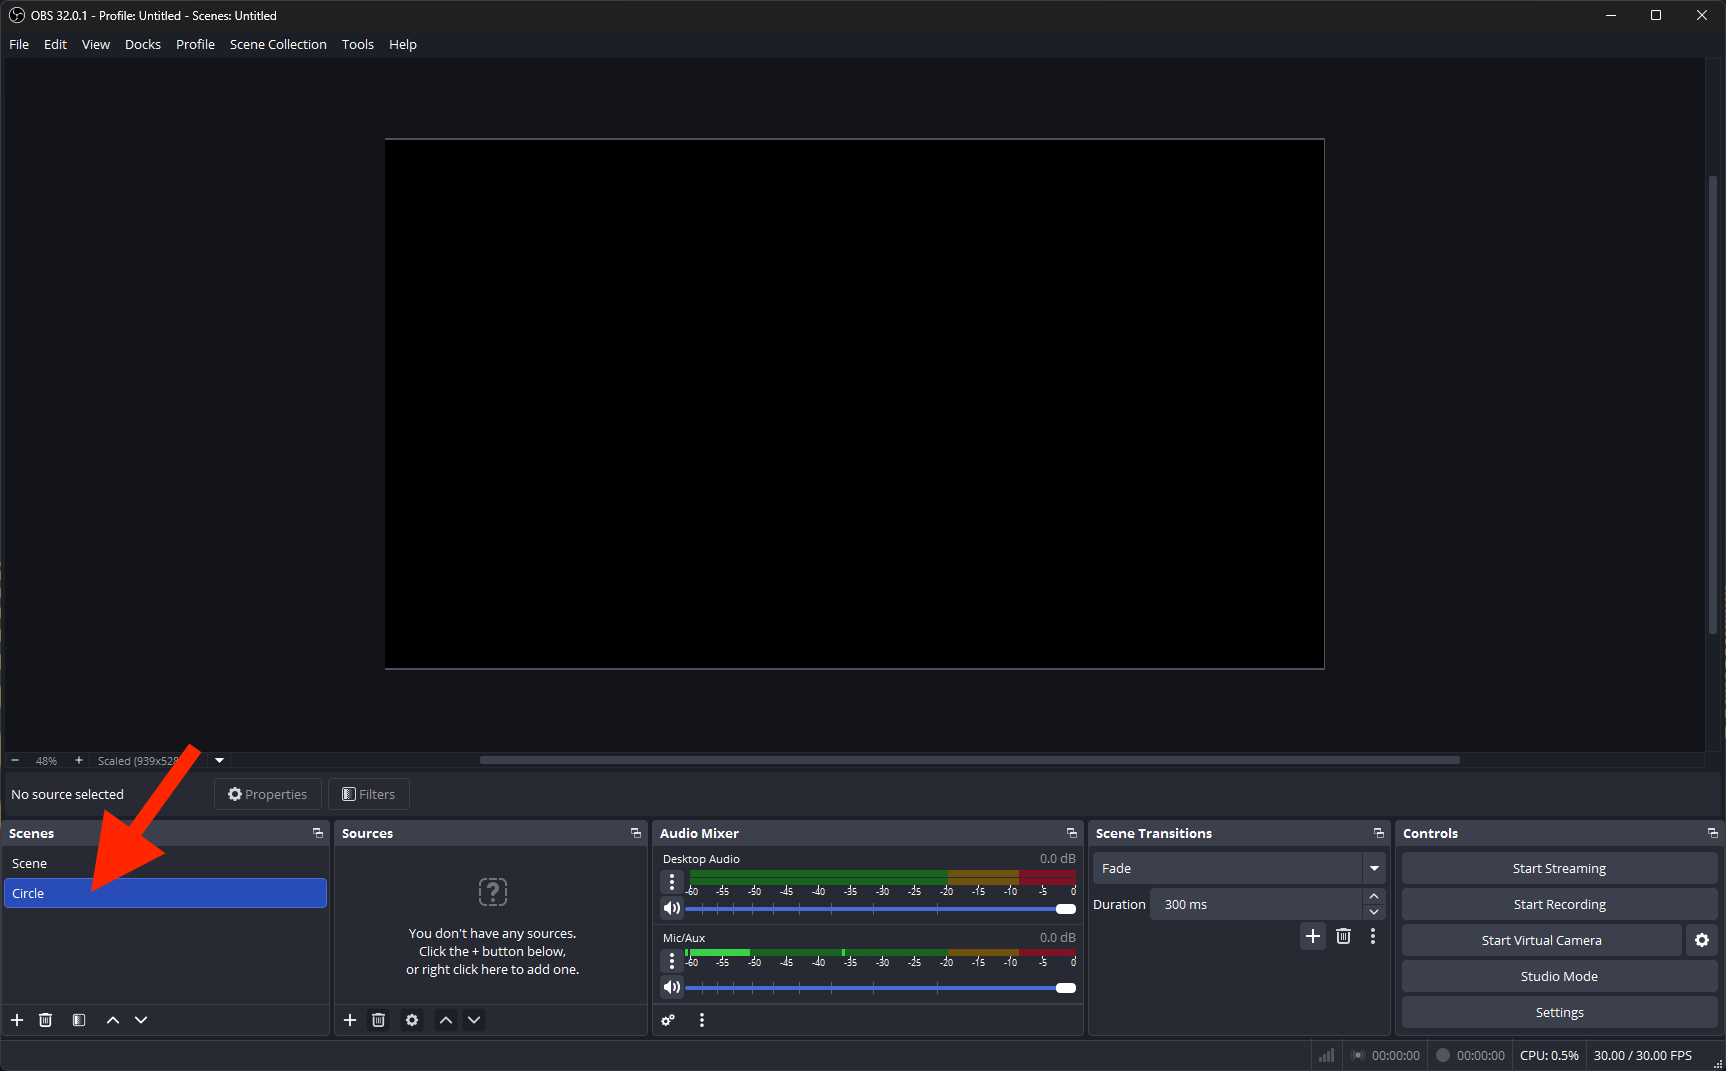
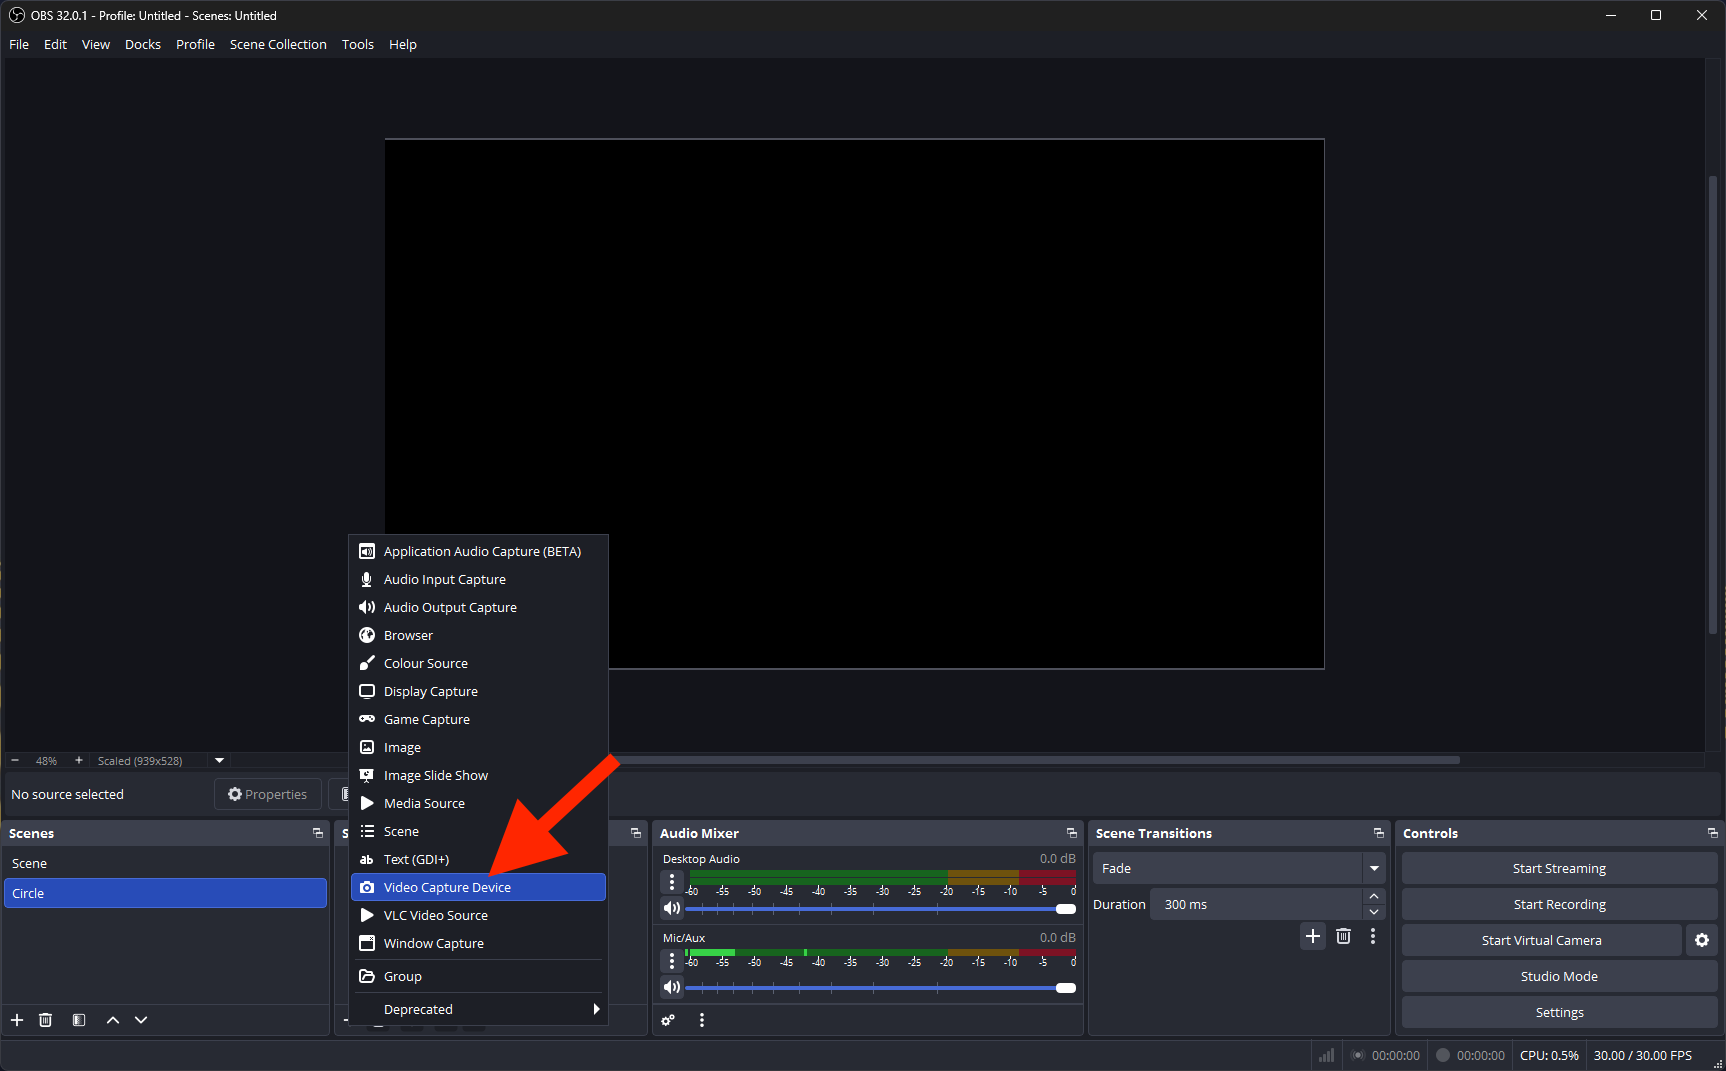
Add the video capture from the webcam you’ve already set up. In the Sources panel, click on the +, then select Video Capture Device from the pop-up.
Click on Add Existing to bring in the Logi cam you set up in the main scene.
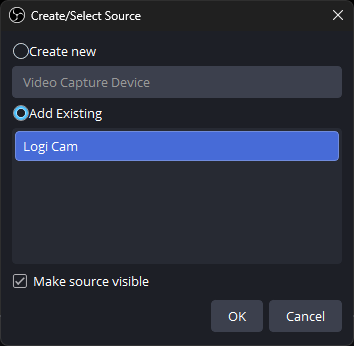
The webcam feed will now appear in the circle scene.
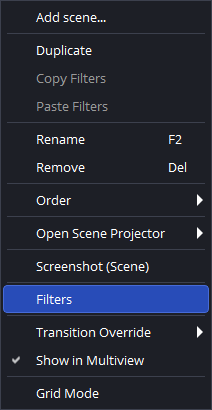
Right-click on the webcam source in the Sources panel and select Filters.
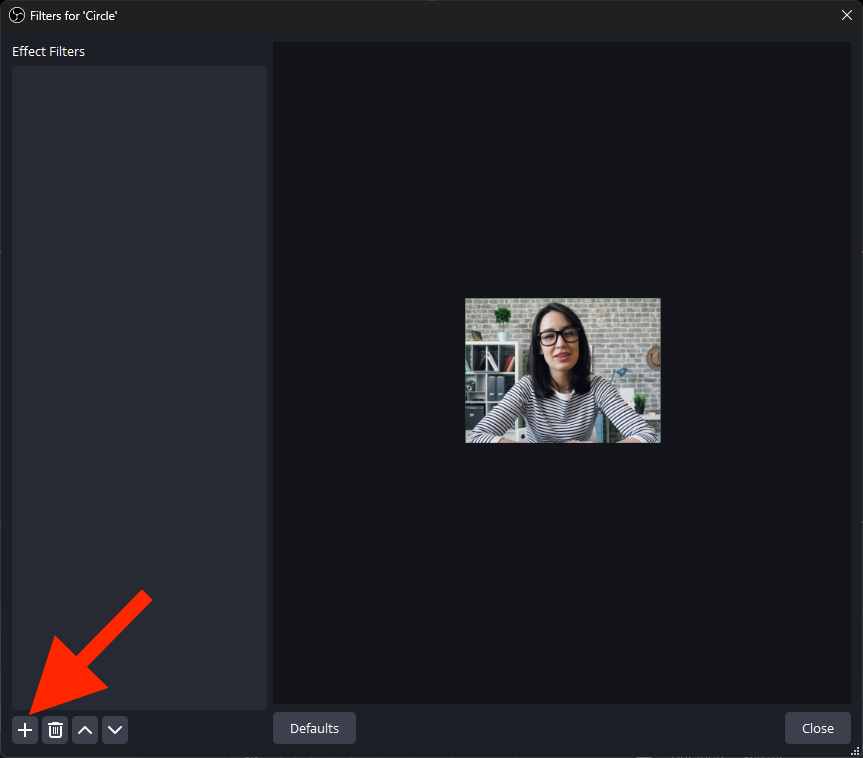
In the Filters panel, click on the + at the bottom left.
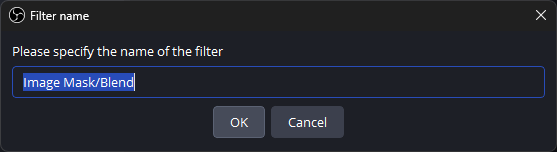
From the pop-up, select Image Mask/Blend.
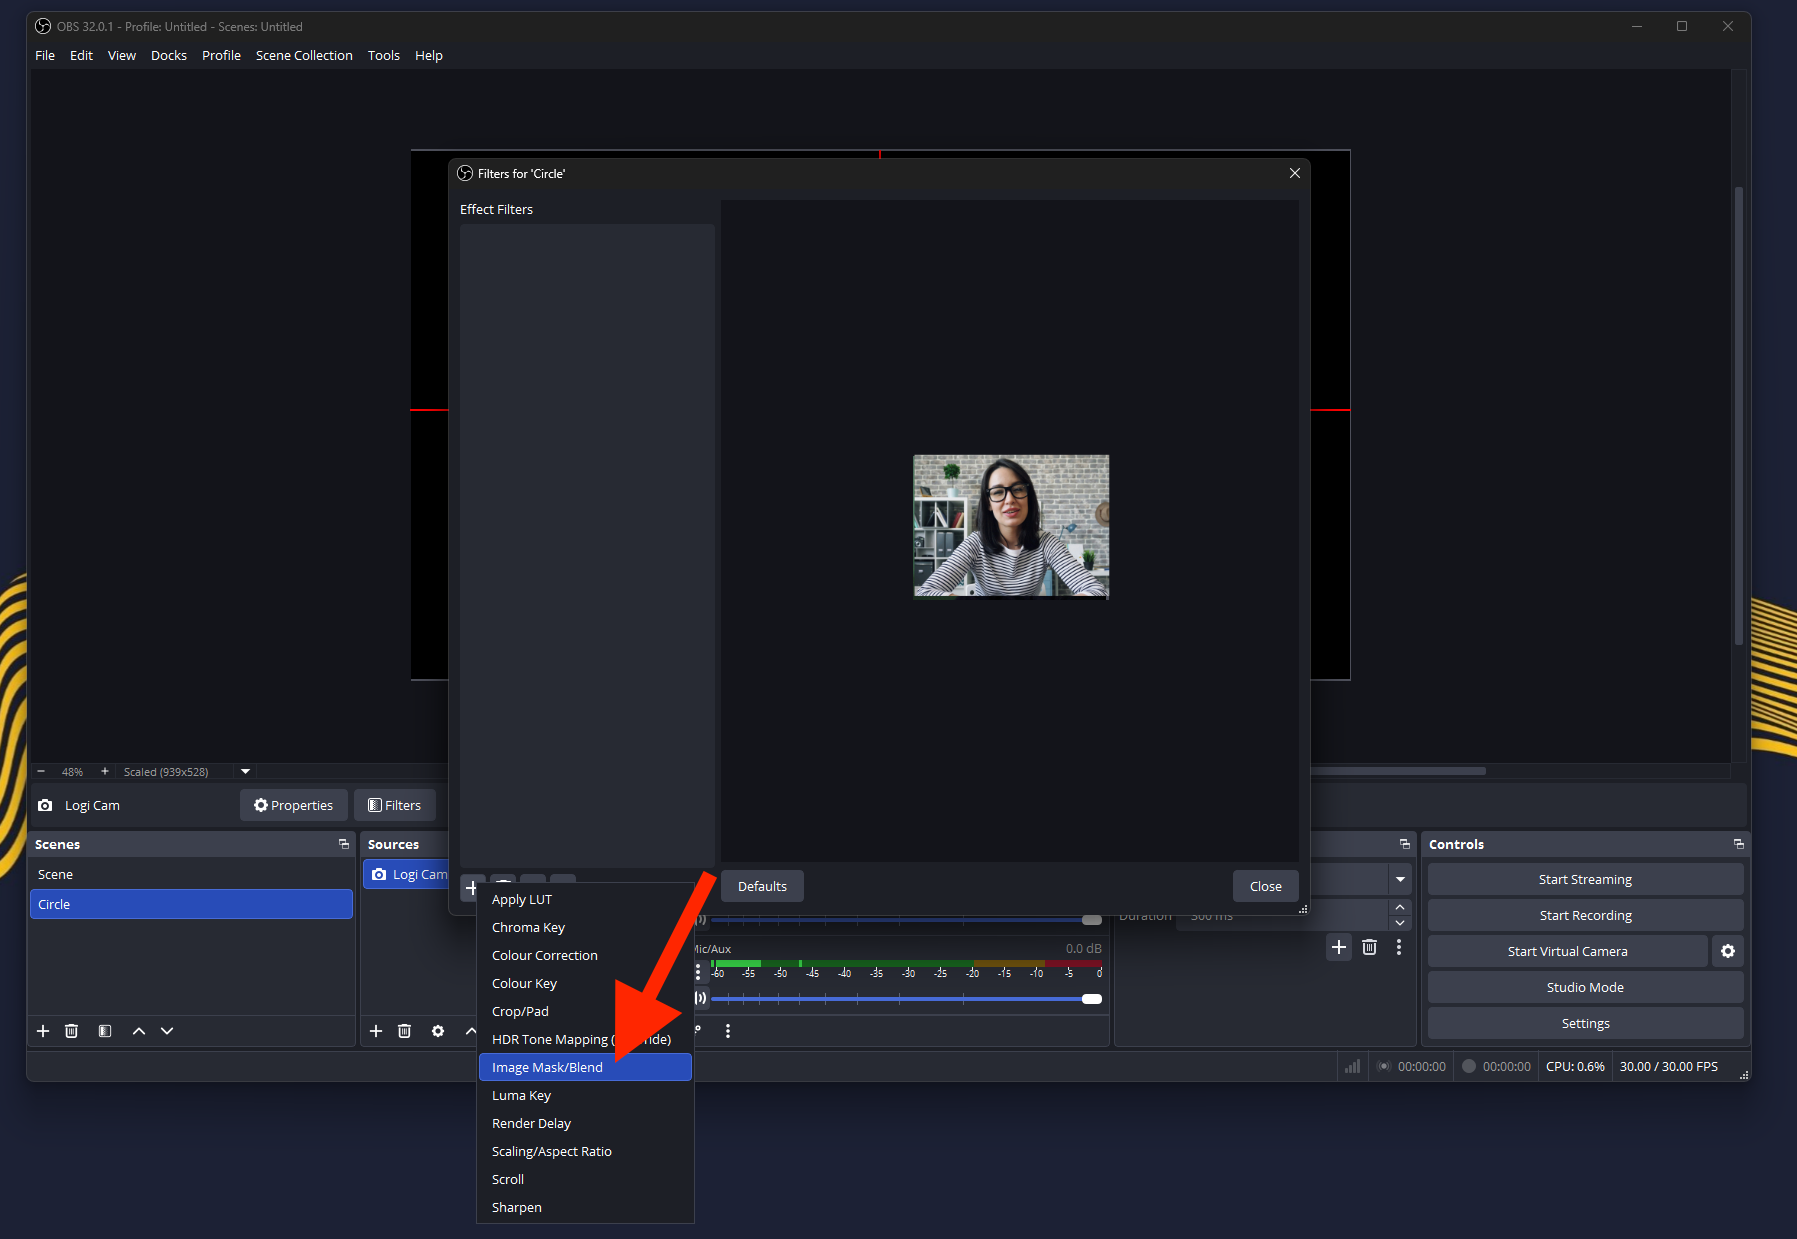
As we only have one mask, you don’t need to rename it, just click OK.
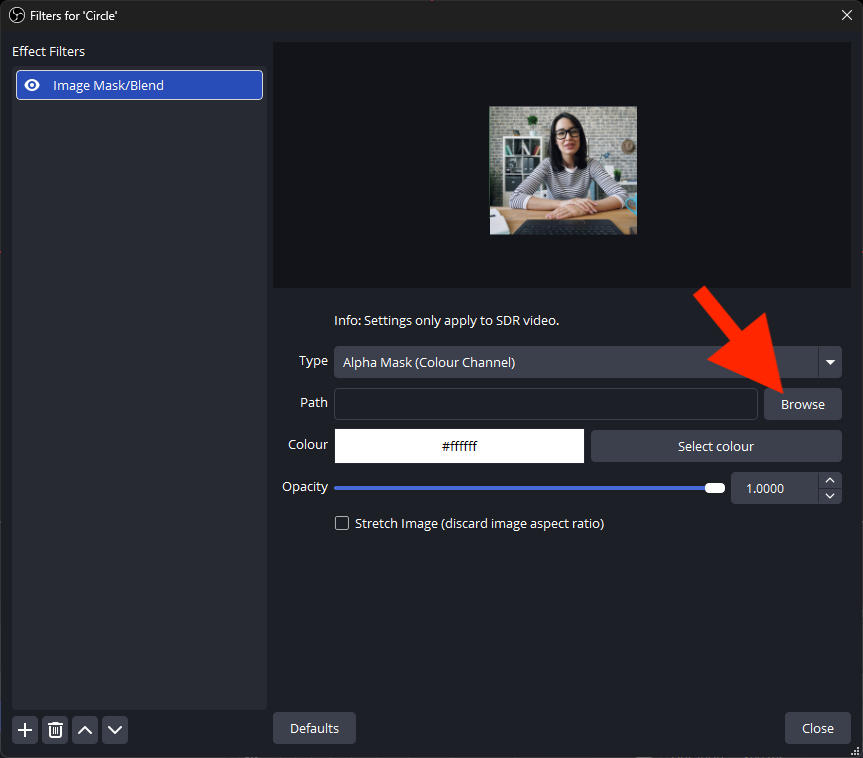
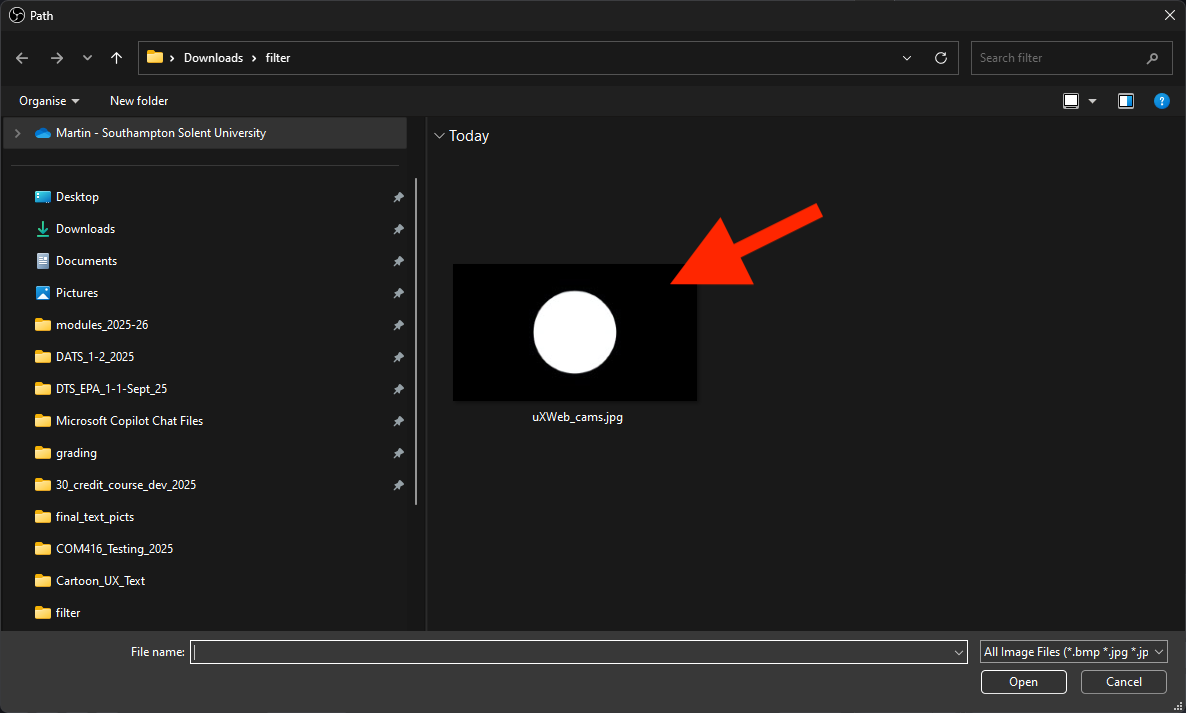
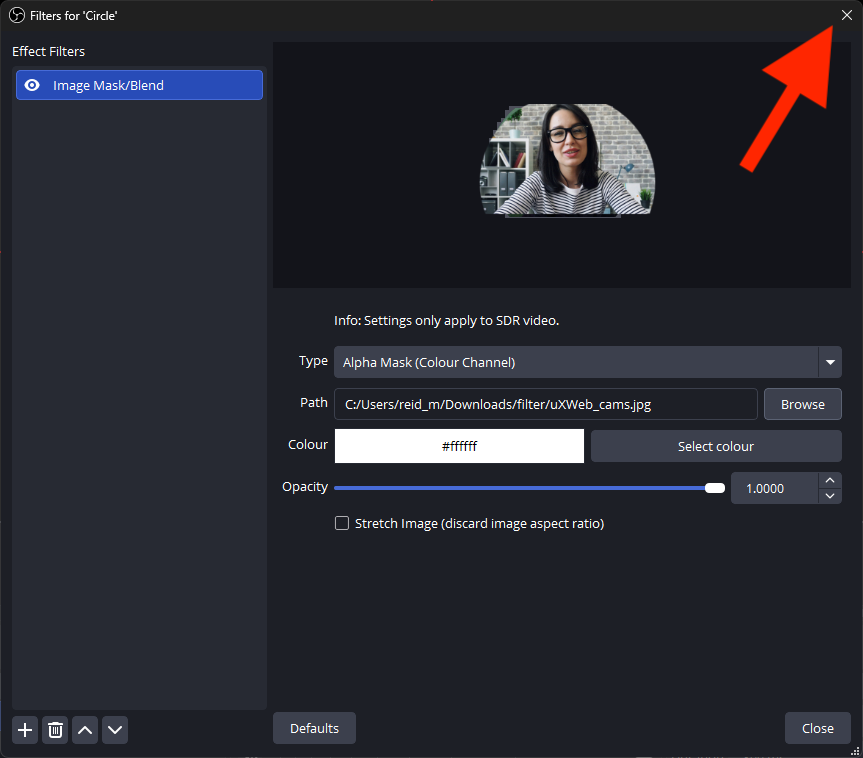
Browse for the mask image. This mask was created in PowerPoint: a black background with a white circle in the centre, saved as a JPEG.
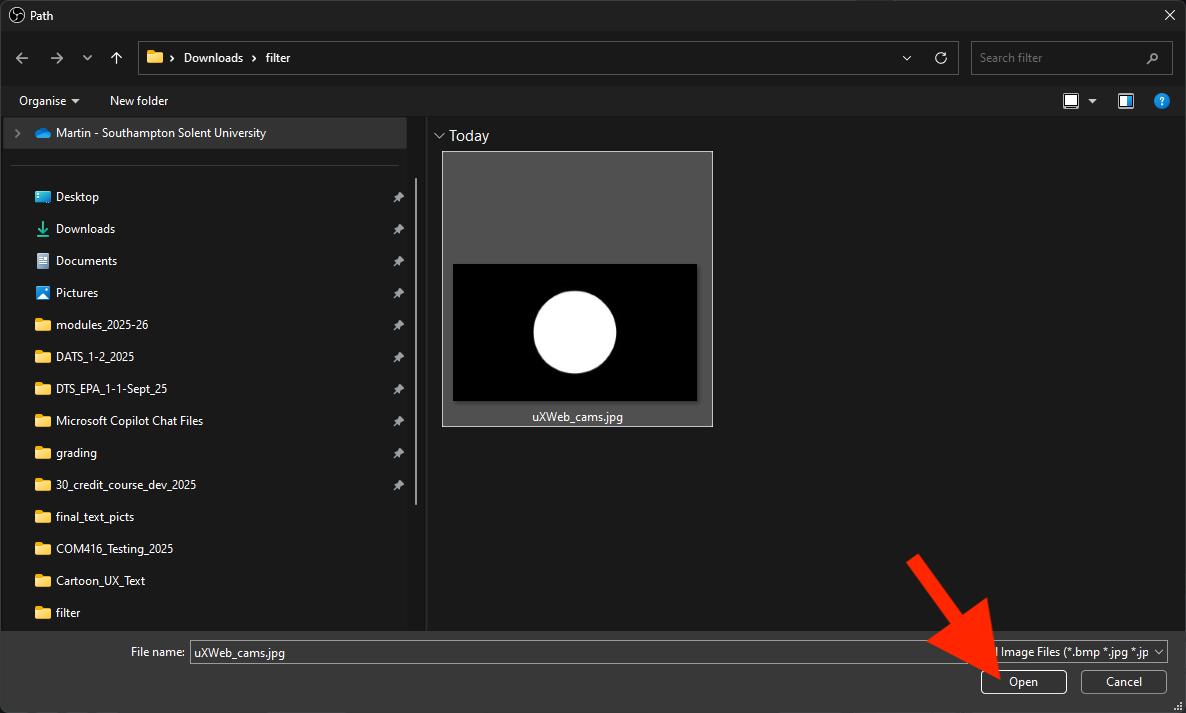
Click Browse, select the image, and click Open.
It should appear as a preview.
Select it
and close the Filters panel.
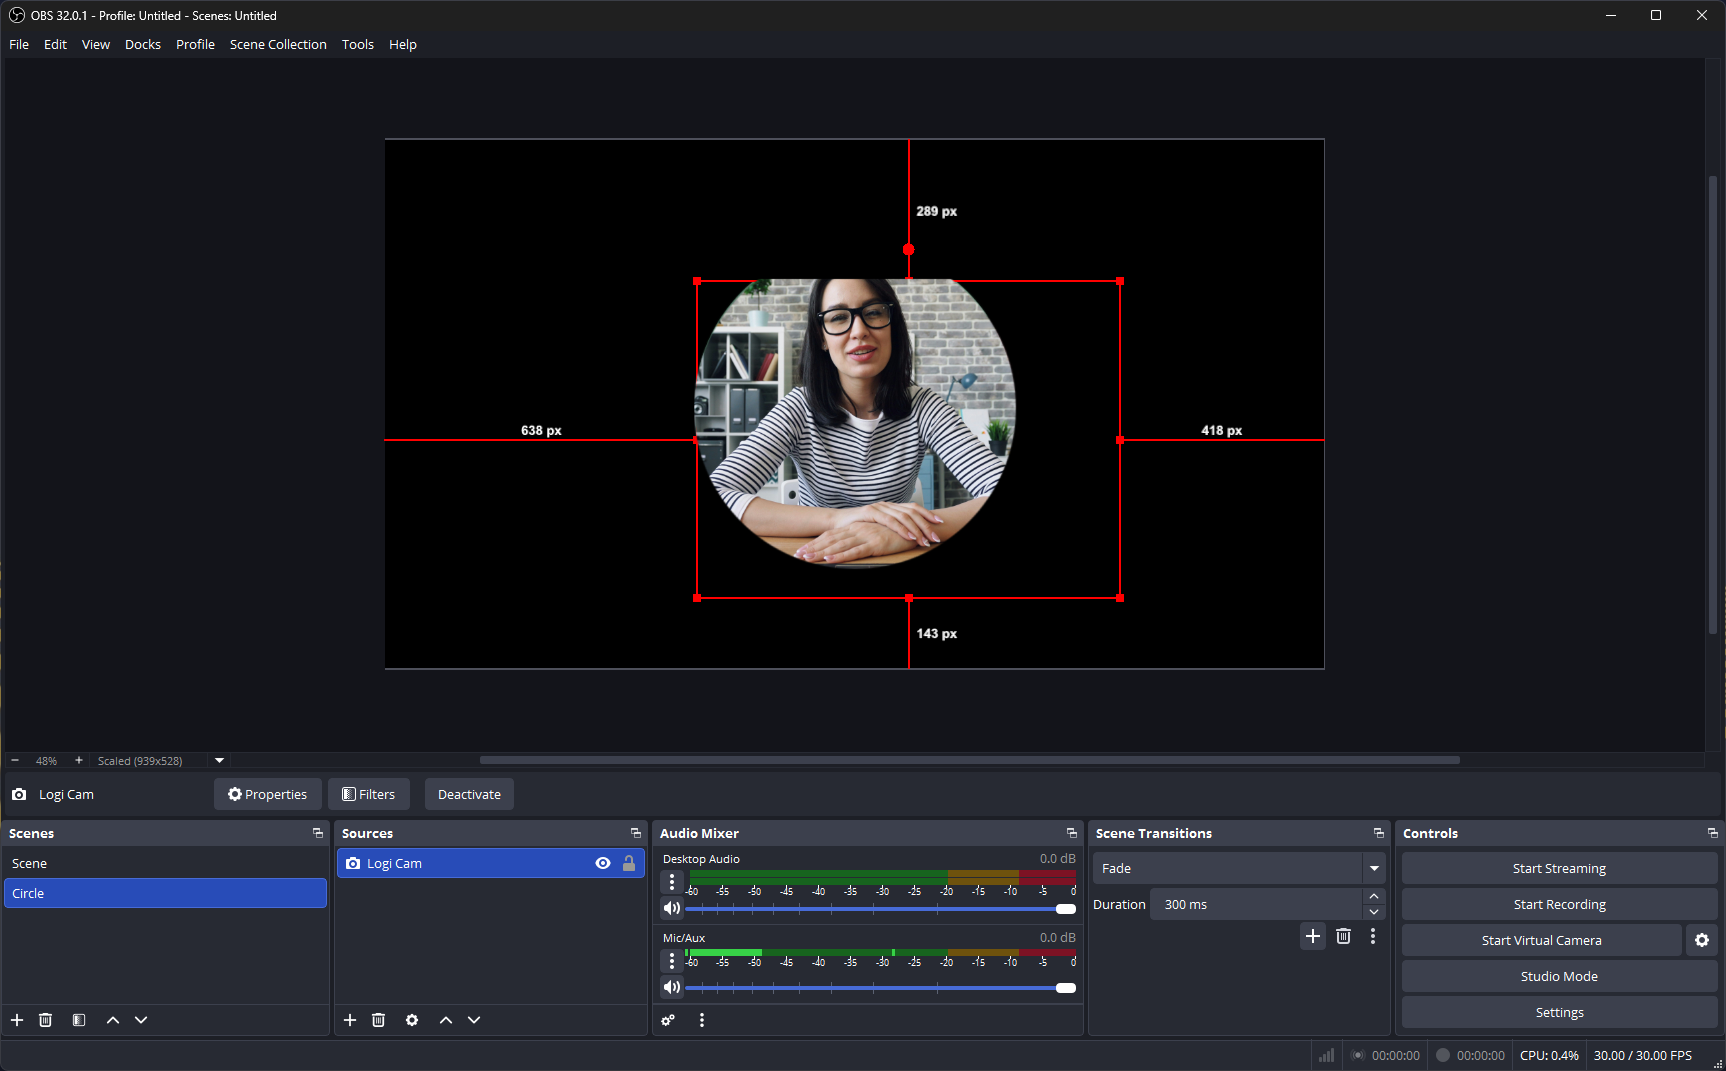
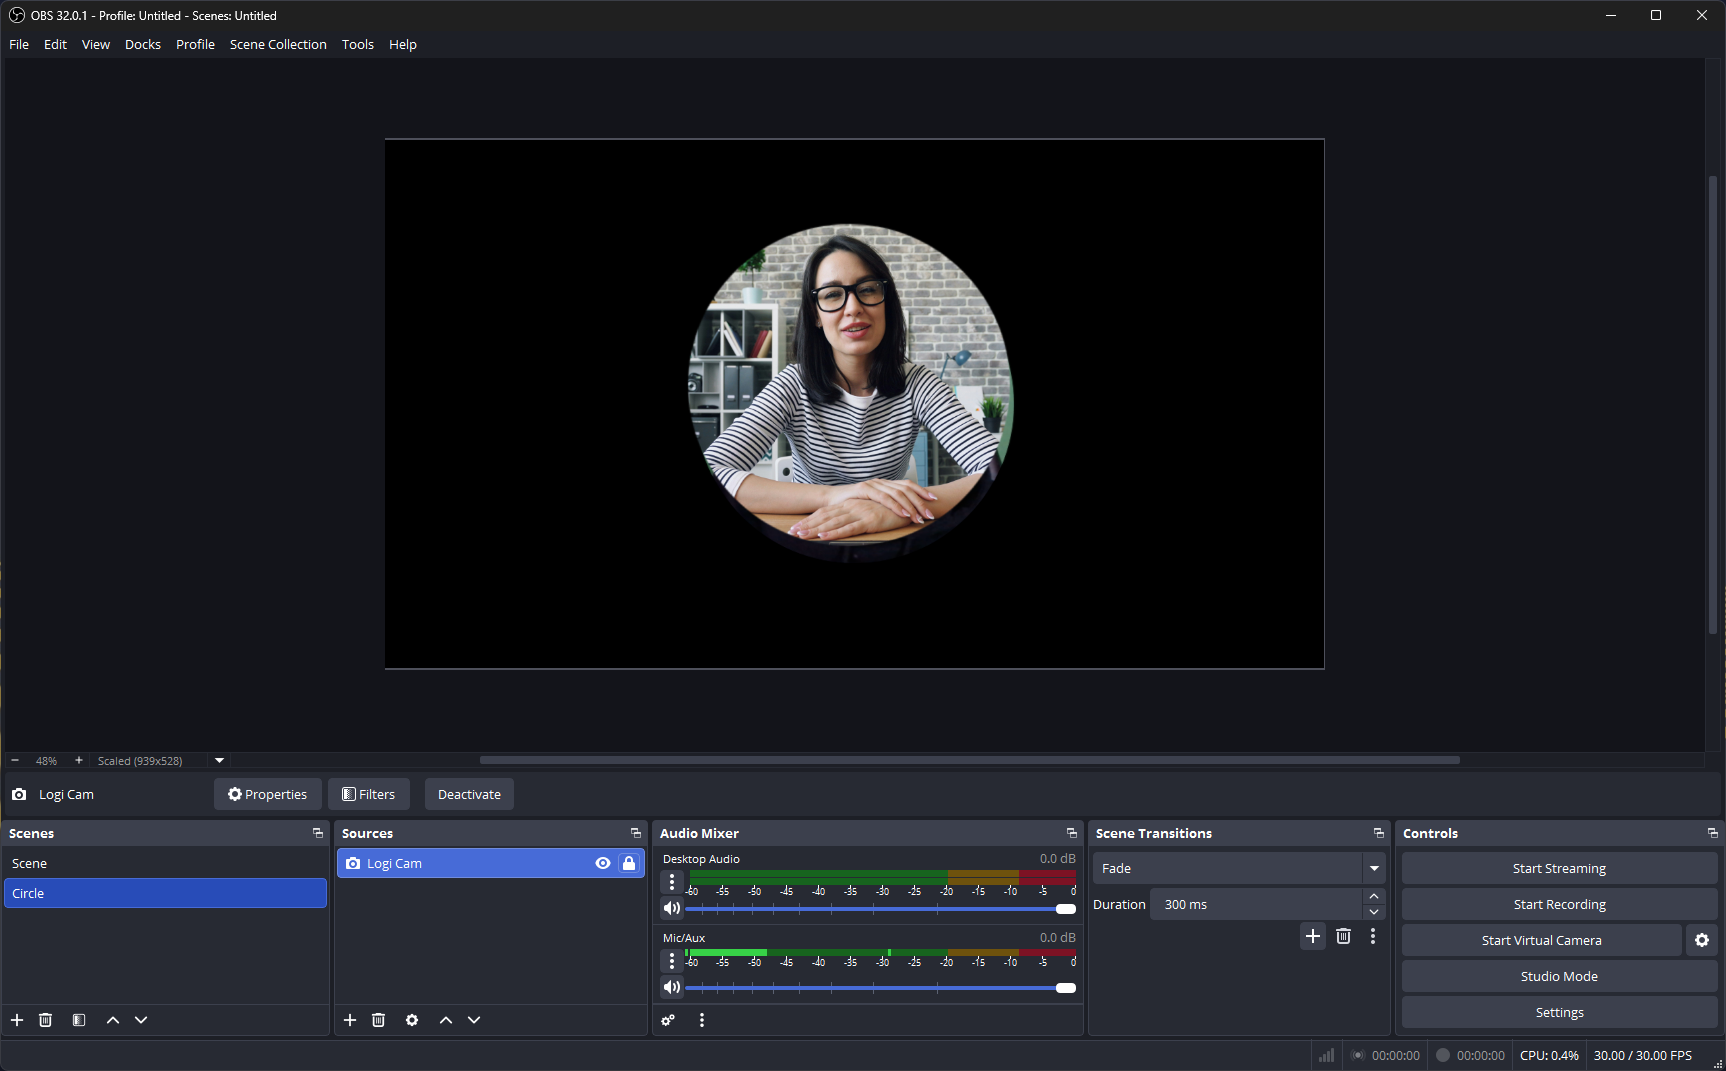
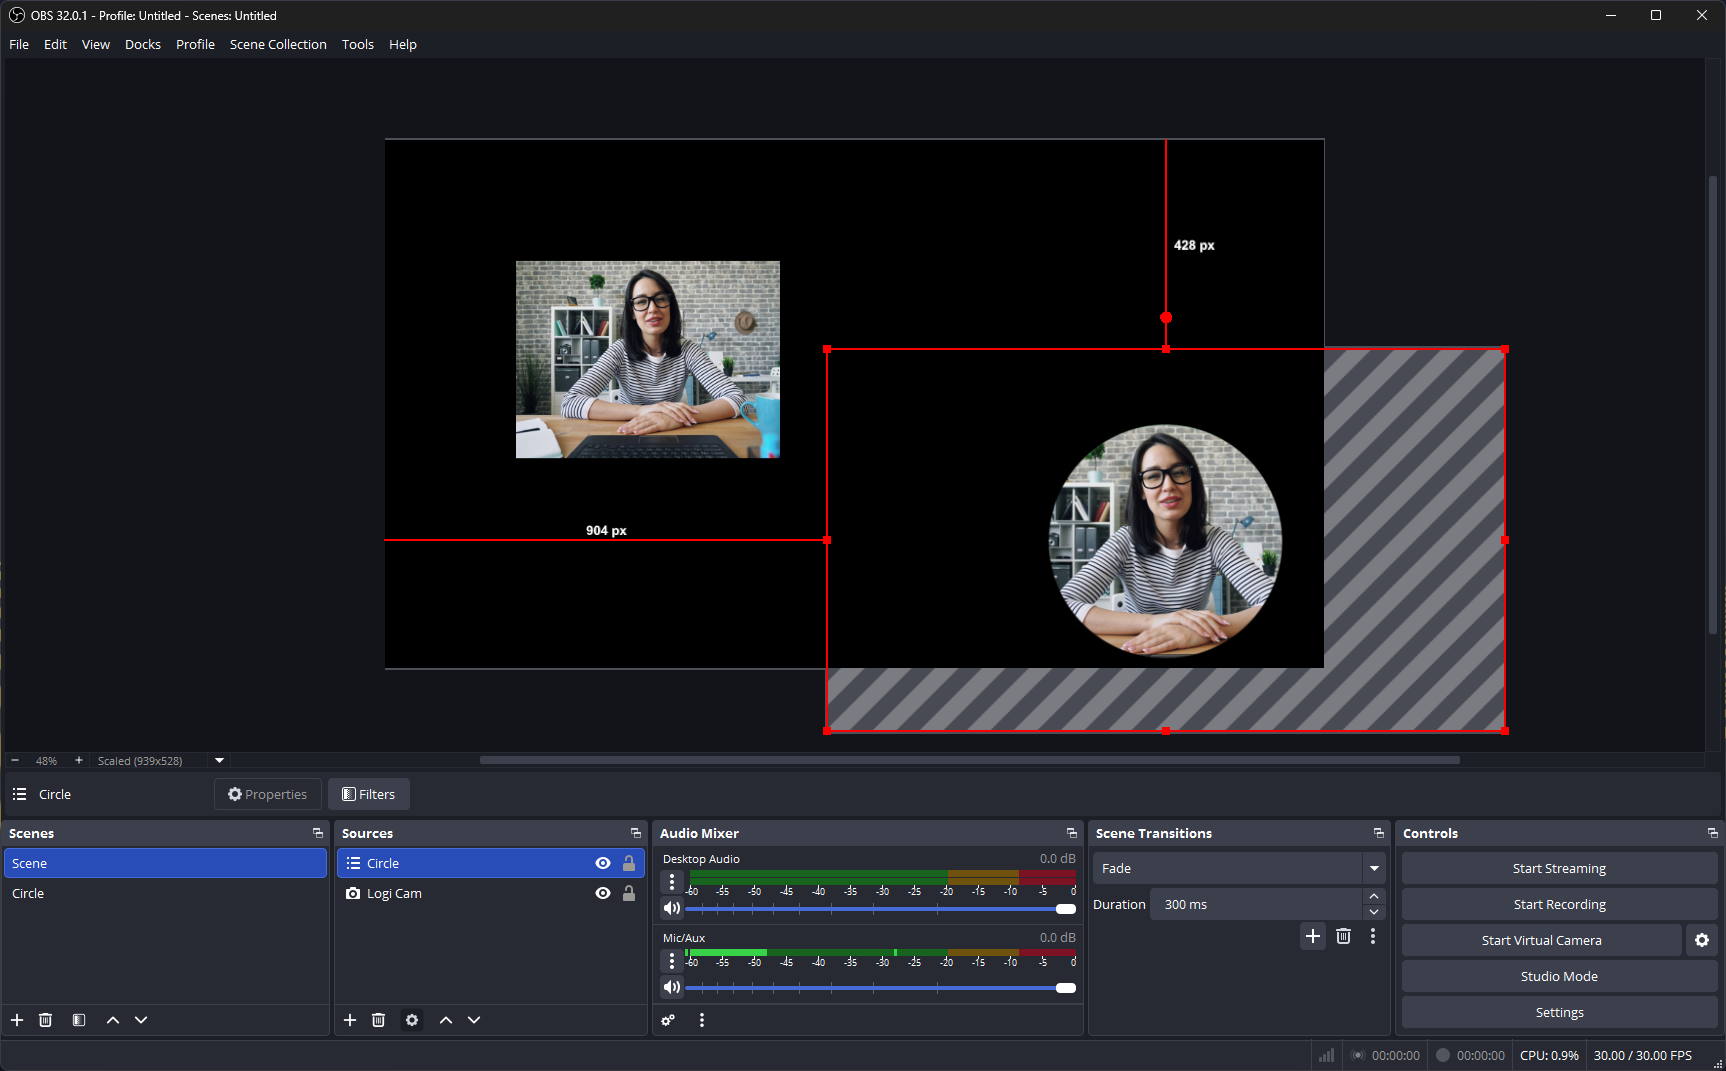
The webcam feed will now appear in a masked circle. It may not be perfectly aligned.
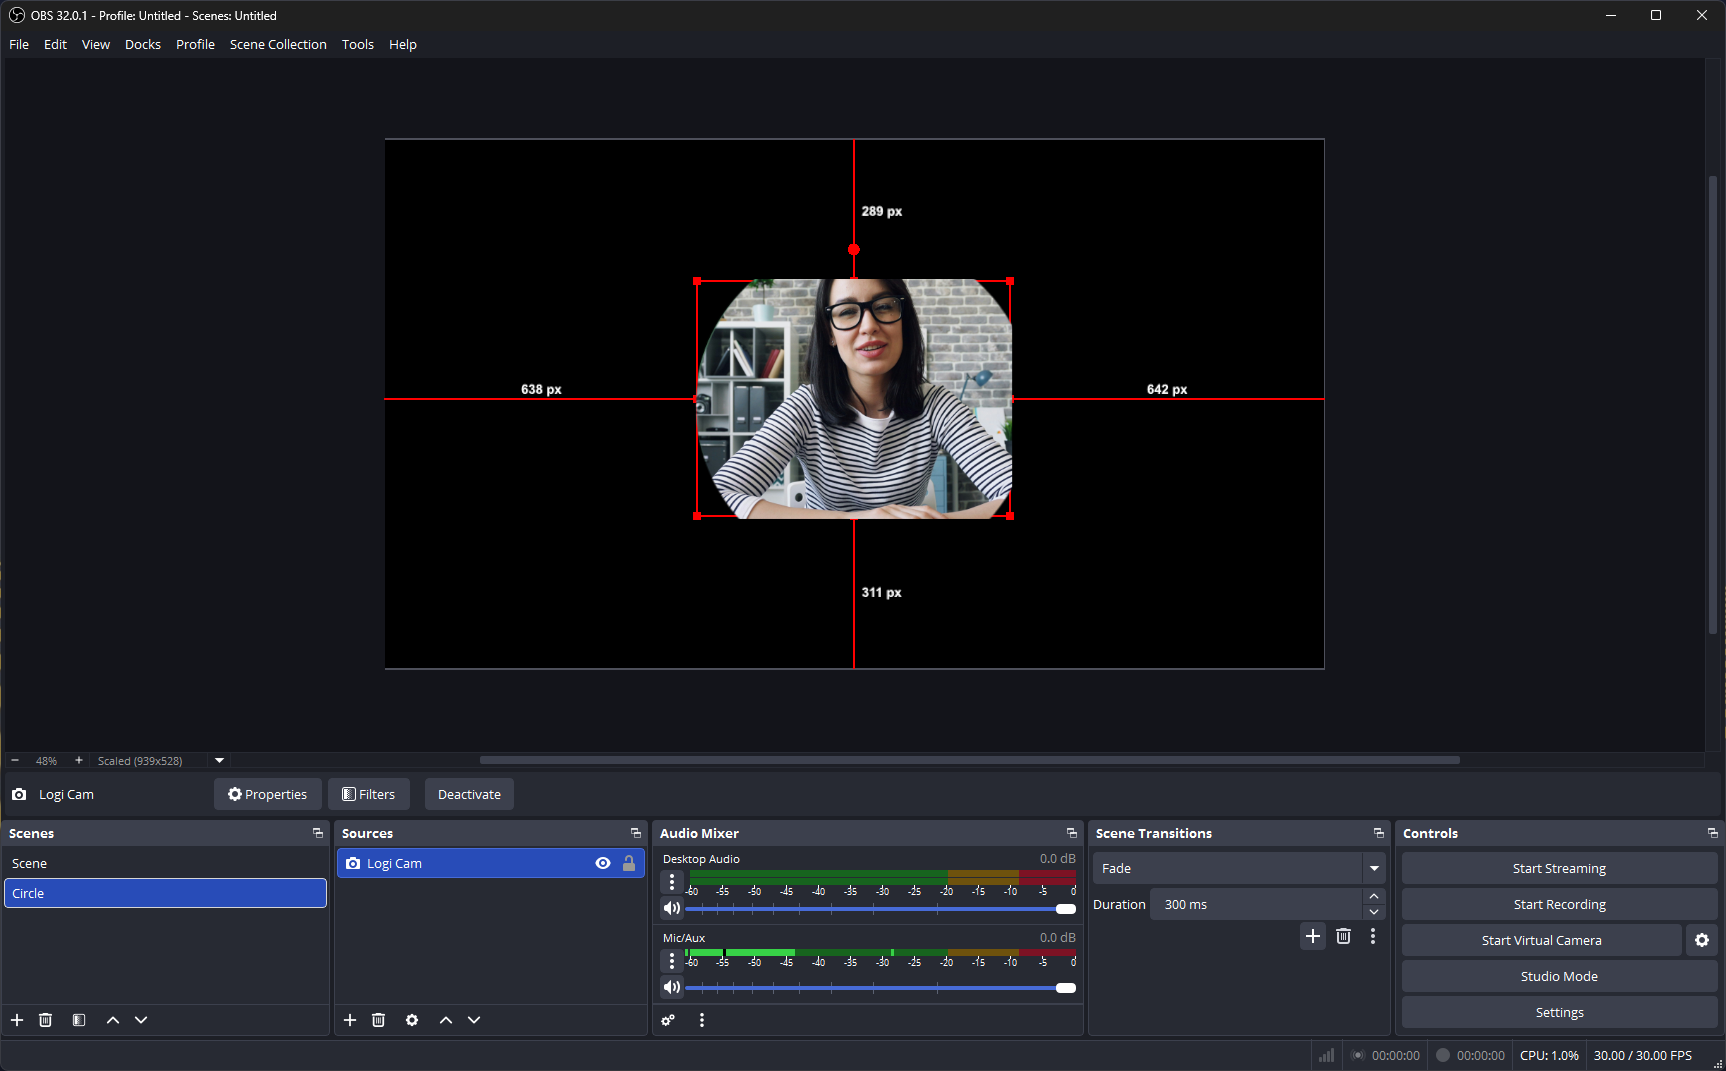
Adjust it by resizing the bounding box and dragging it to centre align.
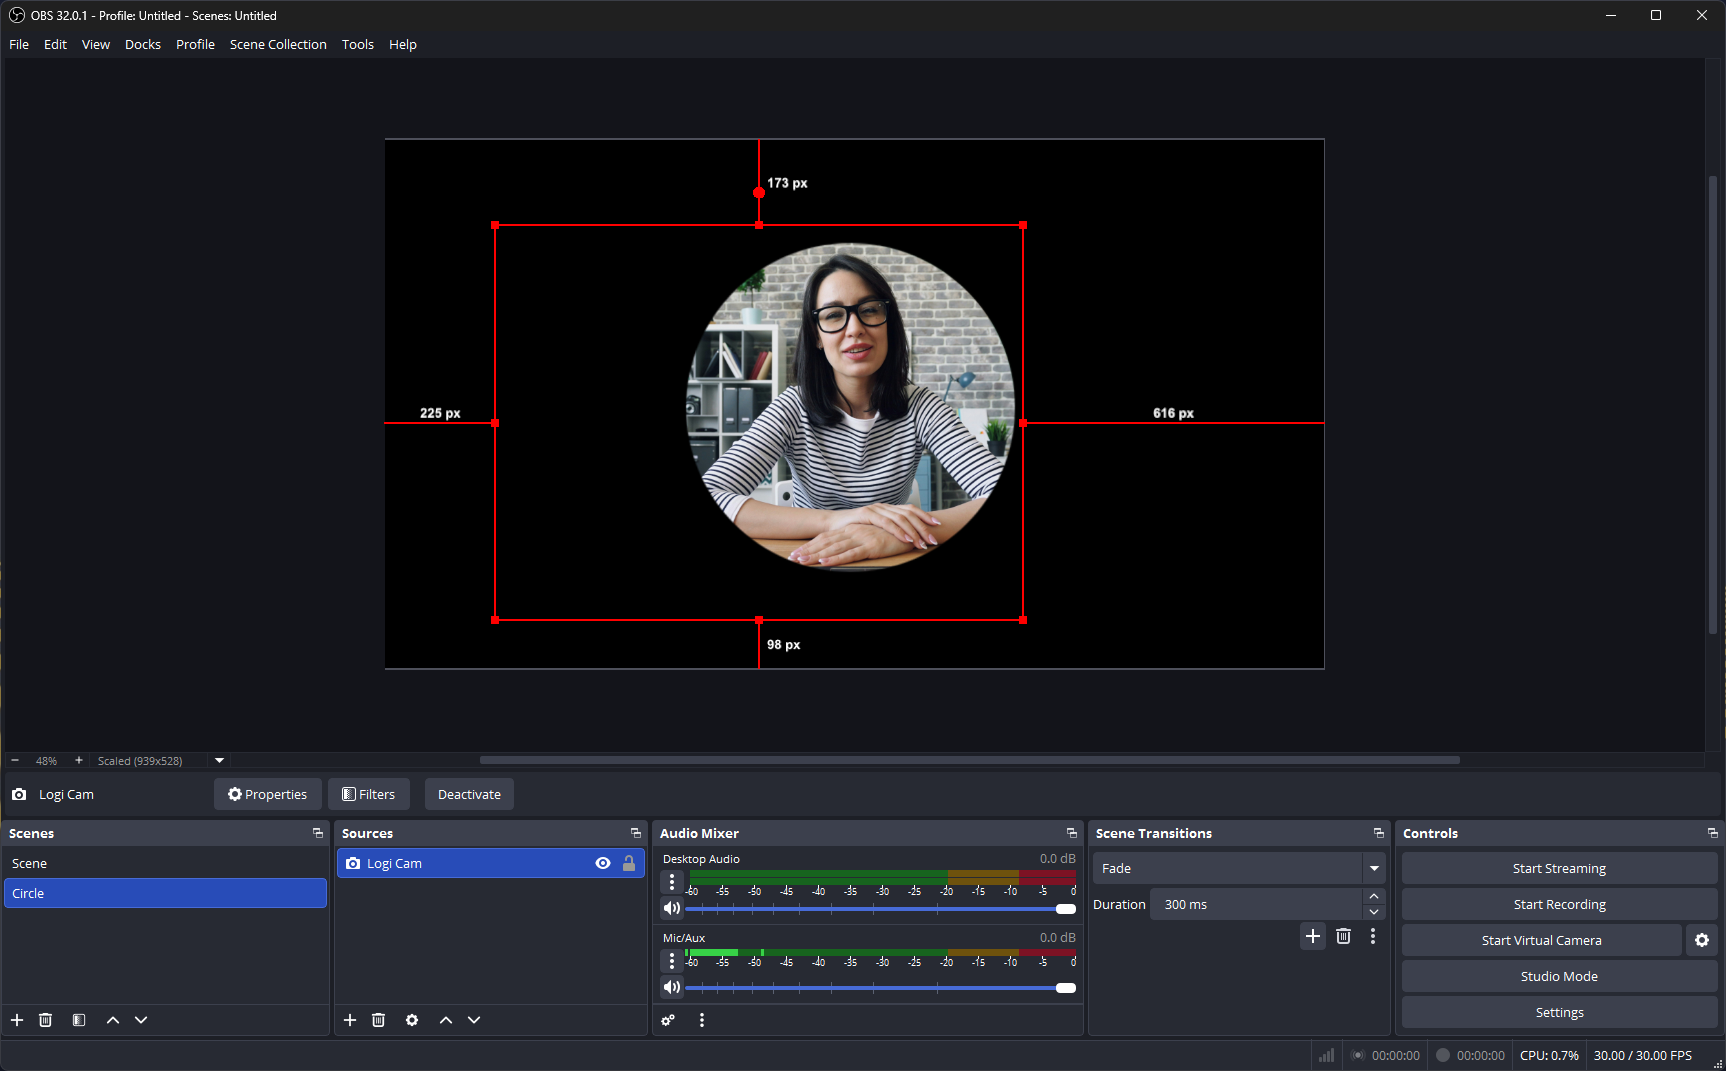
Click outside the selection to preview, and click the padlock in the Sources panel to lock the mask to the image.
Go back to the main scene in the Scenes panel.
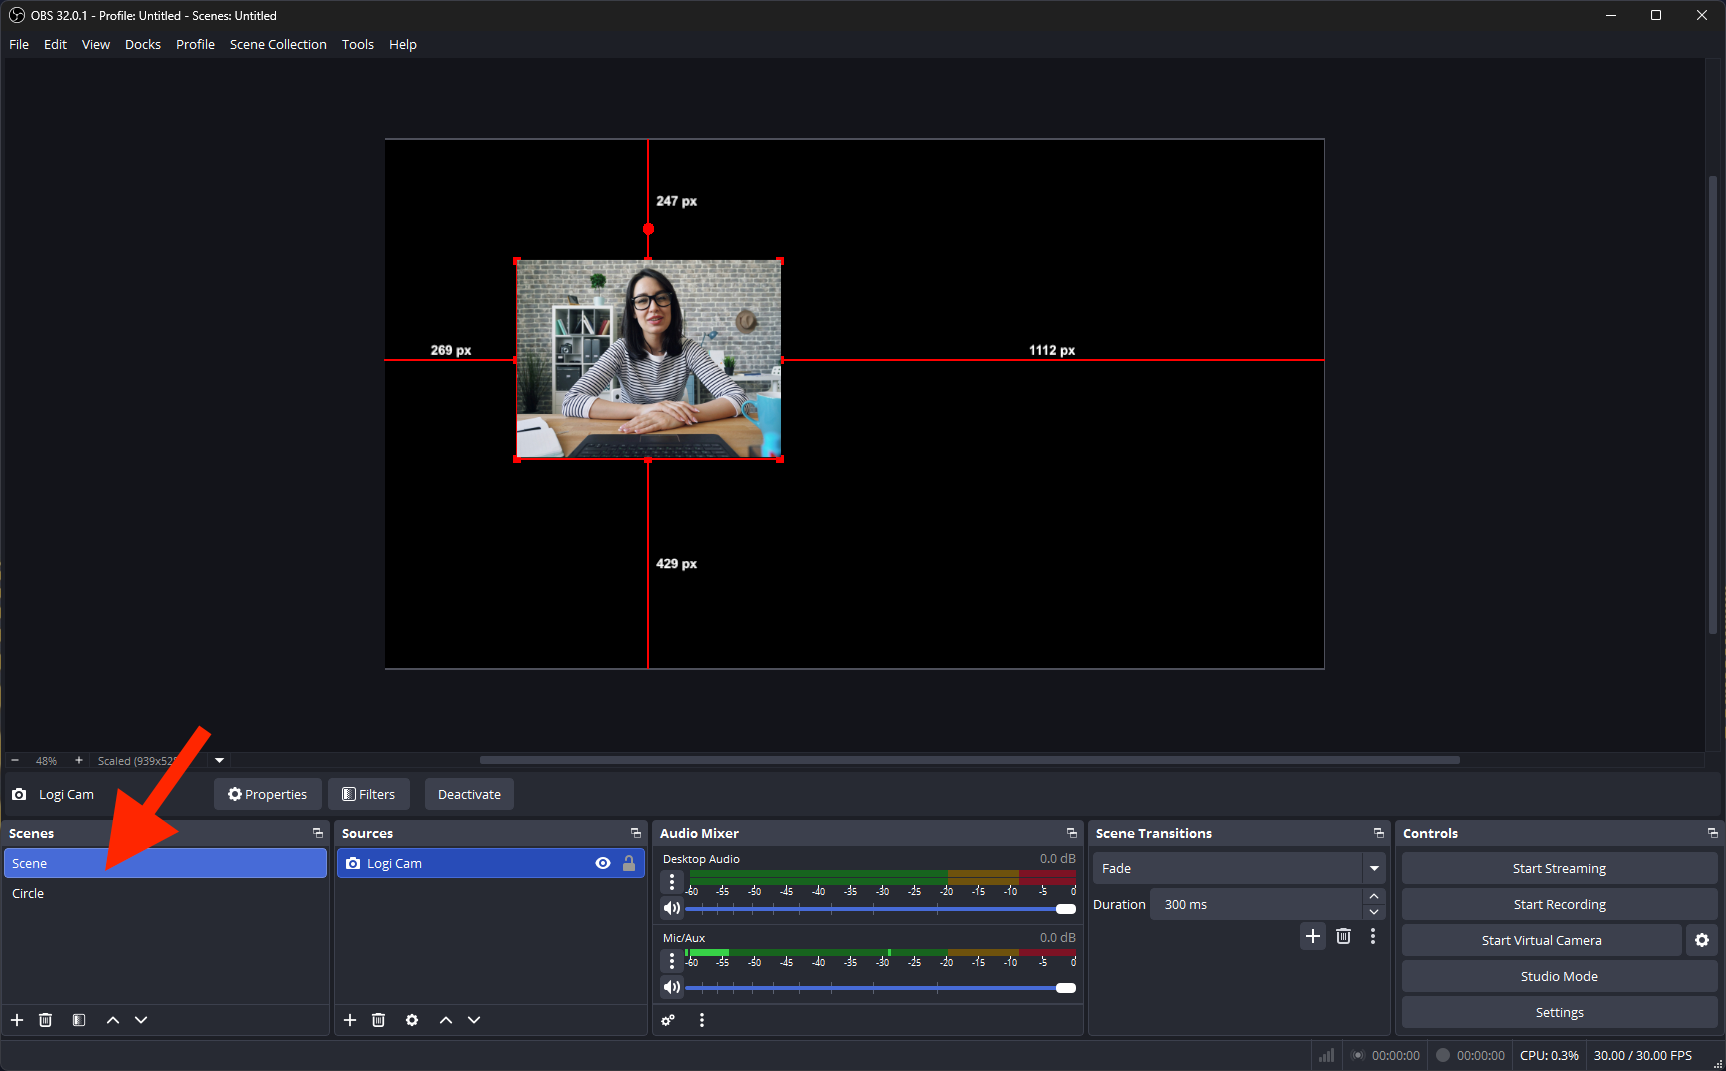
In the Sources panel, click on the +
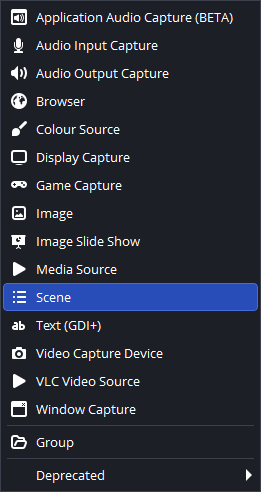
select Scene, then click Add Existing and choose the Circle scene. Click OK.

This will add the circular webcam feed alongside the original image.
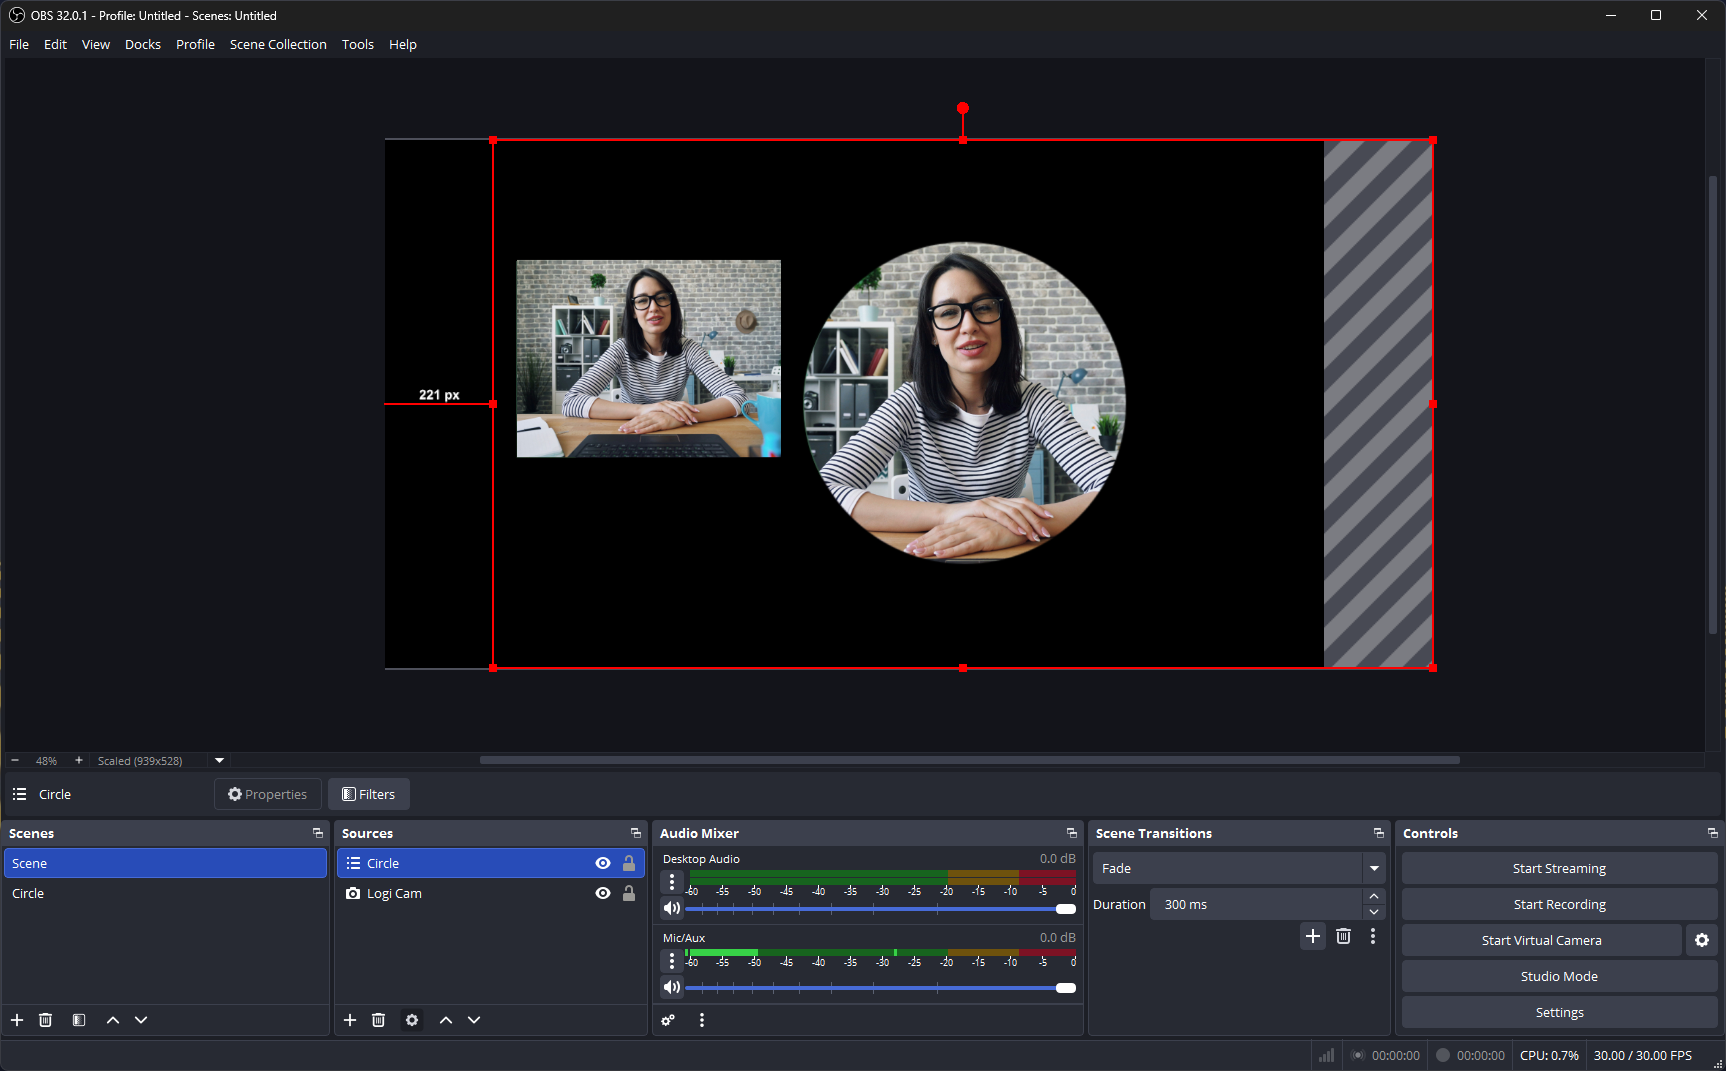
You can rescale and move it, although it will have a large bounding box.
Turn off the original webcam feed. 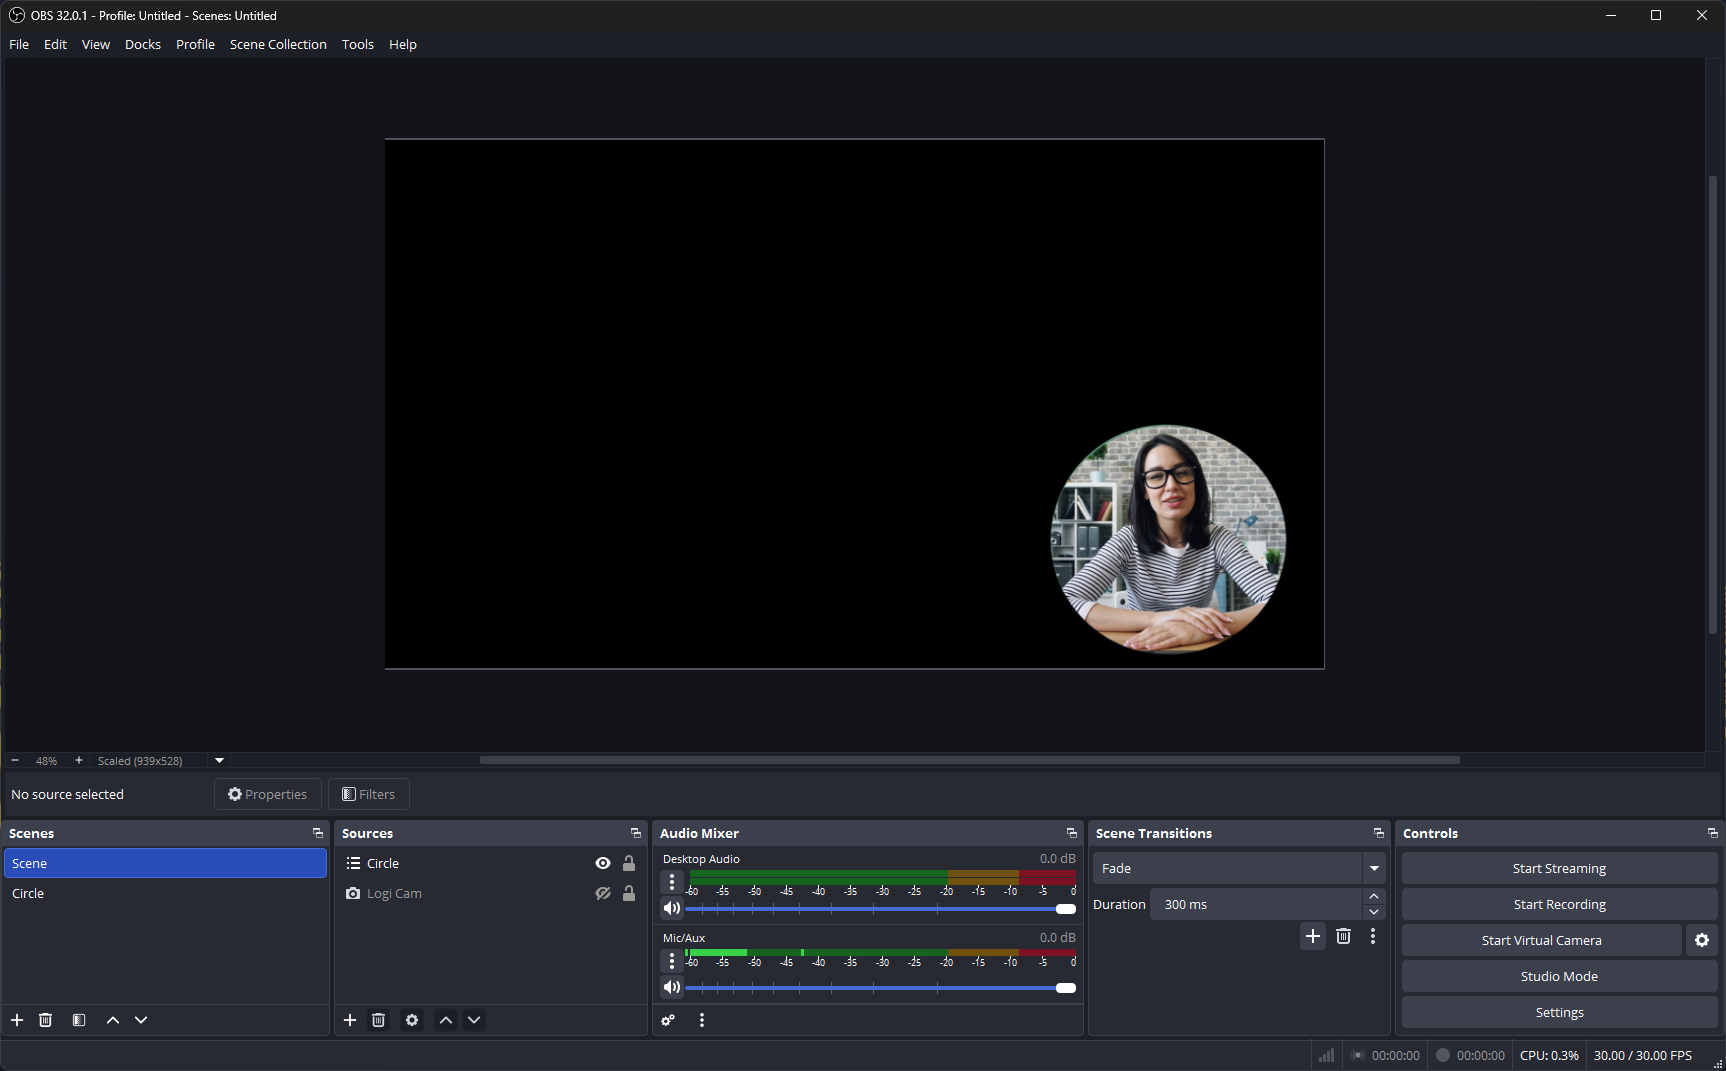
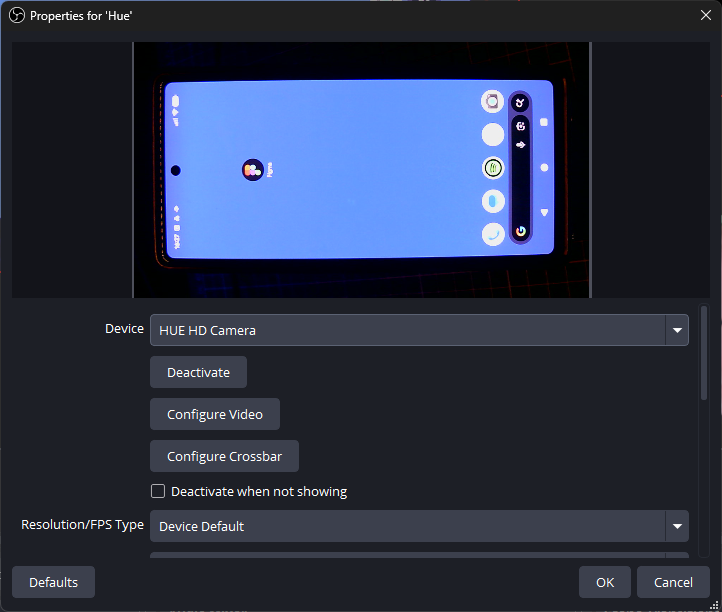
Click on the + in the Sources panel and select Video Capture Device.
Name it Hue and click OK.
This will bring in a video feed from a phone in the cradle. Click OK.
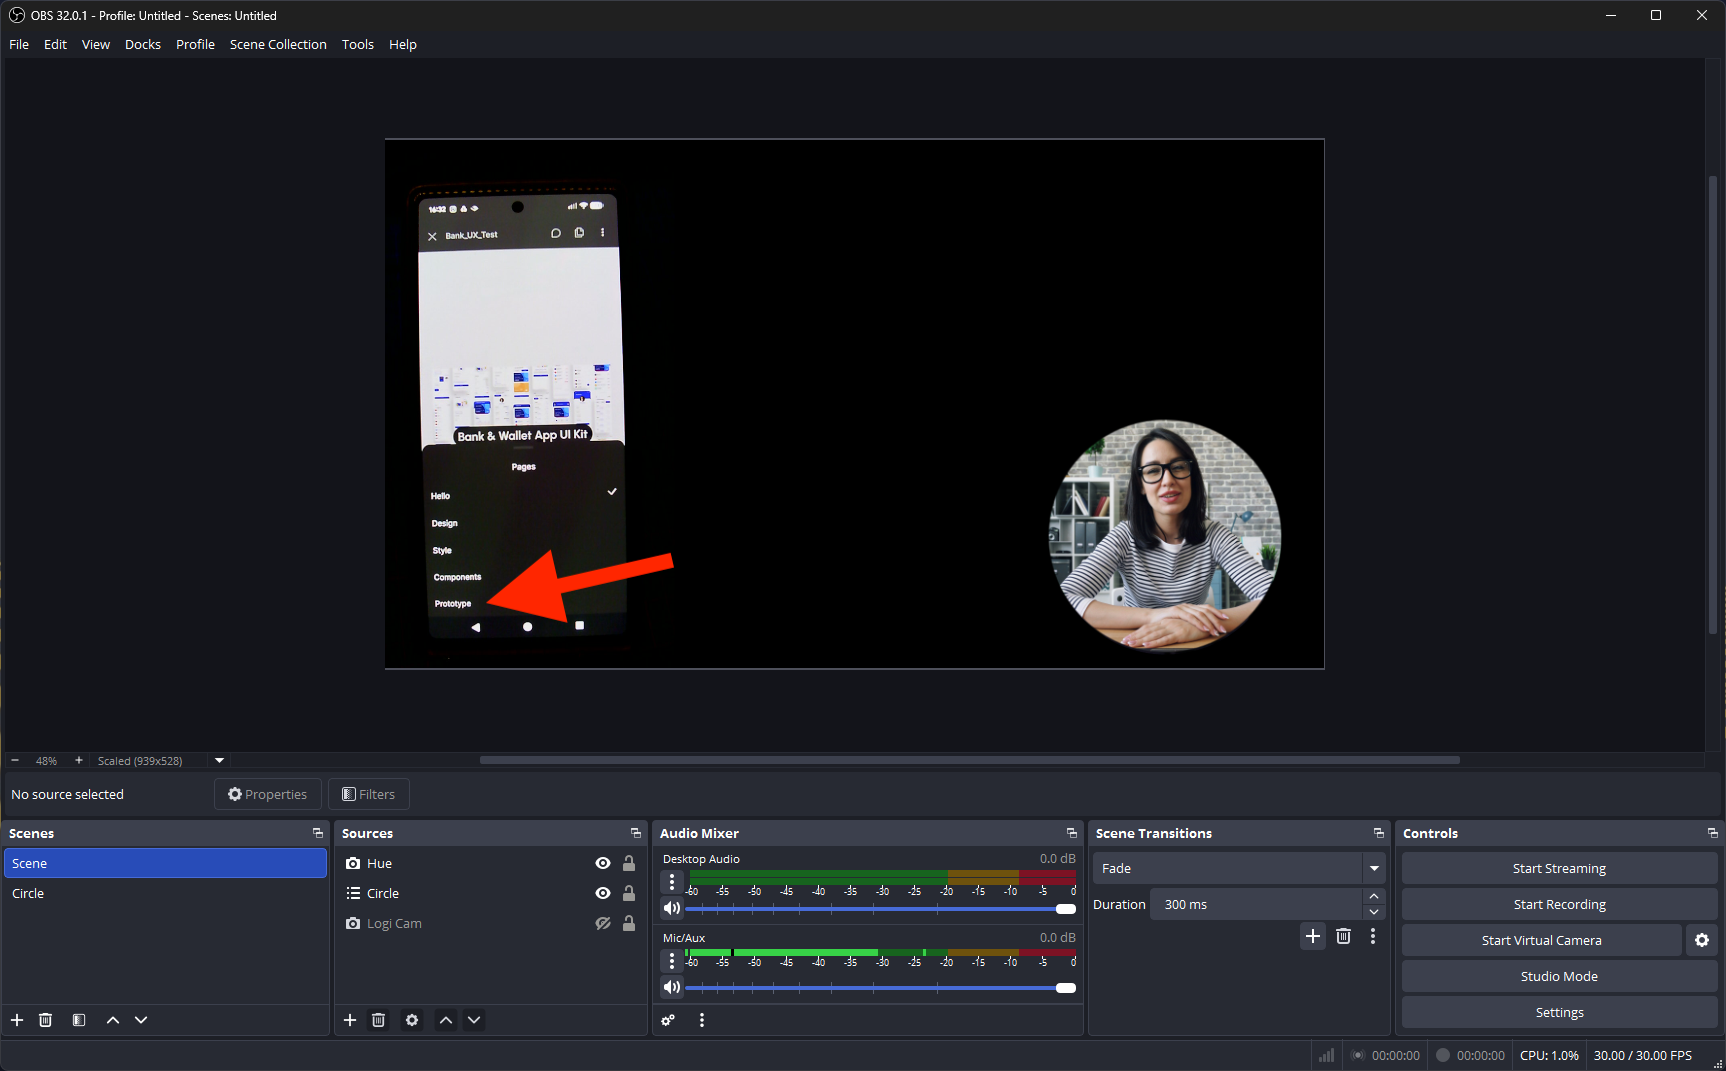
Right-click on this element,
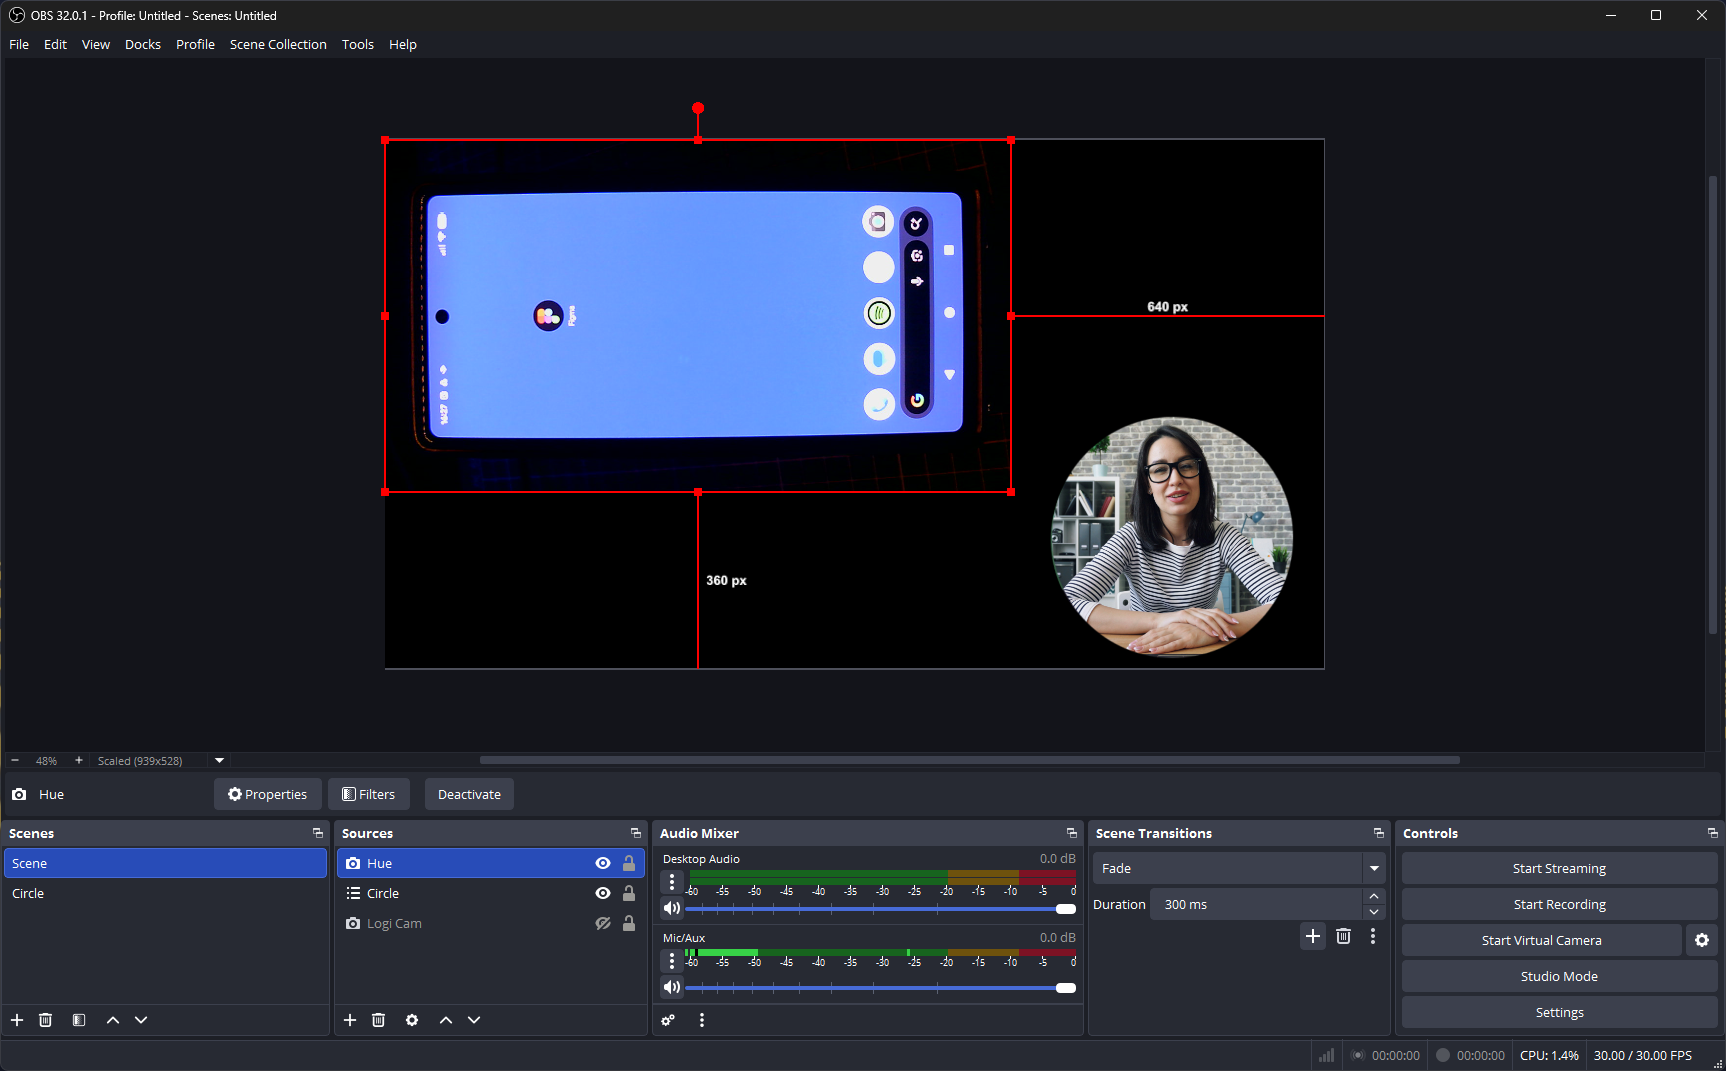
select Transform, then choose Rotate 90° Clockwise.

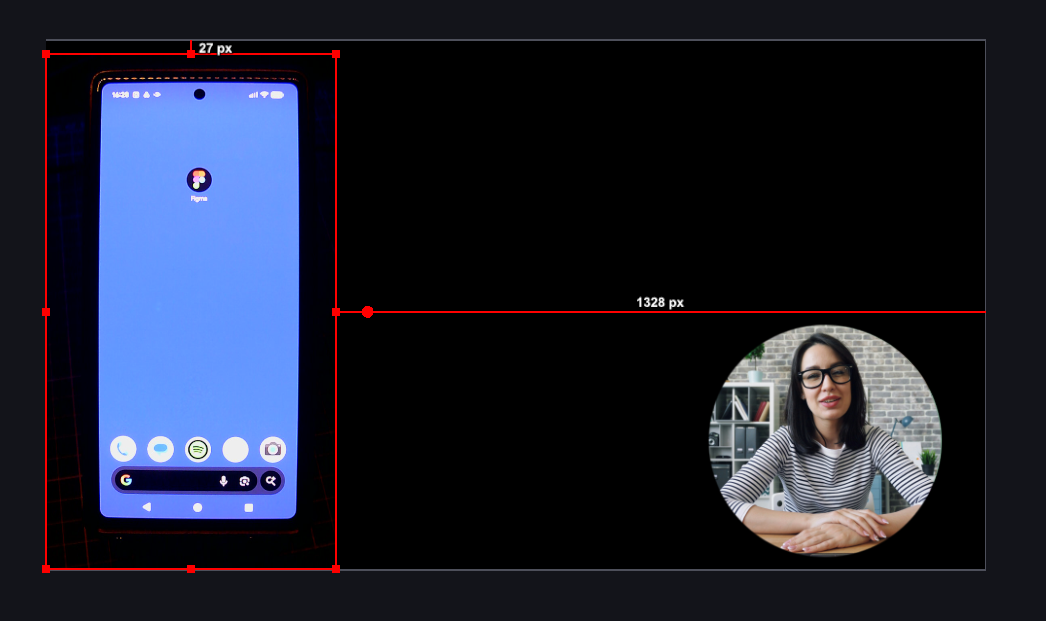
The phone will now be the right way up. You may need to adjust it in the cradle to centre it within the webcam’s field of view.

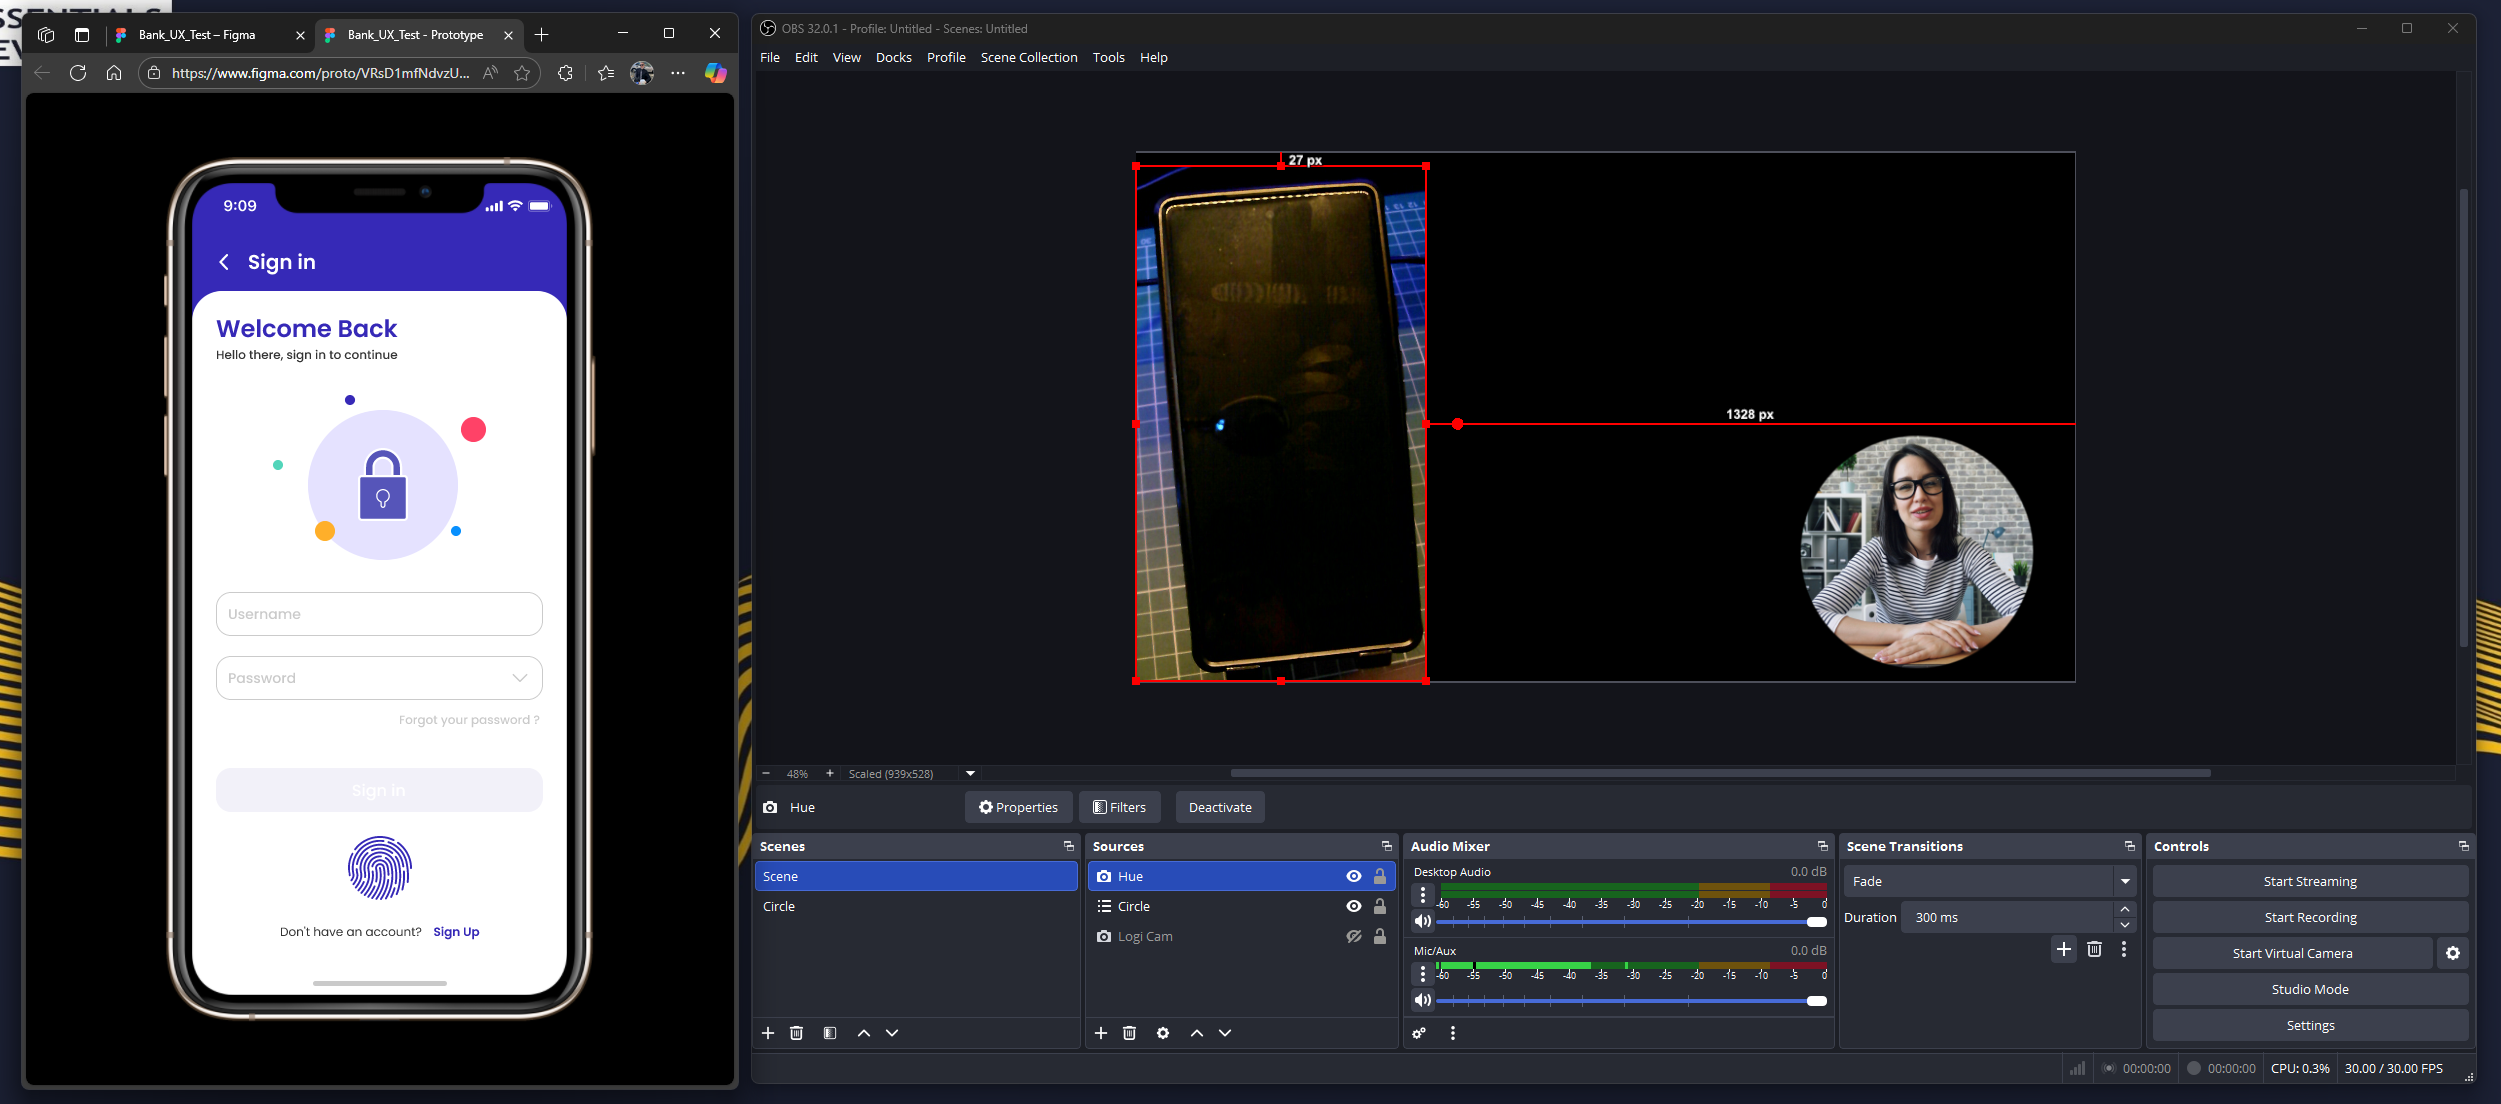
Open your Figma design and select Prototype from the properties panel.
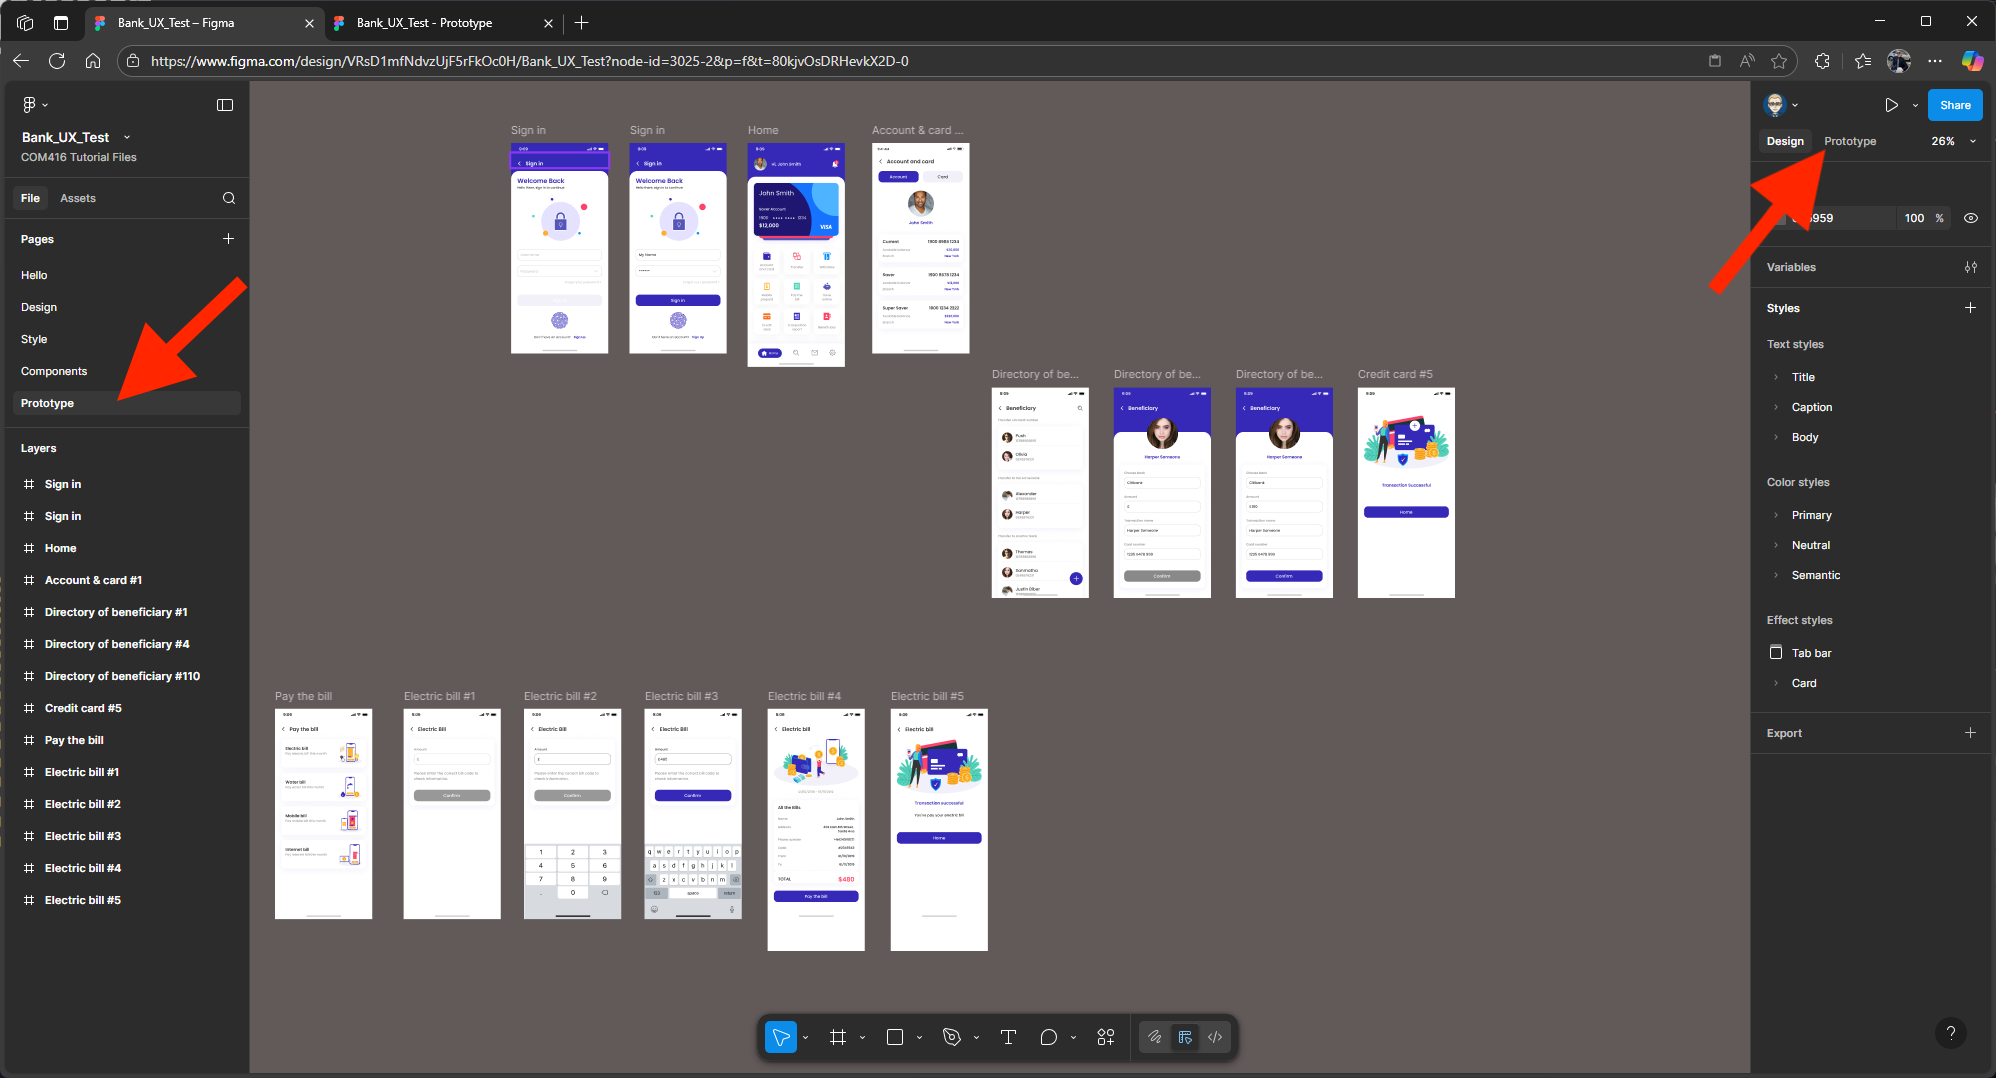
Your prototype will render in a new tab.
Make sure you are on the Figma page where your Prototype is - in this case the page is called Prototype
Click the three dots (top right) and choose View Prototype.

Back in the Figma preview, you may see duplicate profiles
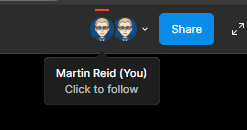
One for your login on the device and one in the browser.
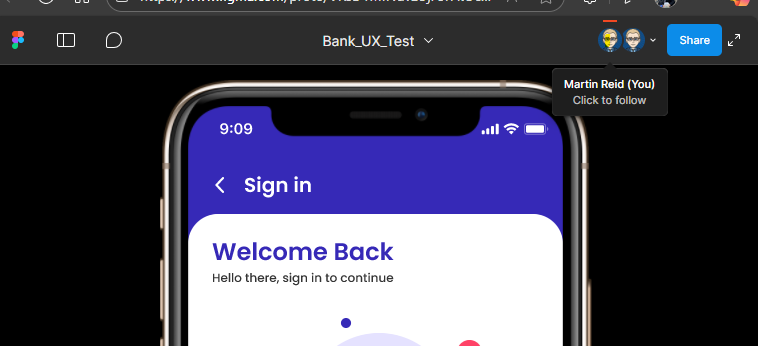
Select the device login to follow.

In OBS Studio, click +
Select Window Capture.
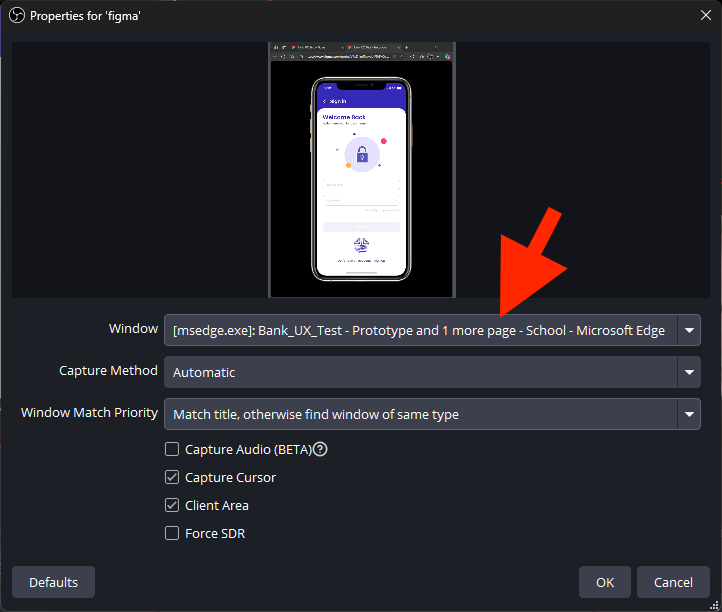
Name it Figma and click OK

Select the browser page where the Figma Prototype is
You will now have the Figma feed and the feed from the Hue Webcam on the testers ohone screen
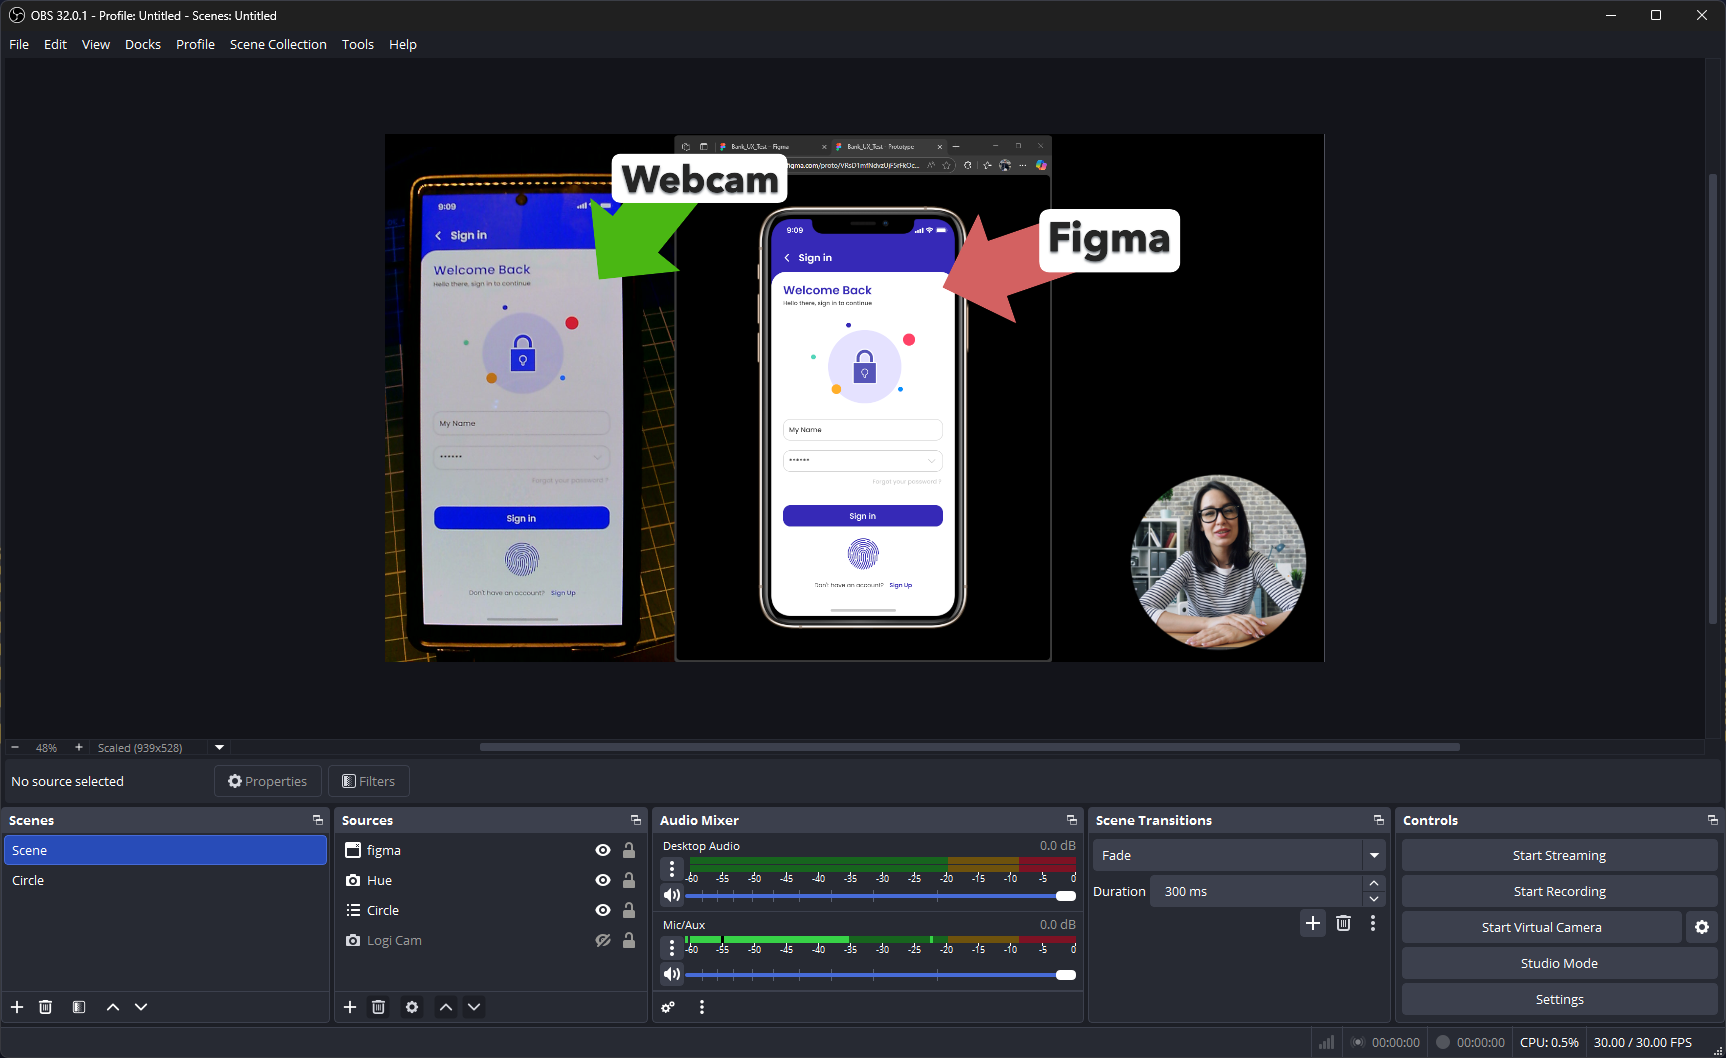
Now when you interact with the Prototype on the device it with reflect in the Figma Prototype on the computer
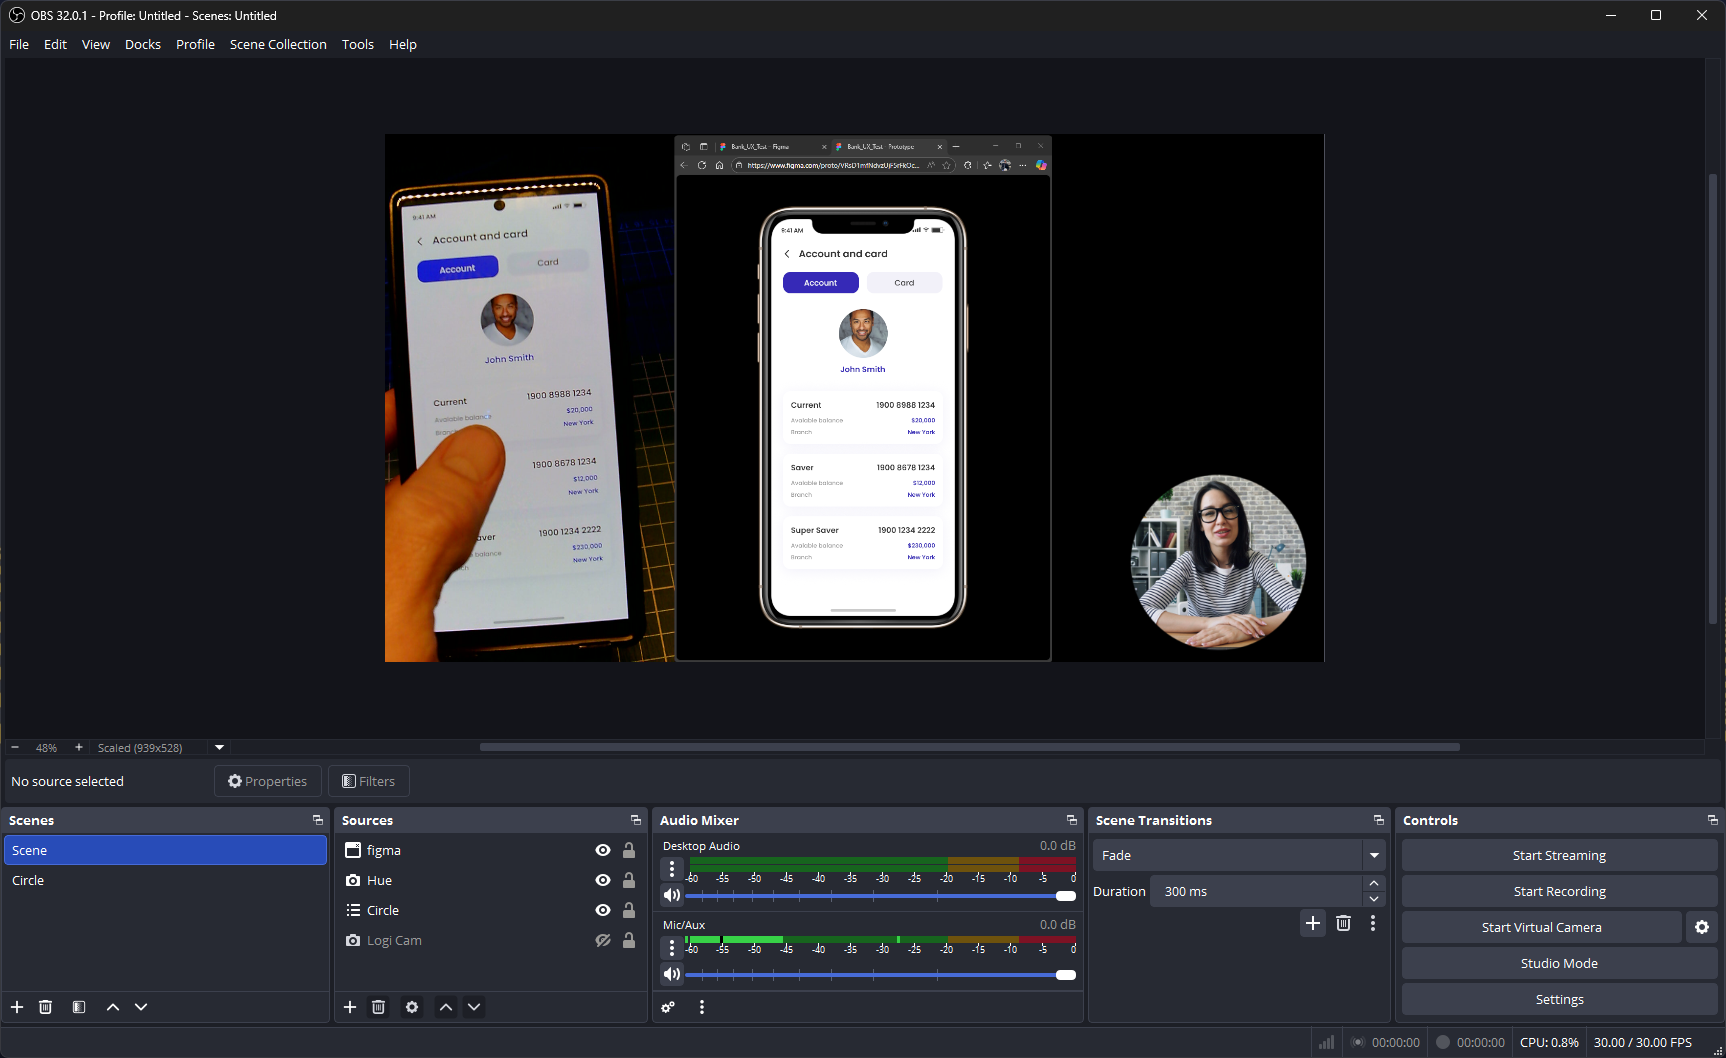
You will now have:
- The webcam feed of the presenter/user tester
- The phone feed
- The window feed of the Figma prototype
In a user test you can use MS Team to Record the screen to analyse it later