Variables - Strings
A string is a data type used in programming, that is used to represent text rather than numbers. A string is a sequence of characters and can contain letters, numbers, symbols and even spaces. It must be enclosed in quotation marks for it to be recognised as a string.
We can use Strings in Figma to streamline prototyping for example if we need to create this interaction
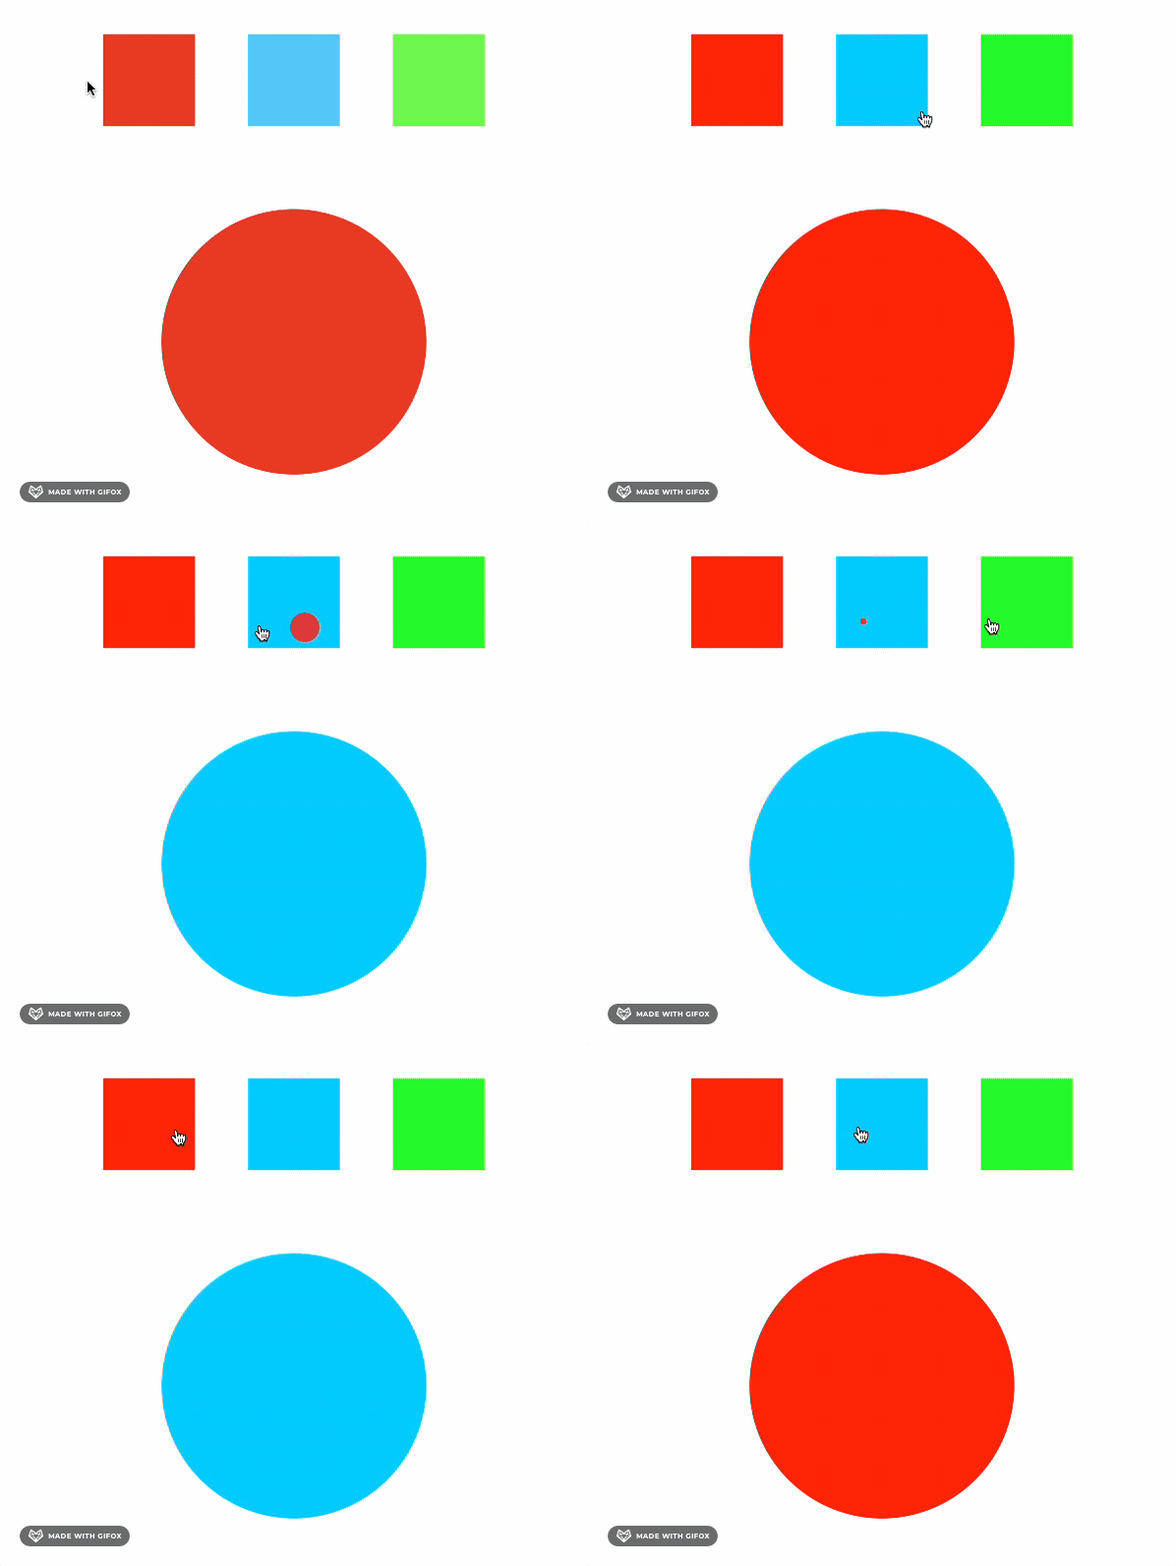
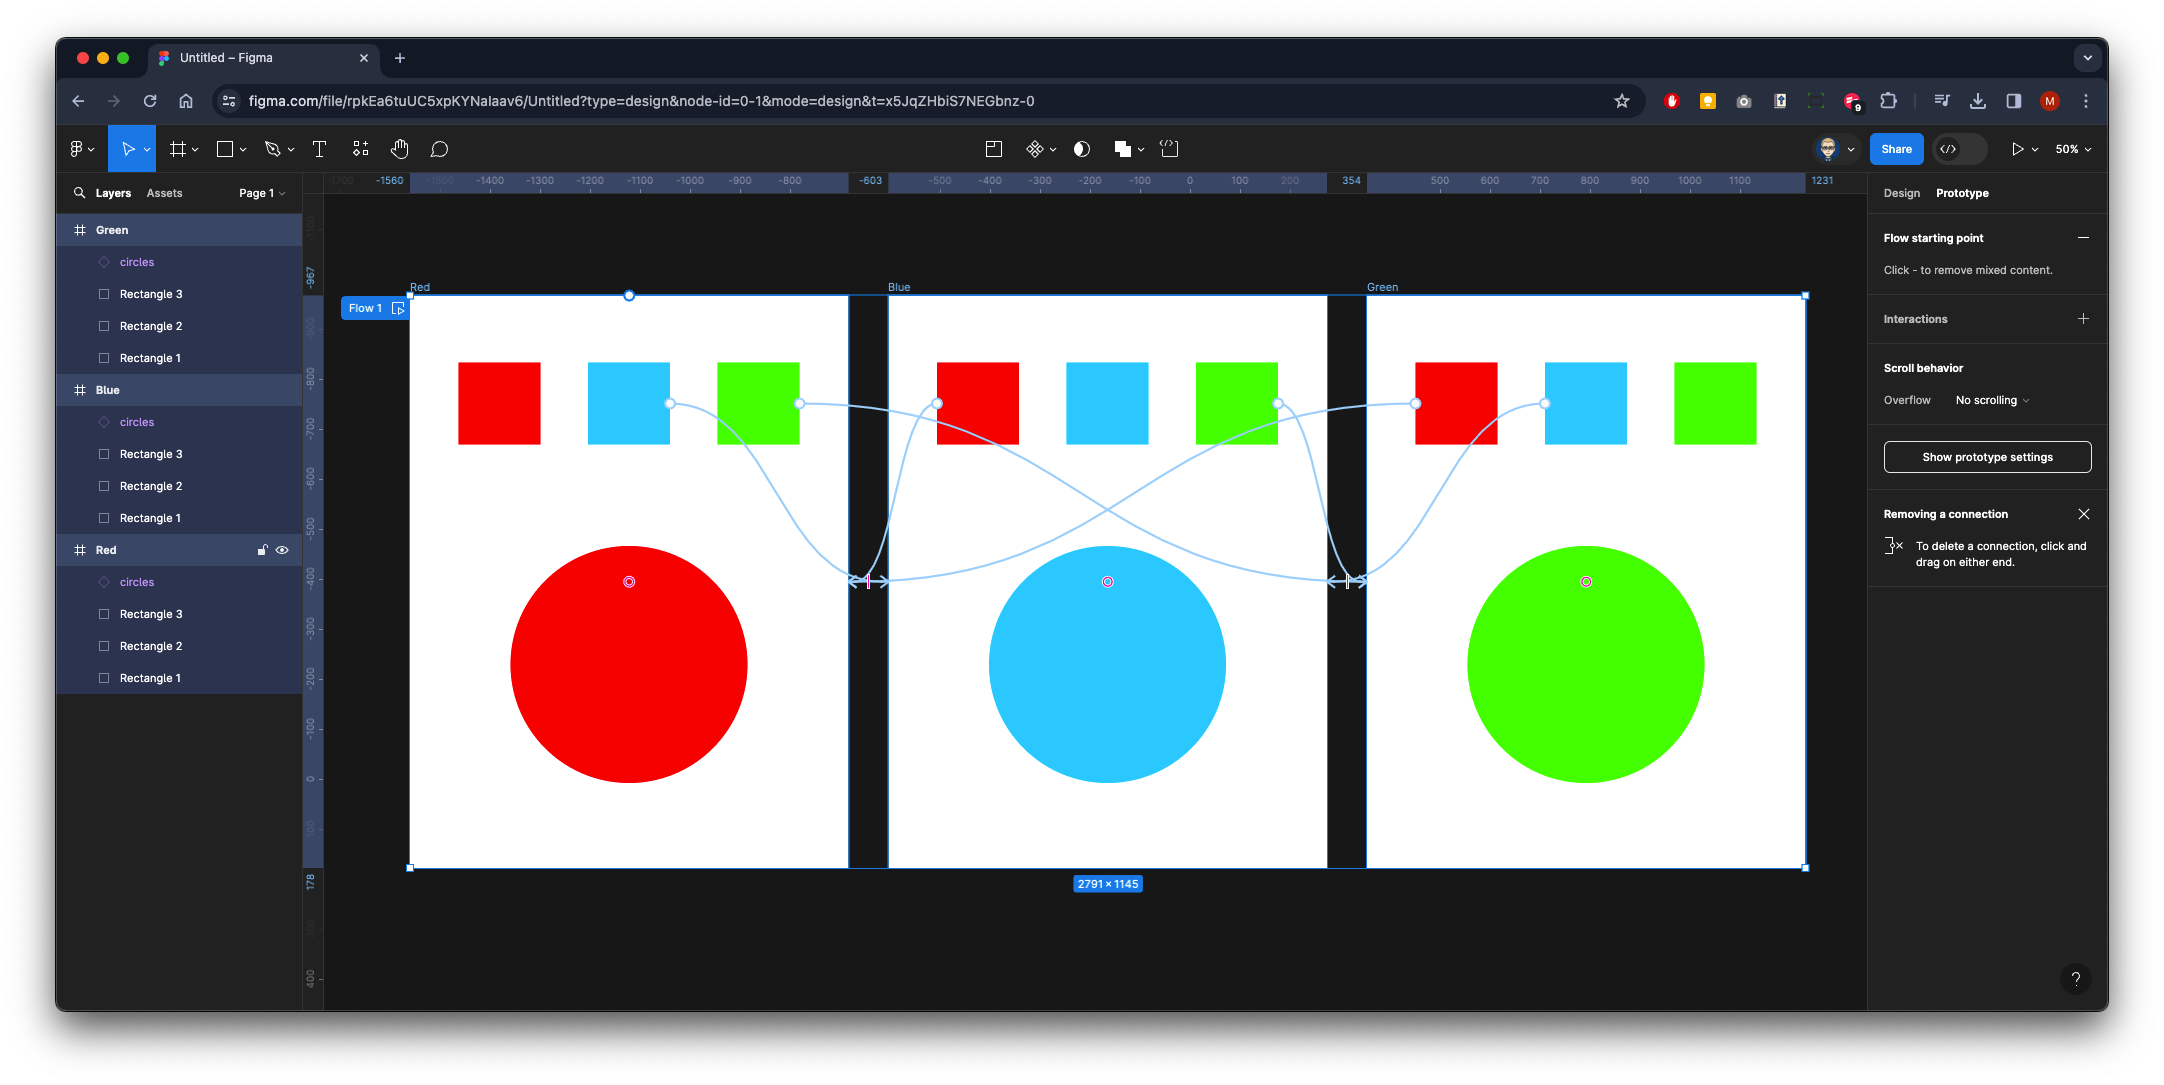
Before Variables in Figma you would have create something like this:
But with a String Variable we would just set it up like this - which involves controlling a Variant with a Variable
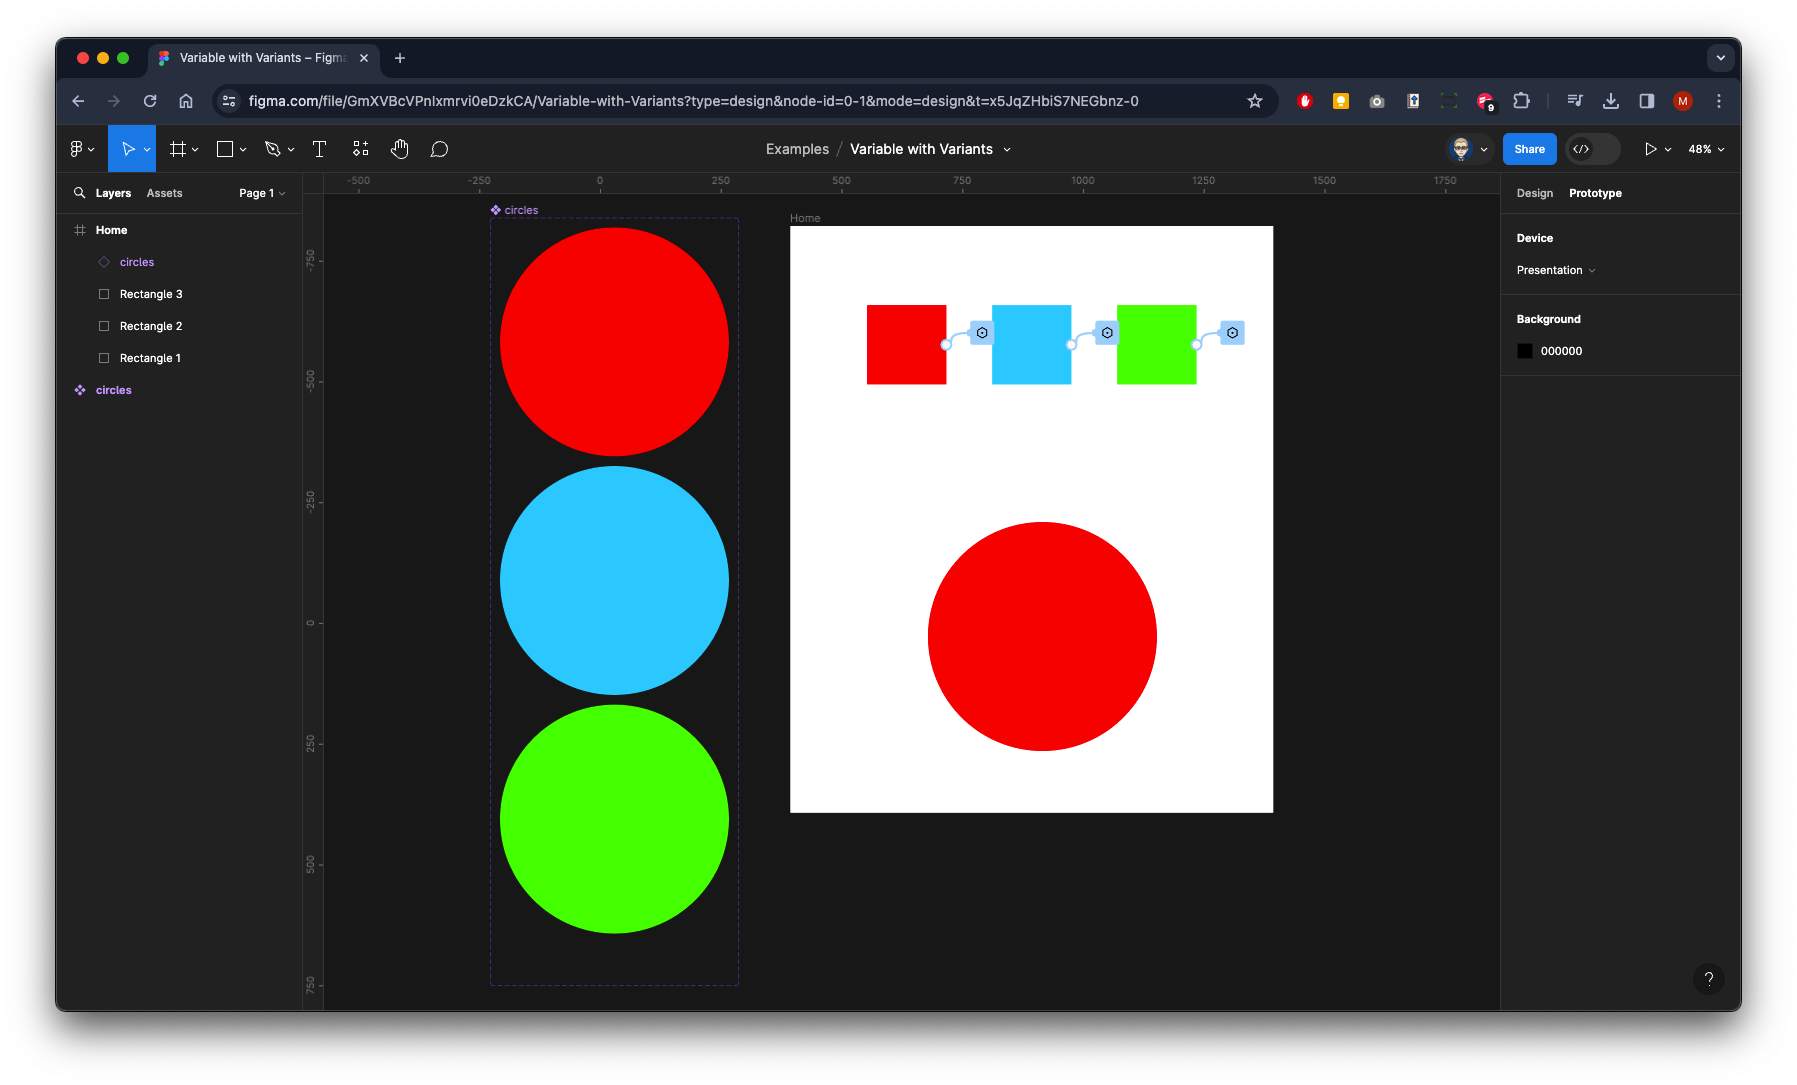
Set-up - Create a Variant Set
Create a circle 150x150 - colour it red
Make it into a component either right-mouse or click on the Create Component on the top bar
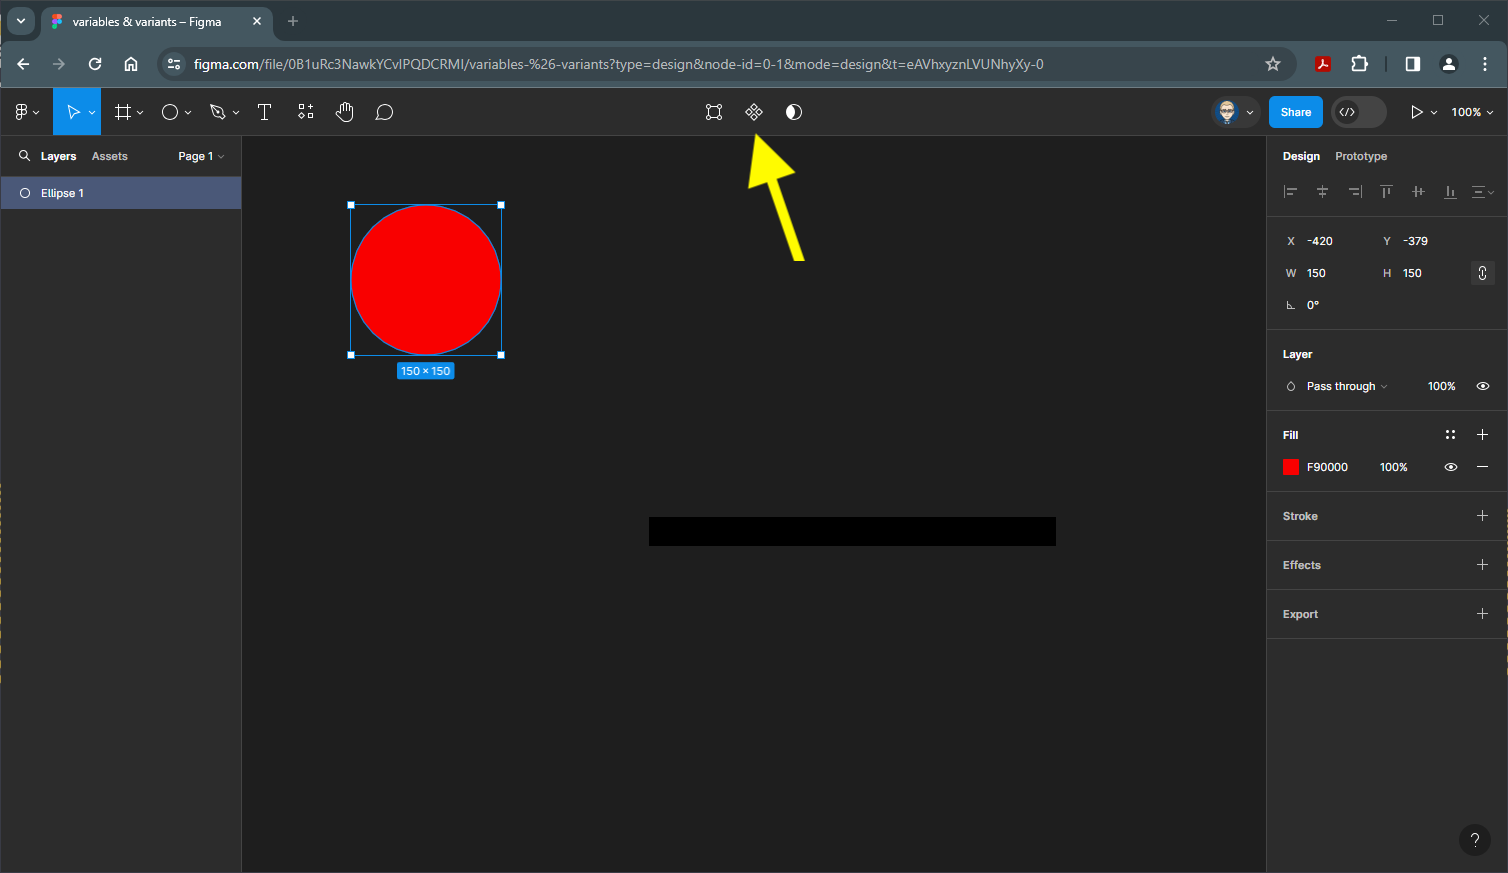
Now make it into a Variant Set by clicking on the icon on the on the top bar
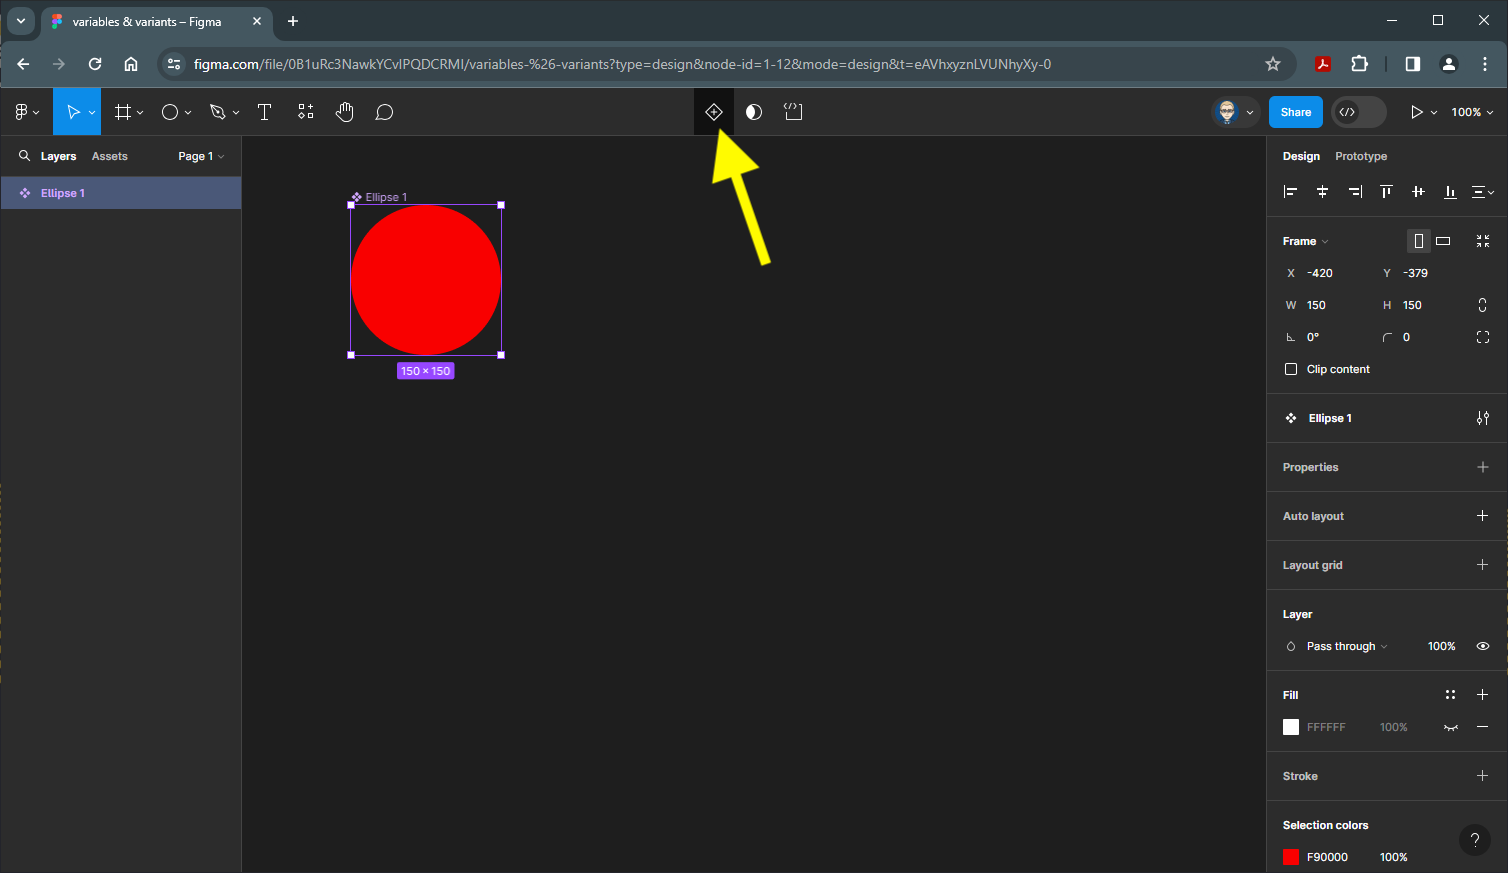
Now there are two Variants, Create another Variant by clicking the purple + icon at the the bottom of the Variant Set
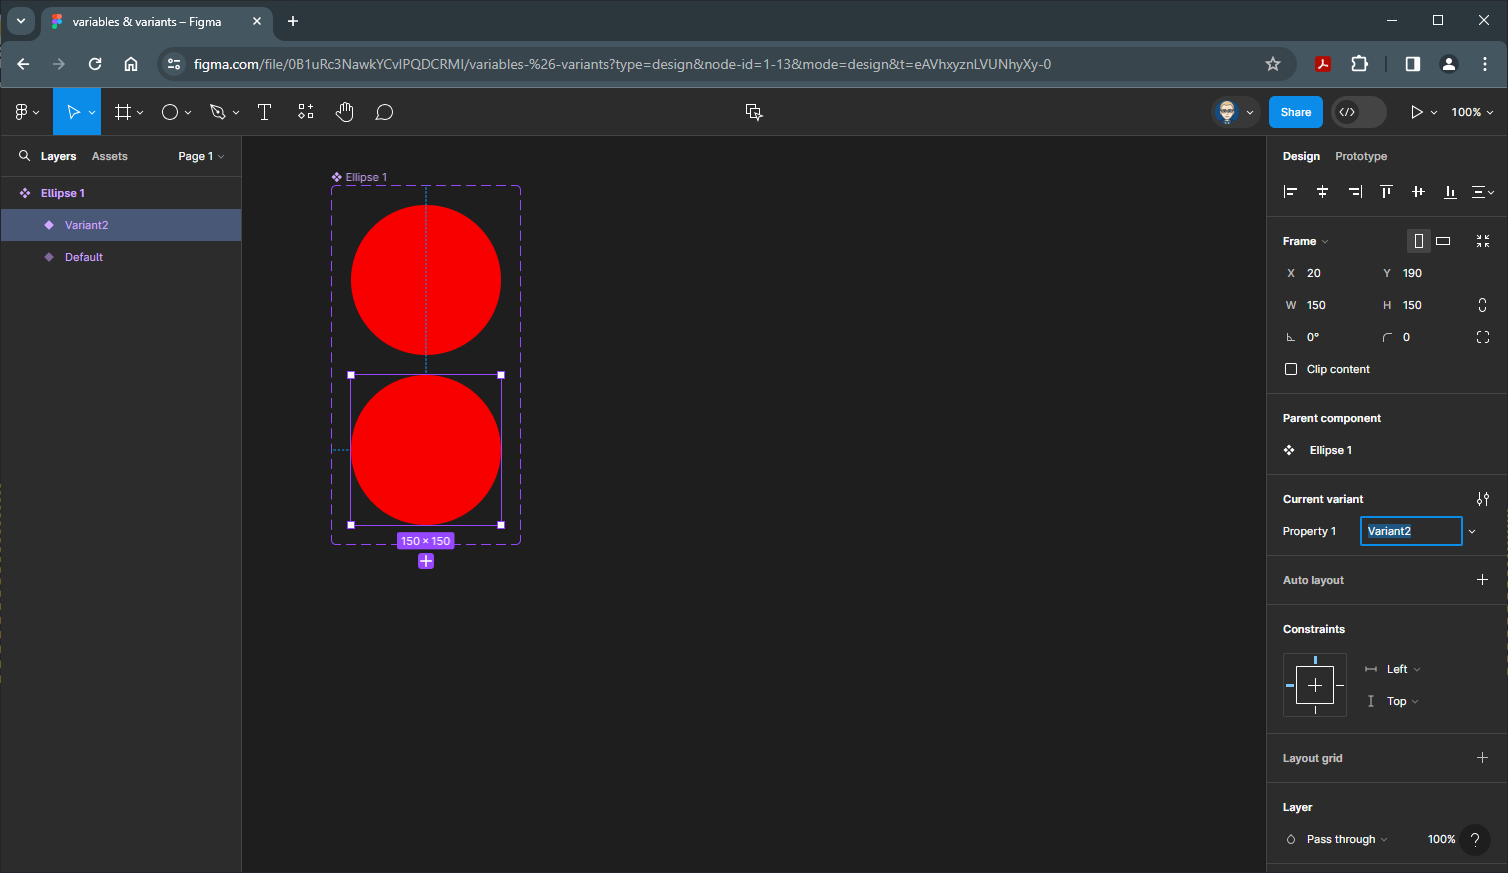
Create one more Variant
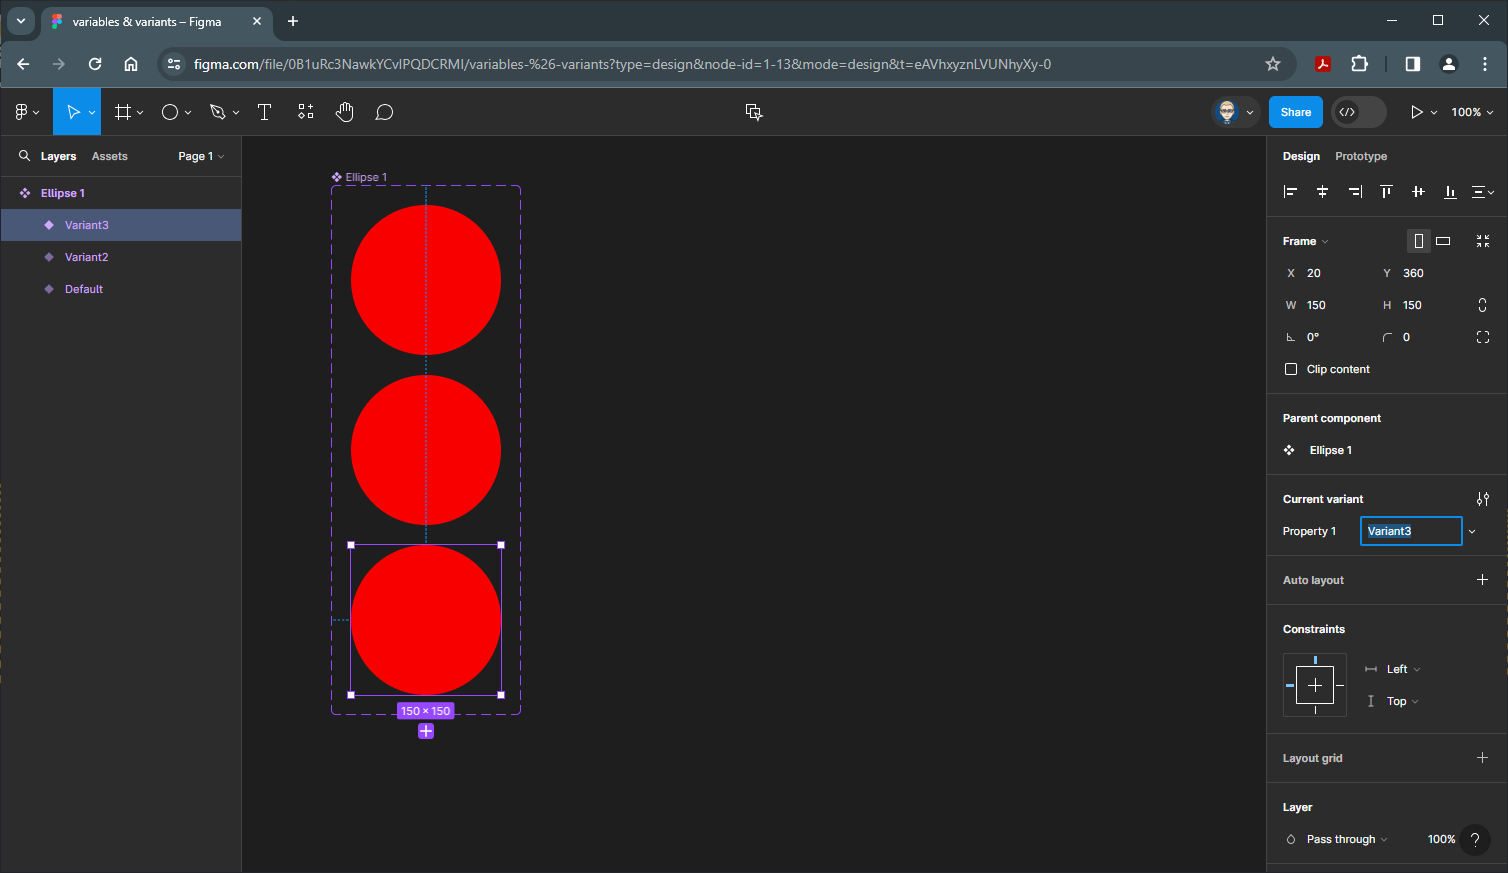
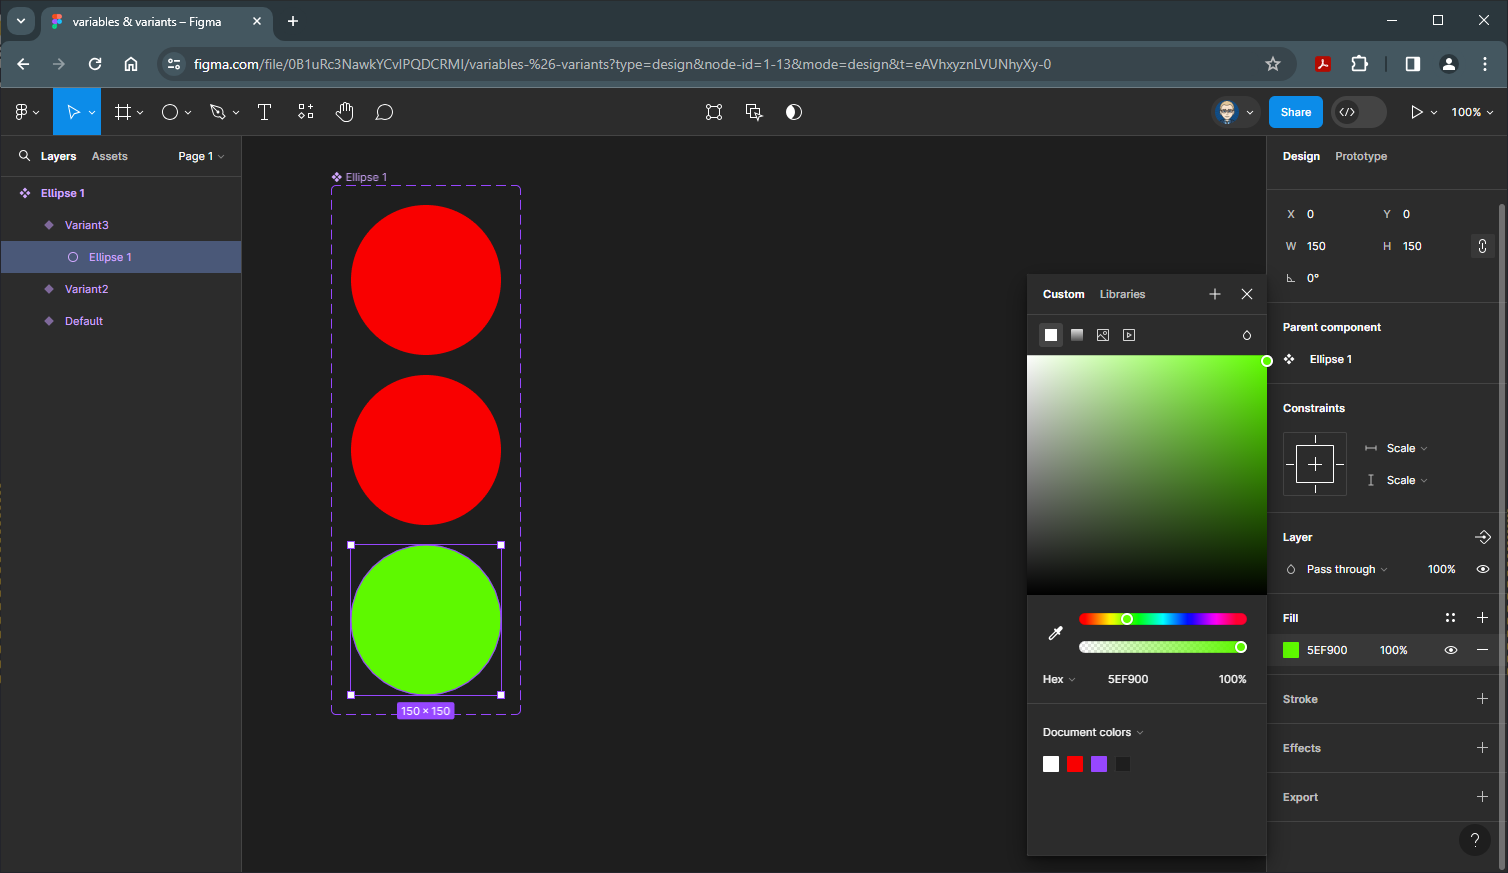
Colour this green
and colour the middle one blue
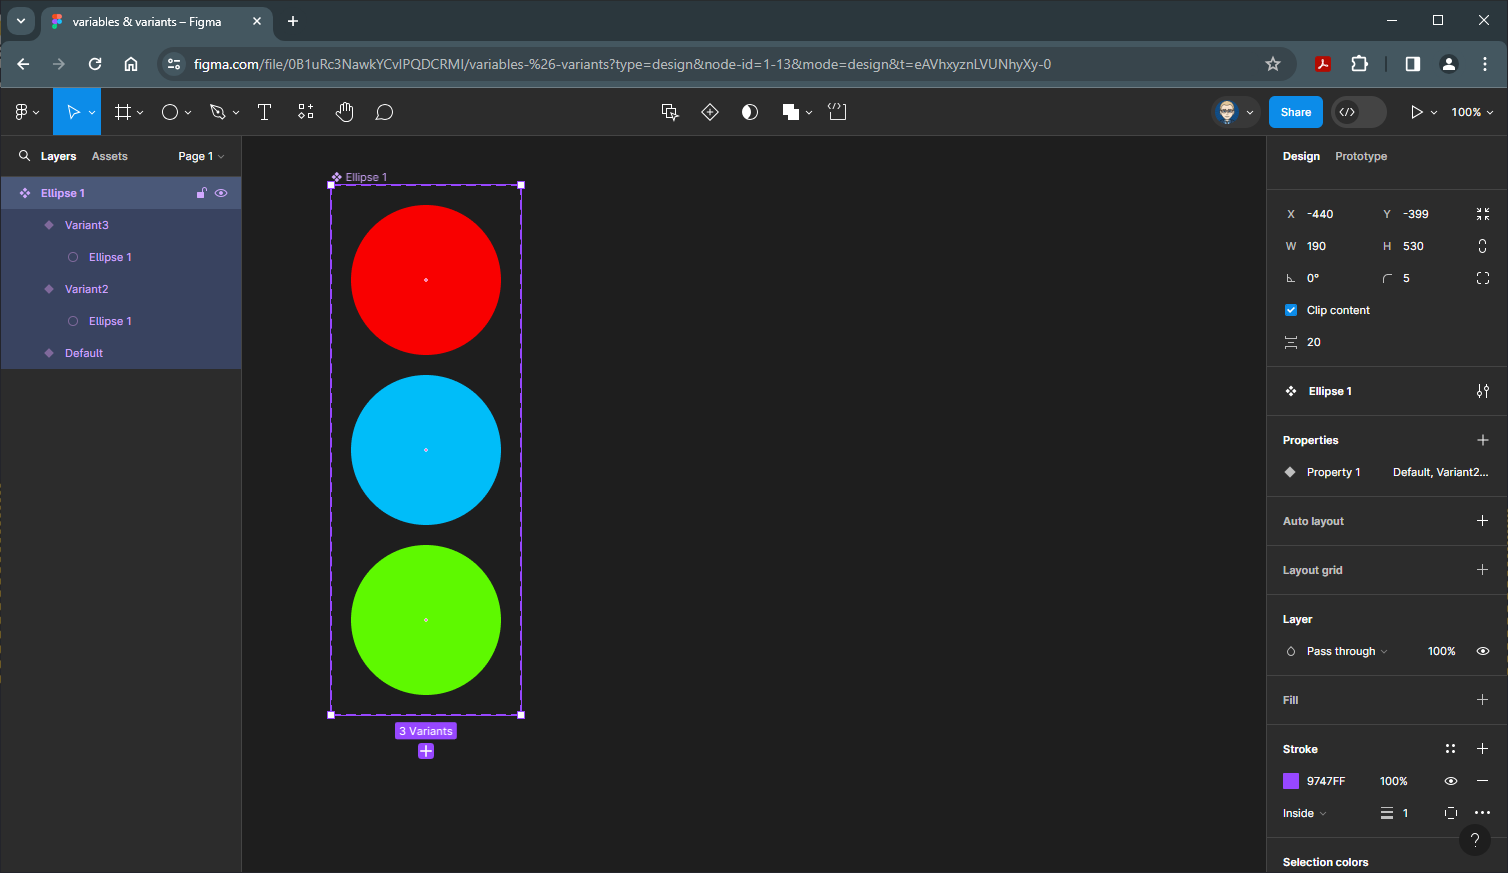
With the Variant Set selected
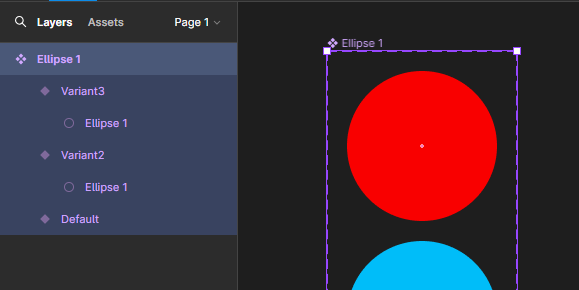
Rename it circles either in the Layers panel or the label on the Variant Set

Set-up & Name Component Properties
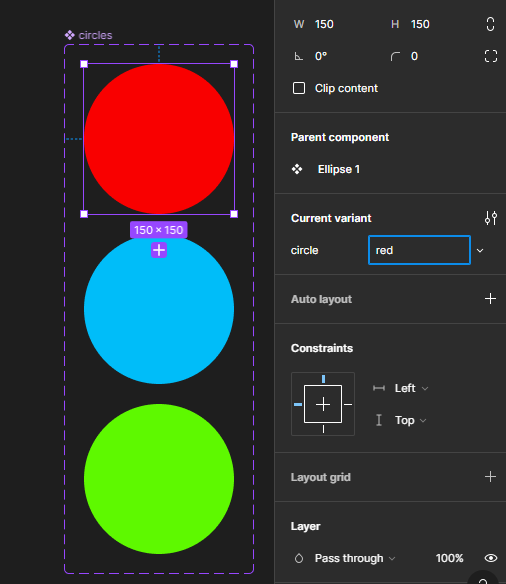
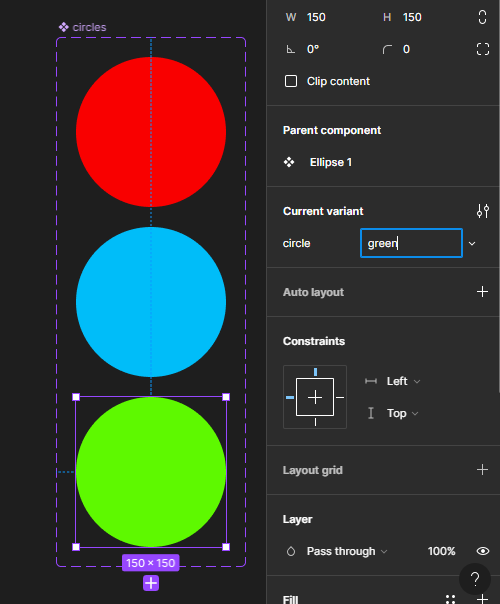
We need to rename each of the Variants to match their colours. Select the top Red circle and in the Properties Panel on the right, in the Current variant section type in red in lowercase
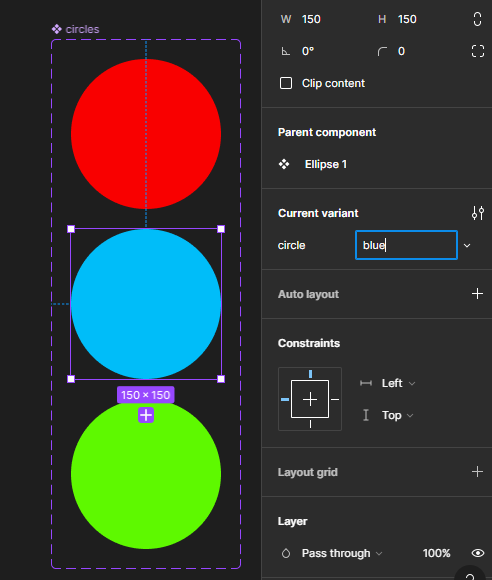
Repeat with the Blue circle and call it blue in lowercase
And finally repeat with the Green circle and call it green in lowercase
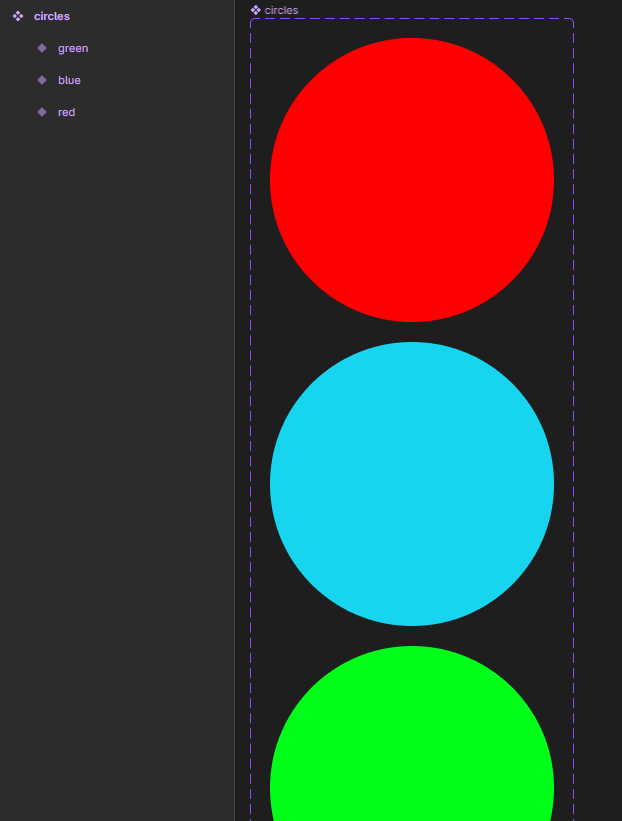
Your Layer Panel outline on the left will now look like this
Screen Layout
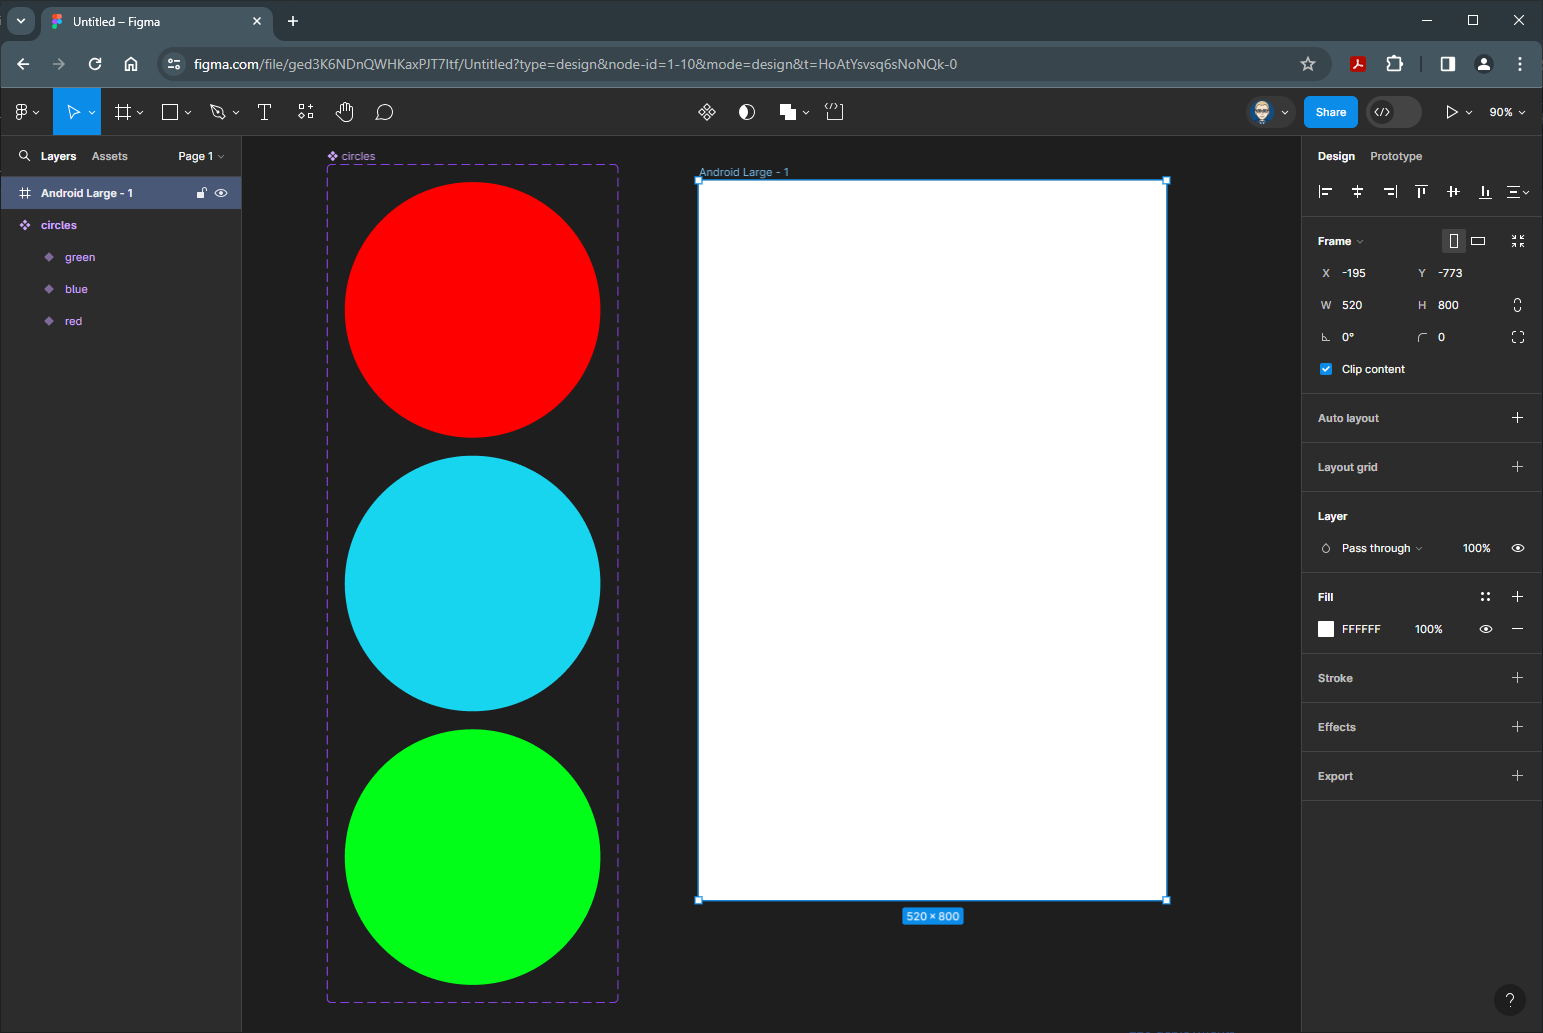
Now create a new Frame either by pressF or select it from the top Tools bar. In this example Android Large has been selected from the templates on the right
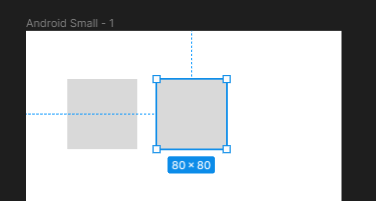
Create 3 100x100 Rectangles at the top of this new frame
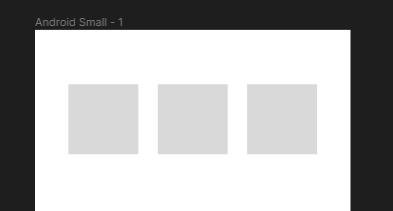
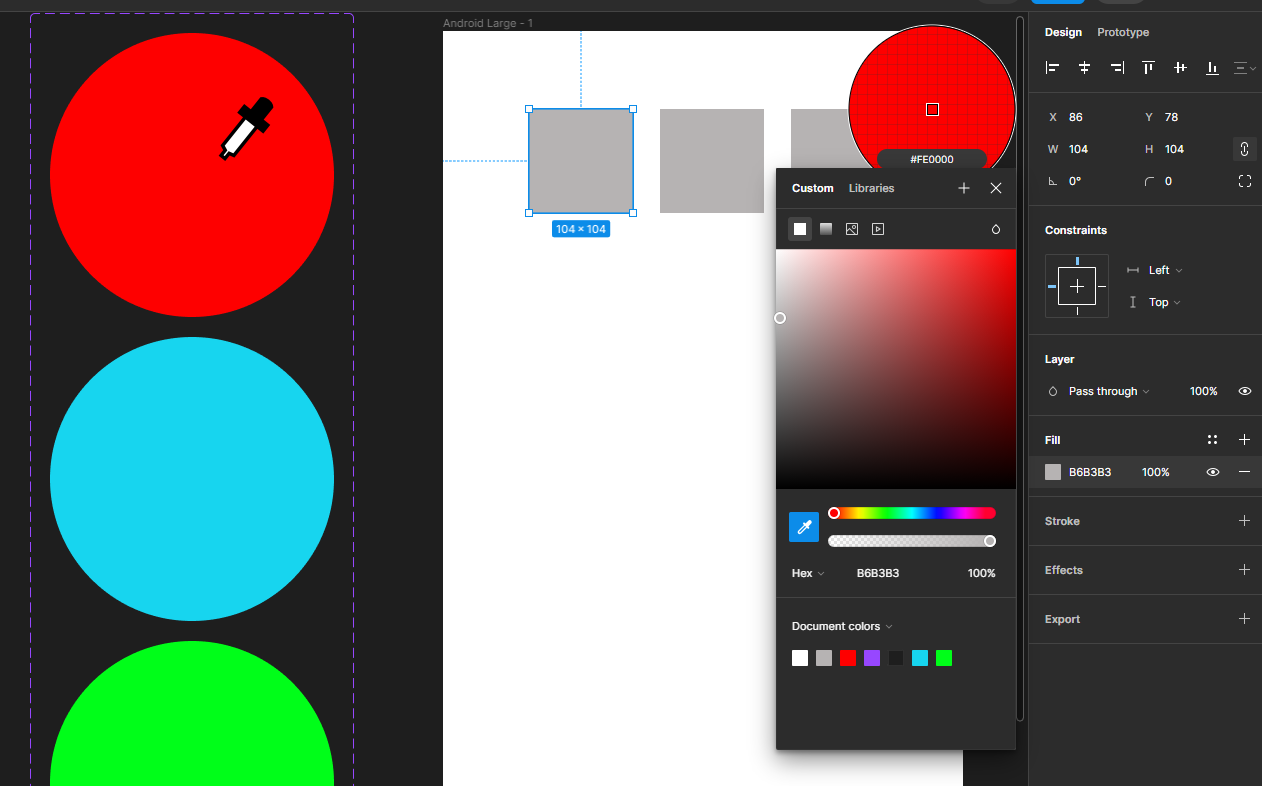
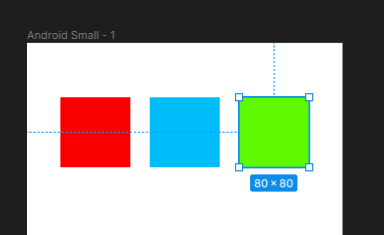
Fill each of the rectangles with their corresponding colours from the circles in the Variant Set using the Eye Dropper
In the left panel switch to the Assets tab
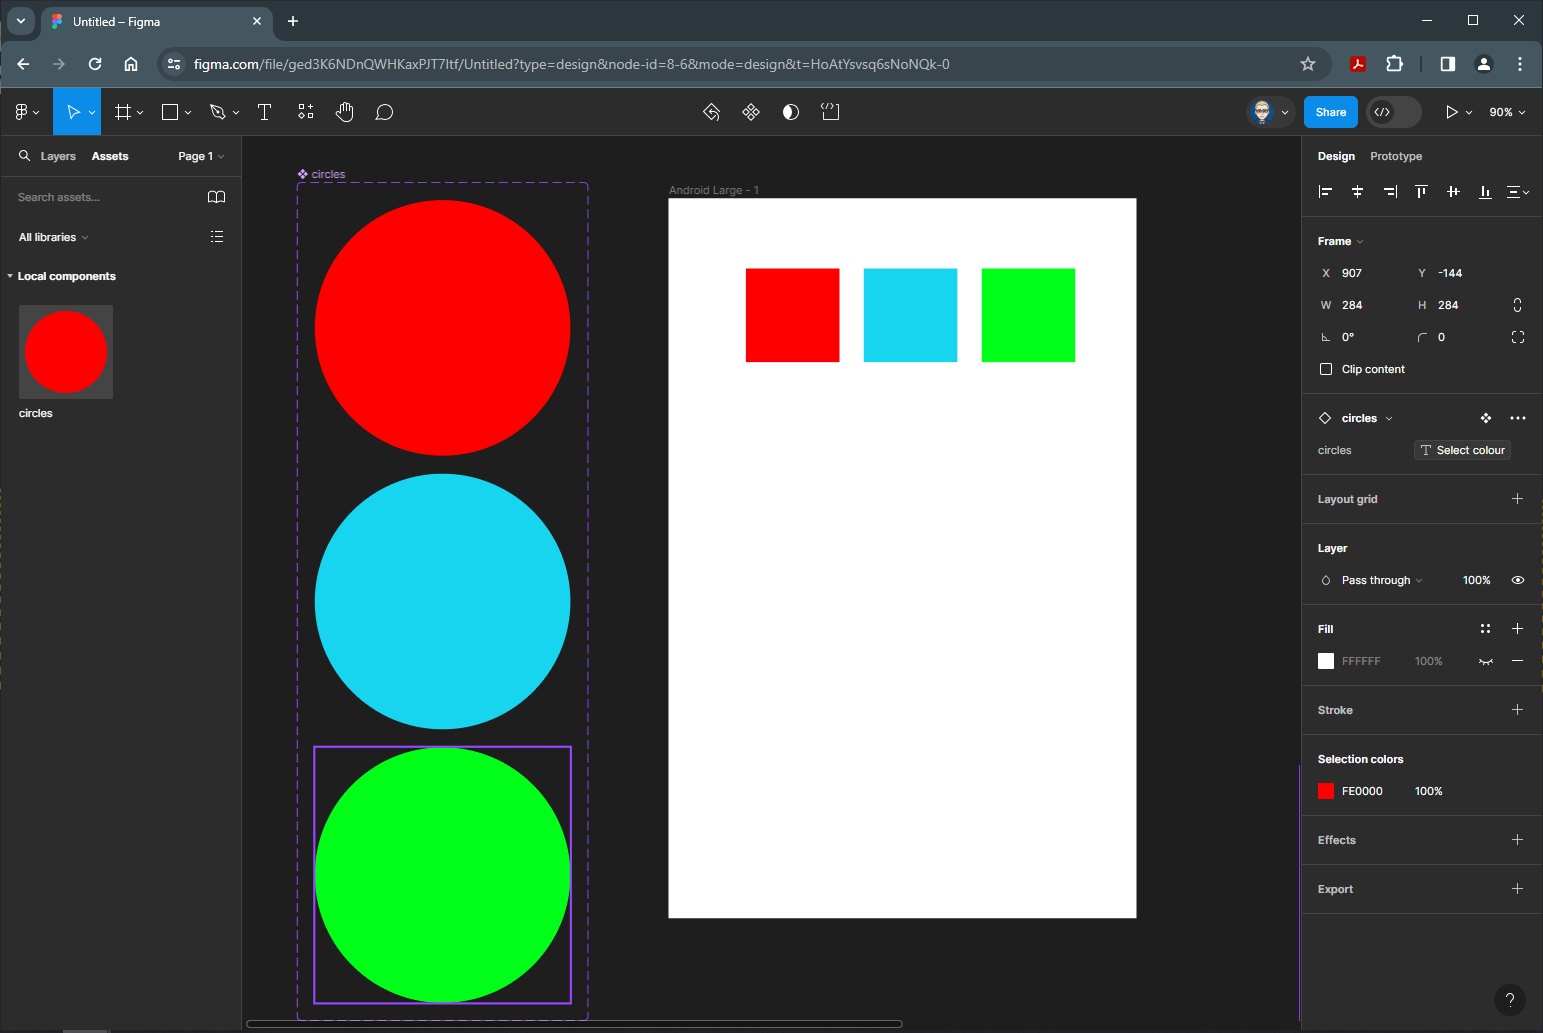
and drag a Circles instance underneath.
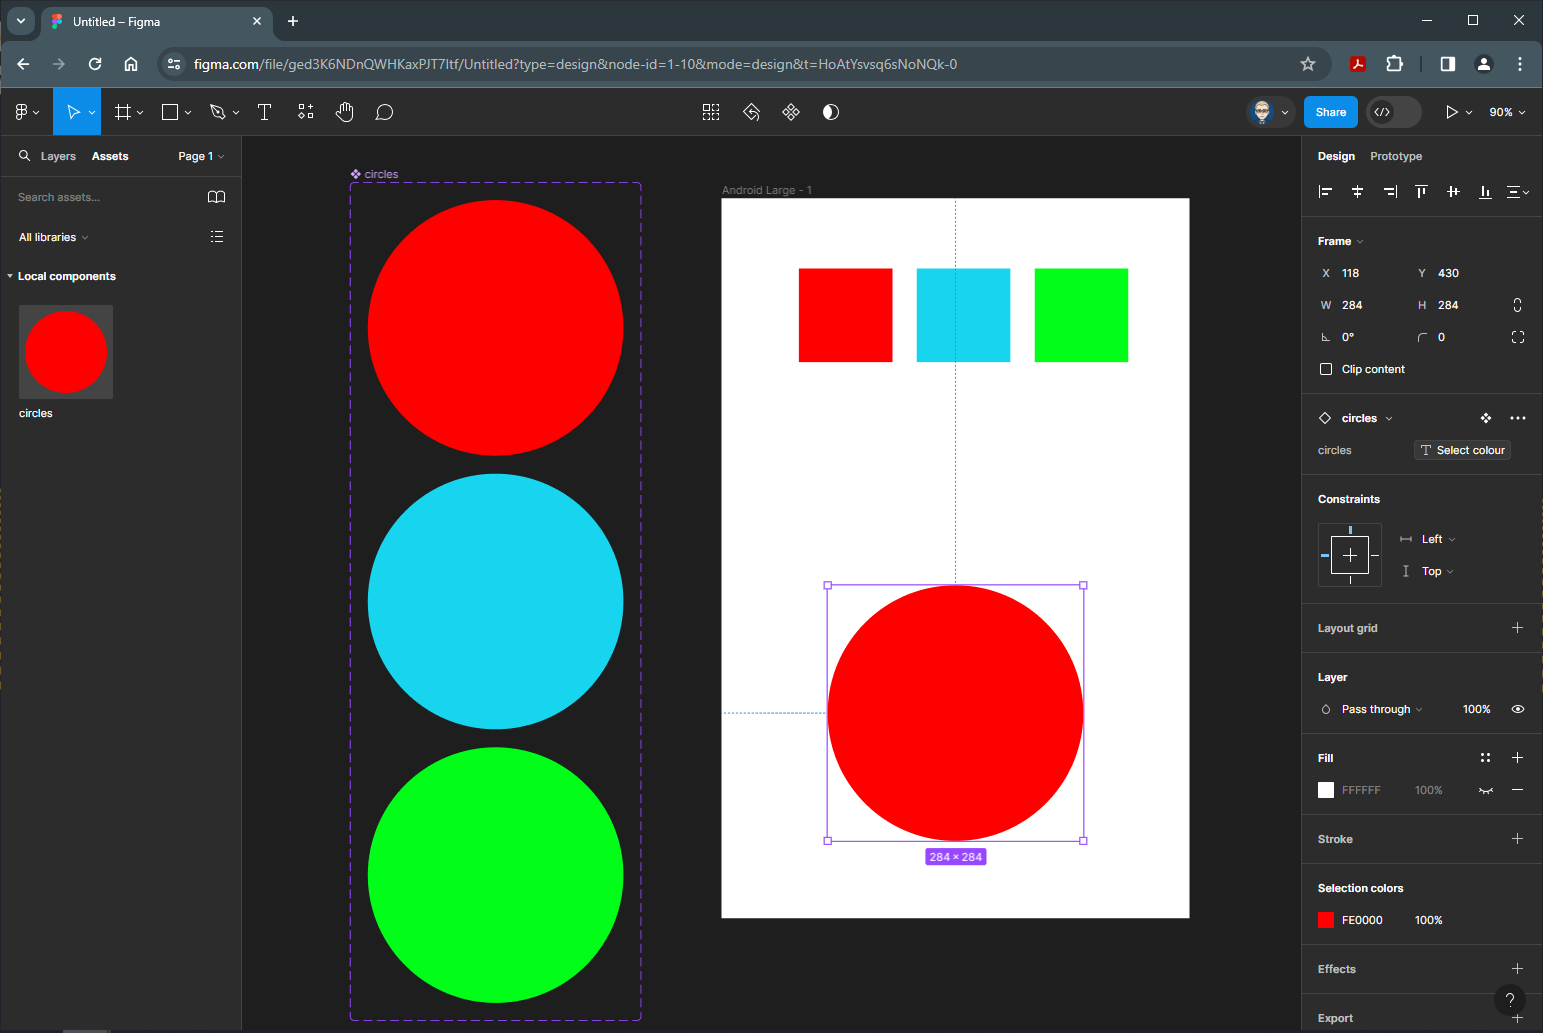
Creating a Local Variable
We will create a Local Variable which we will use and applied later in our prototyping.
Make sure nothing is selected by clicking on the pasteboard or press ESC on your keyboard
From the Properties panel on the right in the Local Variables section
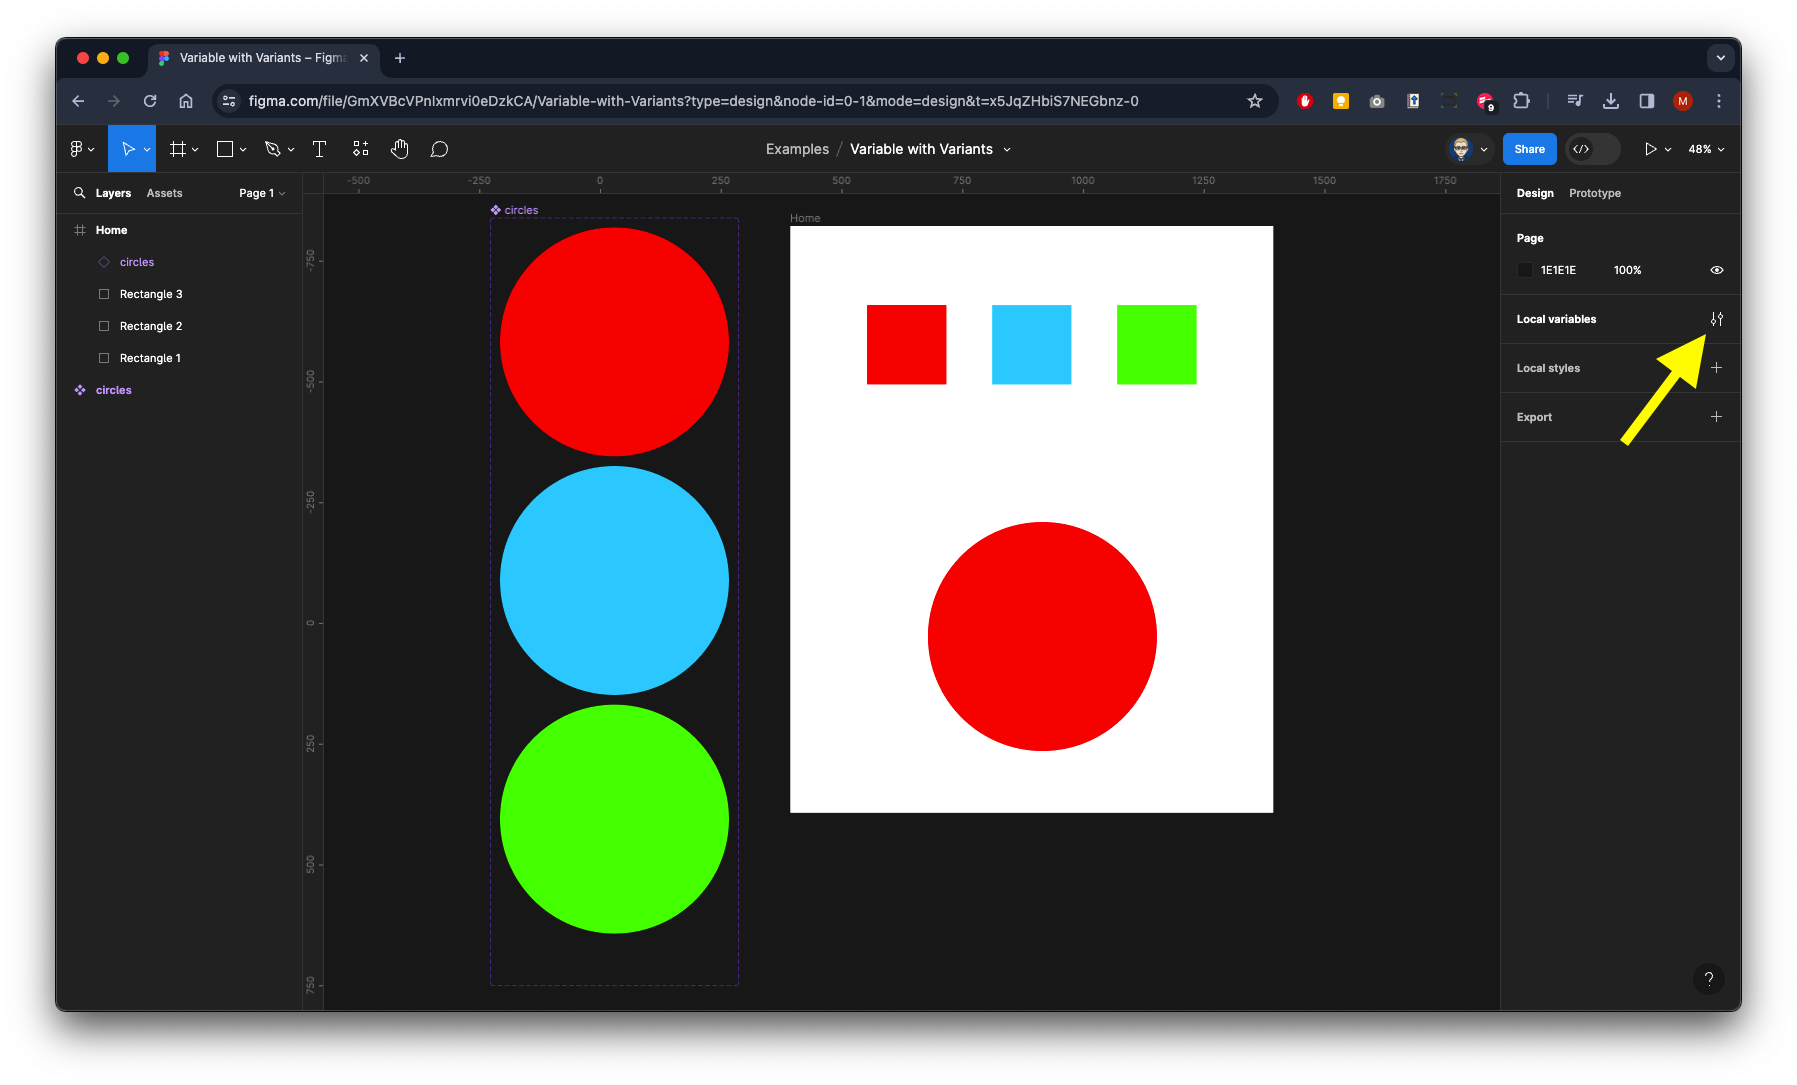
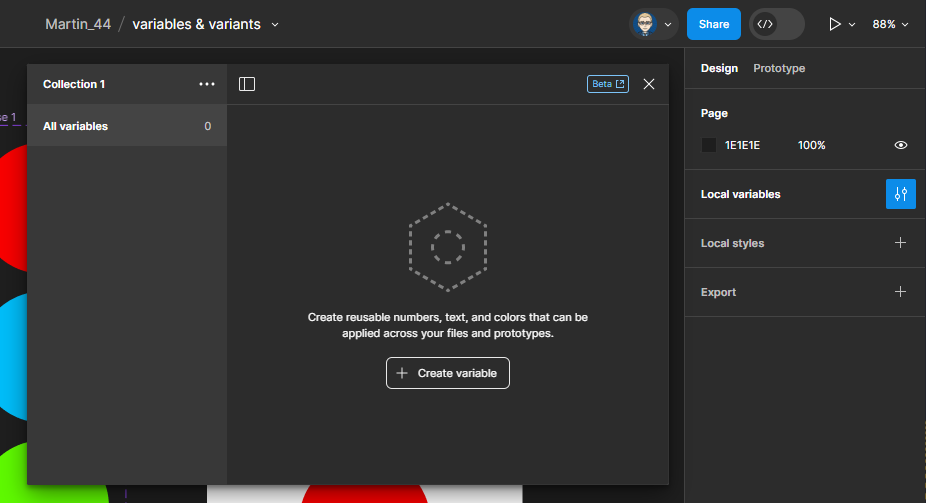
The Local Variables panel will appear
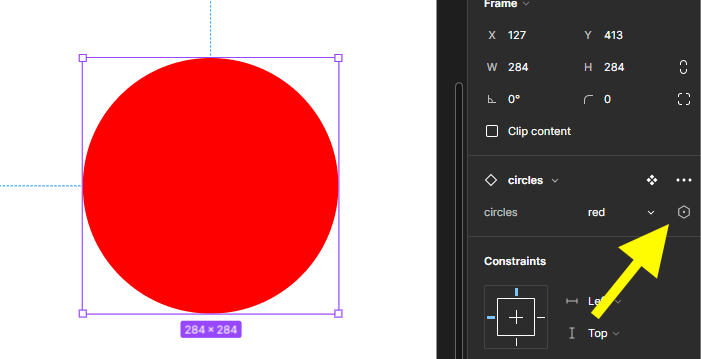
Select the Circle instance, then from the Properties panel on the right - in the instance properties section - click on the Open Variables icon
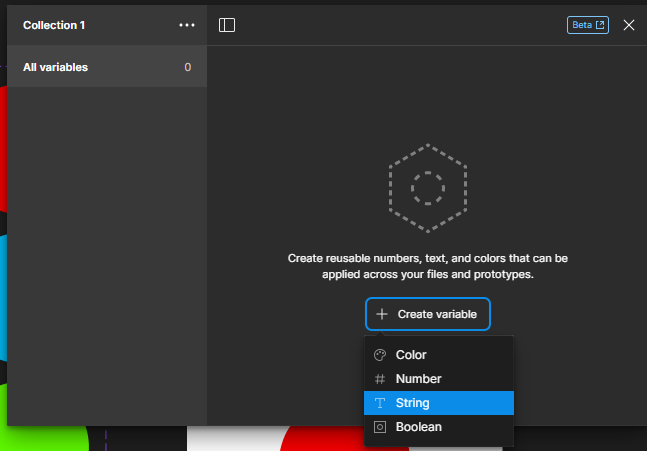
Click on the Create variable button and select String from the dropdown
The variable Collection panel will now open
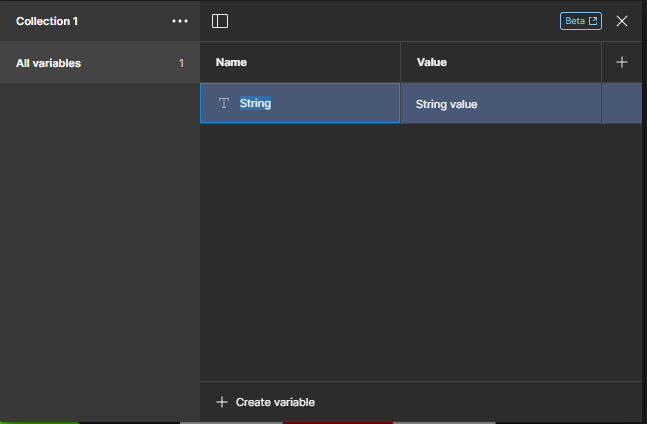
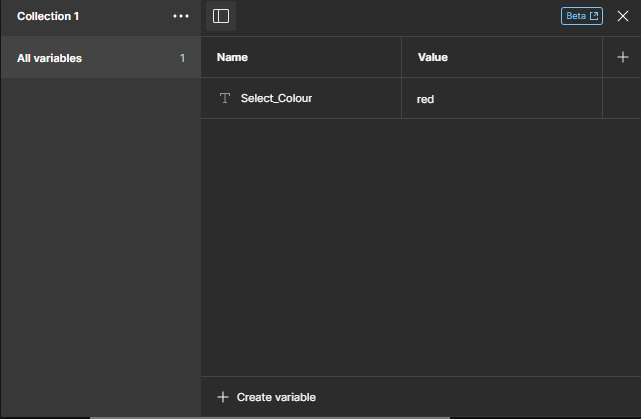
Replace the String name a Select Colour and the Value a red
Select the Red rectangle. In the Properties on the right in the Variant Section click on the Assign Variable icon
From the dropdown select the select colour variable
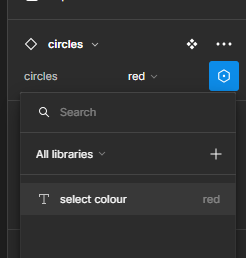
The circle instance with be now assigned to the select colour variable - the label will show this
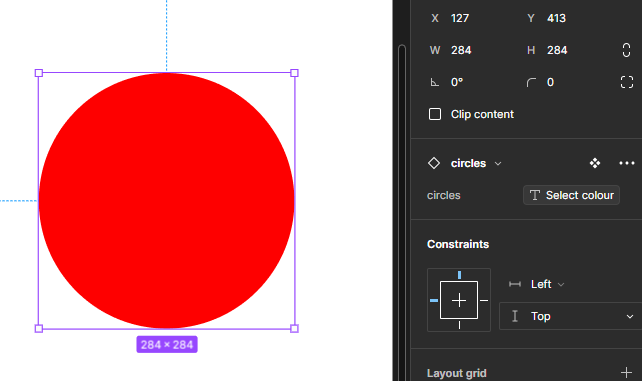
Setting up Variables & Writing Expressions
We now need to set-up the 3 rectangles so when they are clicked they with change the circle to colour to match the rectangle’s colour.
Now we need to ‘wire-up’ the Rectangles, select the red Rectangle - then switch the Design to Prototype in the left Properties panel. Click on the + icon in the Interactions section and then change None to Set Variable from the dropdown
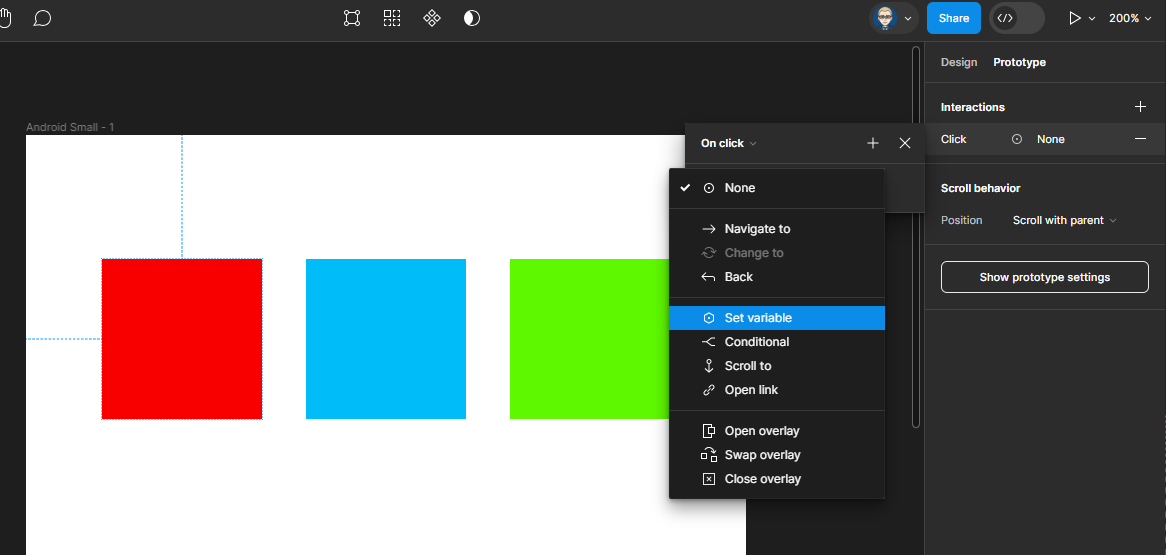
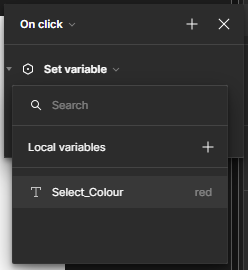
We only have one variable set up, so select Select_Colour
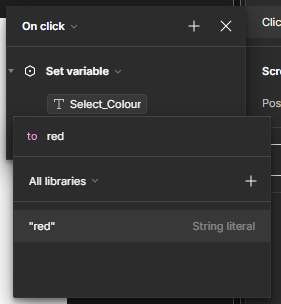
In the to field type red in lower case it will appear below in speech marks - Press Enter on the keyboard.
When you click on the Variable tag on the red rectangle it will show its set up
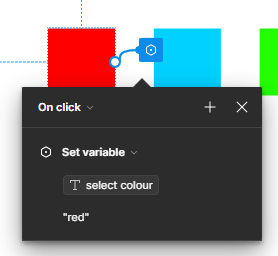
Now select the blue rectangle and repeat the process but the to field needs to be blue
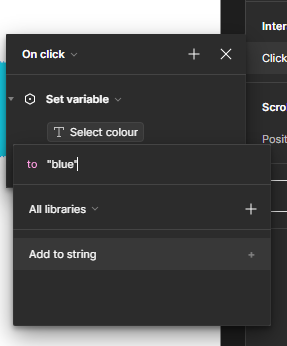
After you press Enter you can check the set-up by clicking the tag.
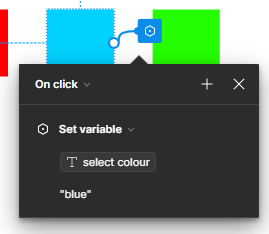
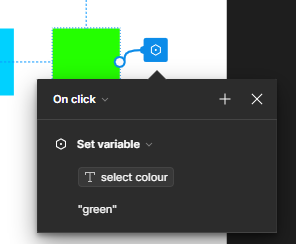
Finally select the green rectangle and repeat the process but type green in the to field
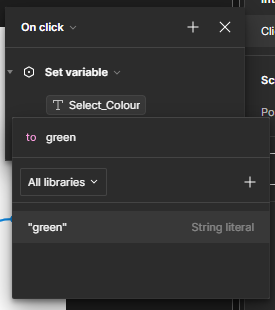
After you press Enter you can check the set-up by clicking the tag.
Now run your prototype to test
