Web & App Mock-ups
Designing a mock-up of your UI is a great way to visualise and promote your UX/UI project. Figma offers tools that make it easy to create a polished representation of your design, which you can use in various ways:
Project File Cover: Use the mock-up as a thumbnail on your Figma project file. This provides a professional look and gives viewers an immediate idea of what your project is about.
Export for External Use: Export your Figma mock-up to showcase it elsewhere, whether in presentations, portfolios, or social media.
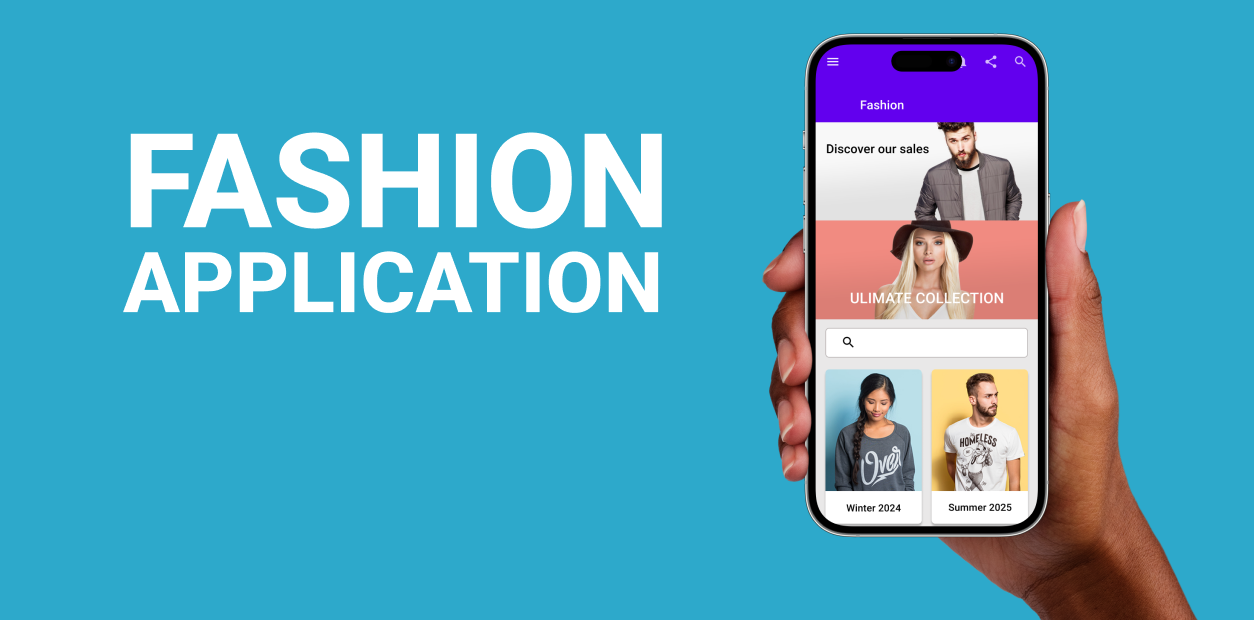
Original UI designs can be found here: eCommerce Concept - 12 App Screen - Alfonso Severo
1. Mock-up Plugin Set-up
First you need to load the Mockuuups Studio Plugin from Figma Community.
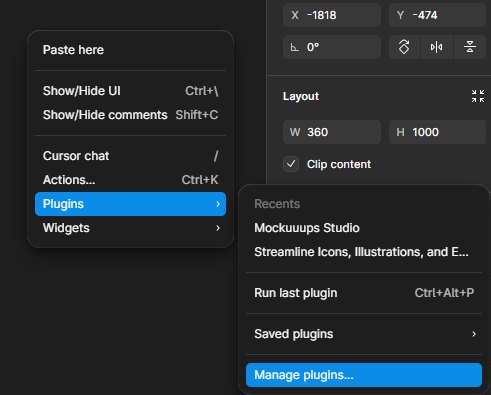
Right Mouse on the paste board
Select Plugins > Manage Plugins…
Search for Mockuuups Studio in the Manage Plugins Panel
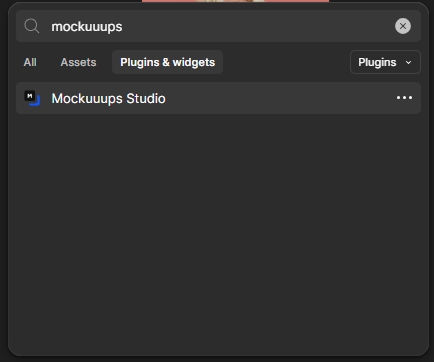
Then click Save at the bottom of the Panel

2. Create the Mock-up
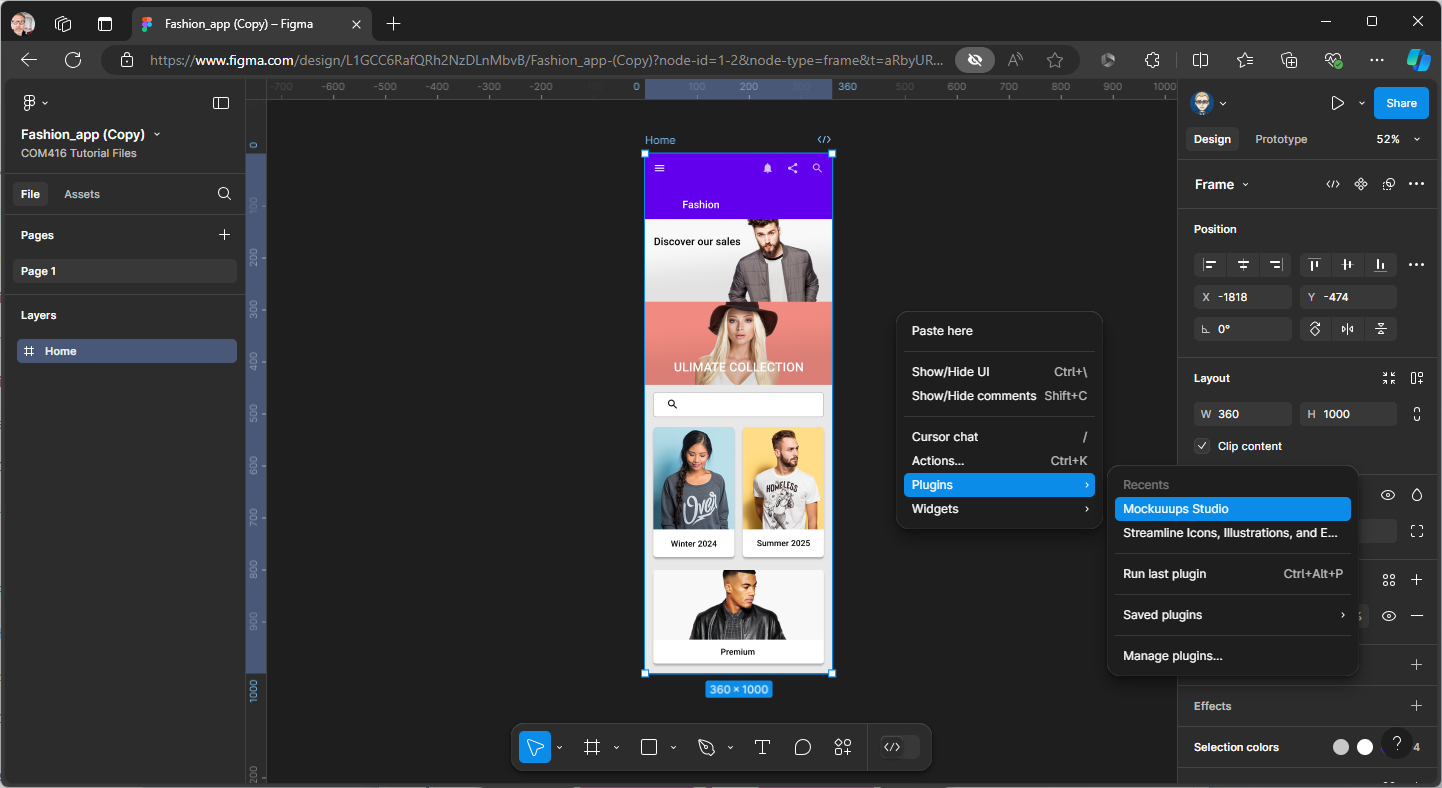
You will need to select a Frame (Screen) to appear in the mock-up
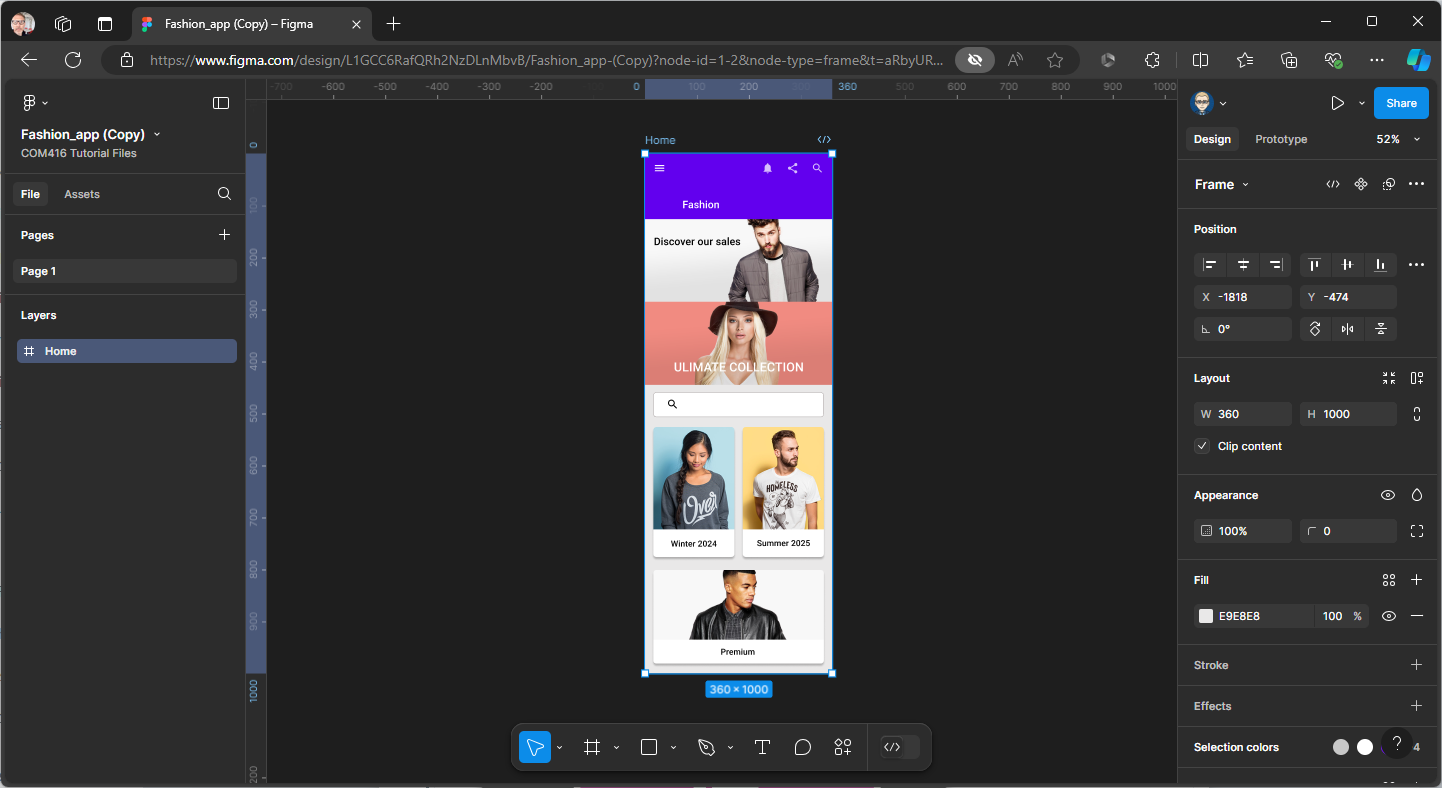
Once selected Right Mouse on the Pasteboard
Select Plugins > Mockuuups Studio
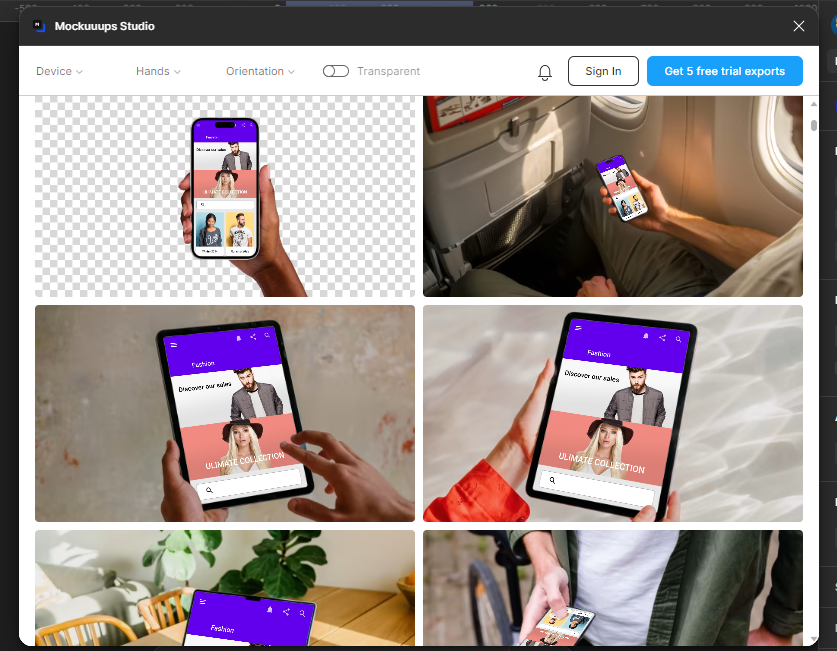
Your Frame (Screen) will Preview on the available mock-ups
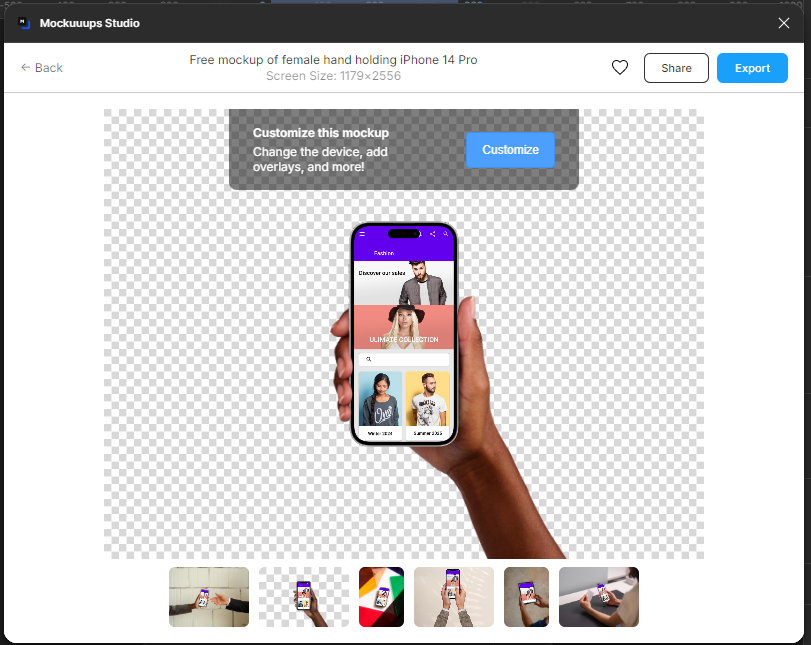
Click to select to one your want to use, you can customise using the options on the Title Bar
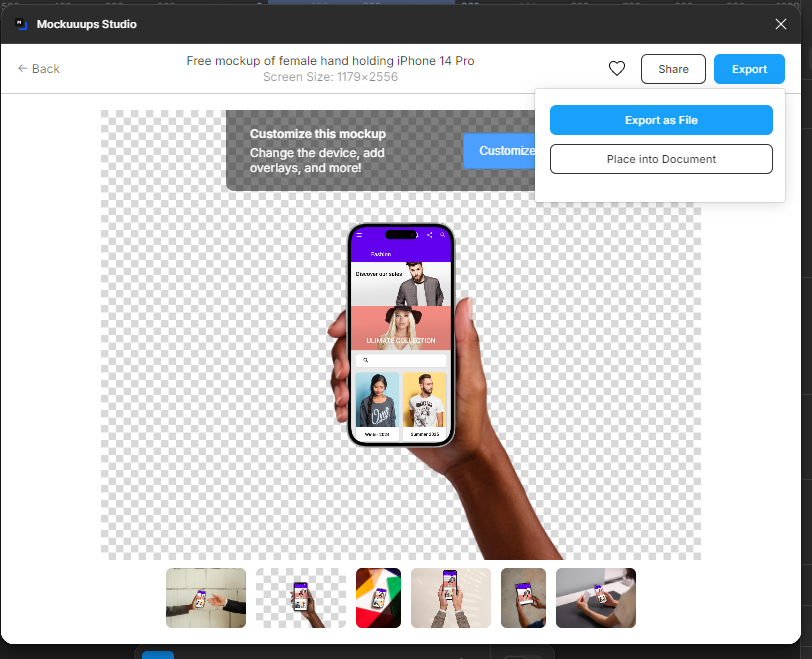
Click Export > Place into Document
It will now appear on your Pasteboard
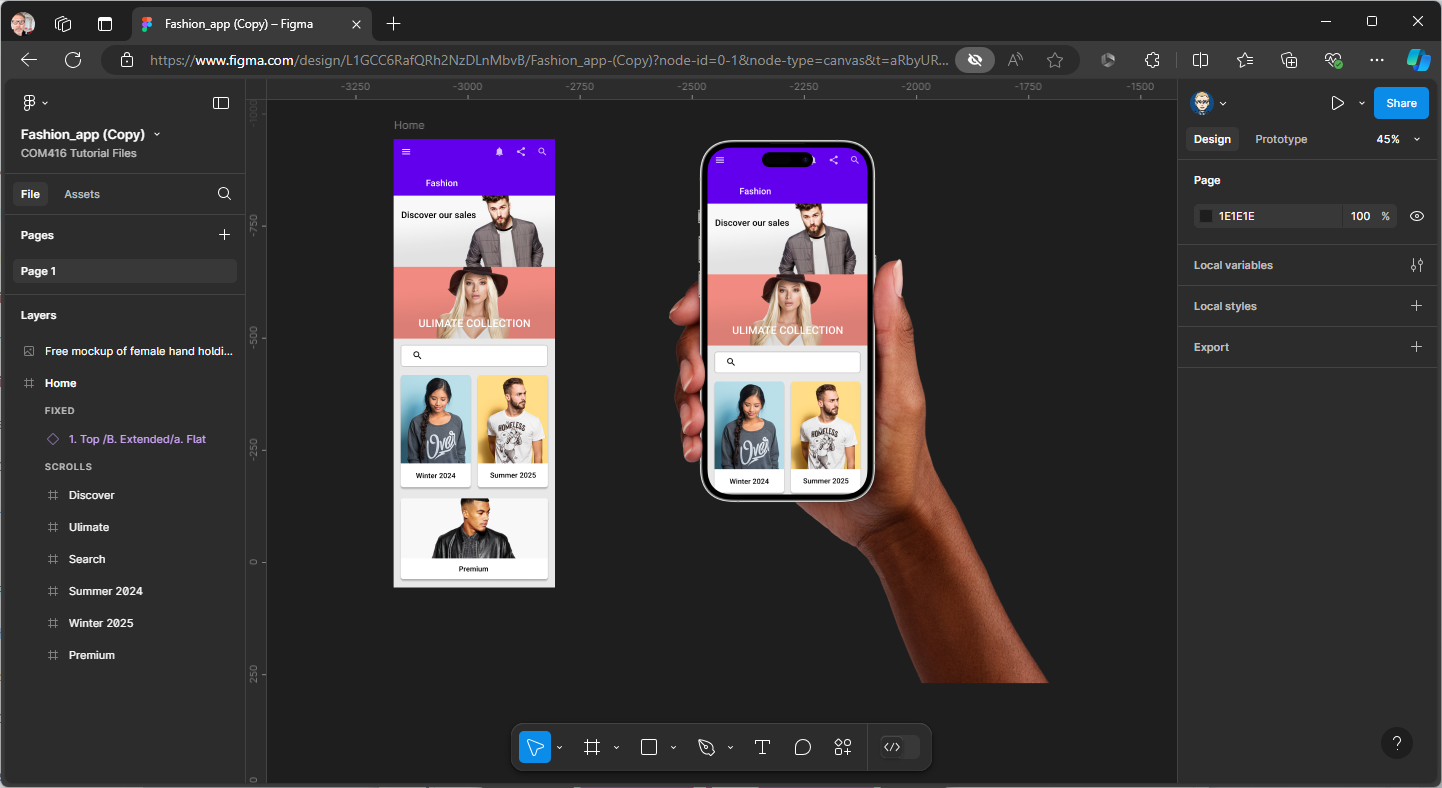
You may need to Scale (Drag corner while holding Shifton Keyboard) & move it
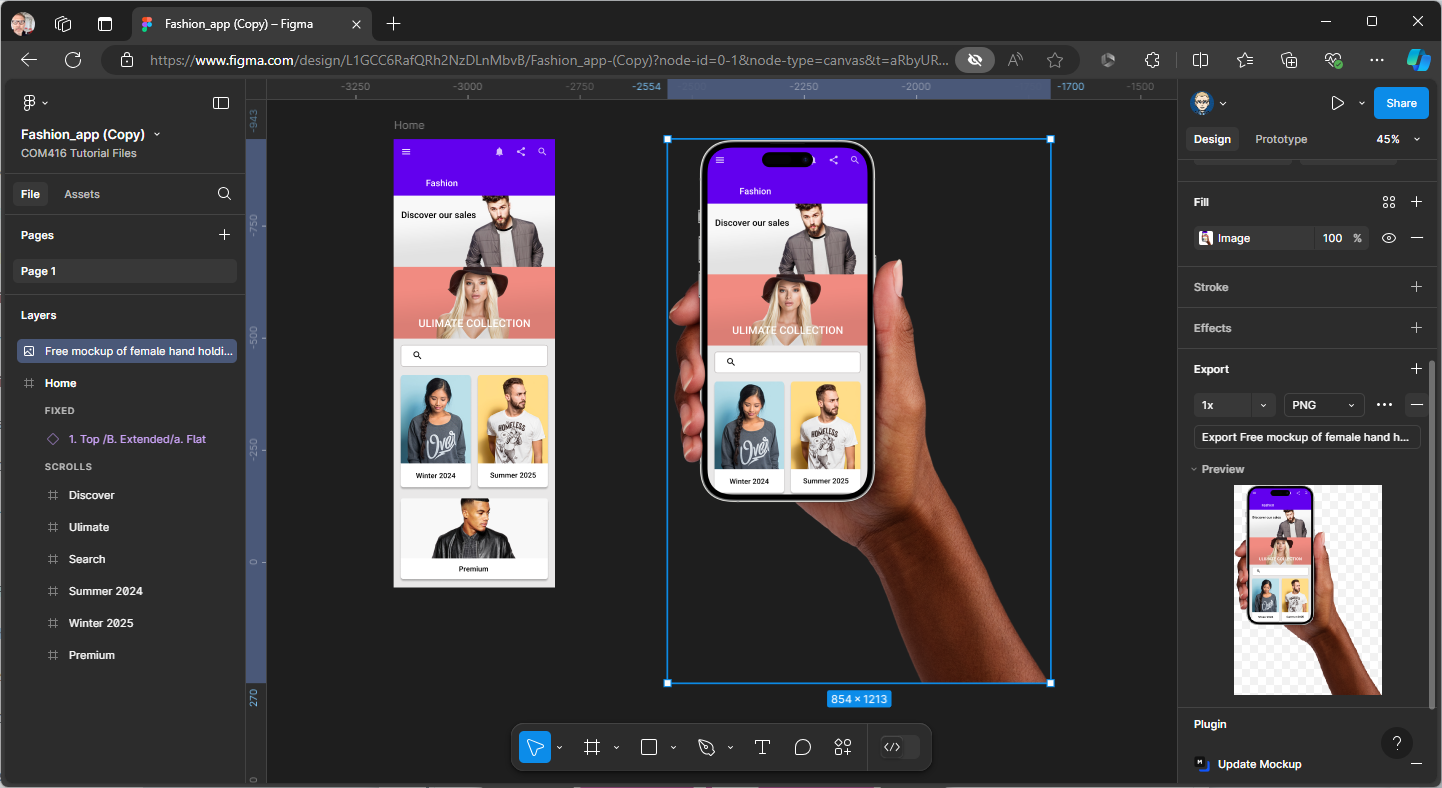
3. Export Mock-up as an Image File
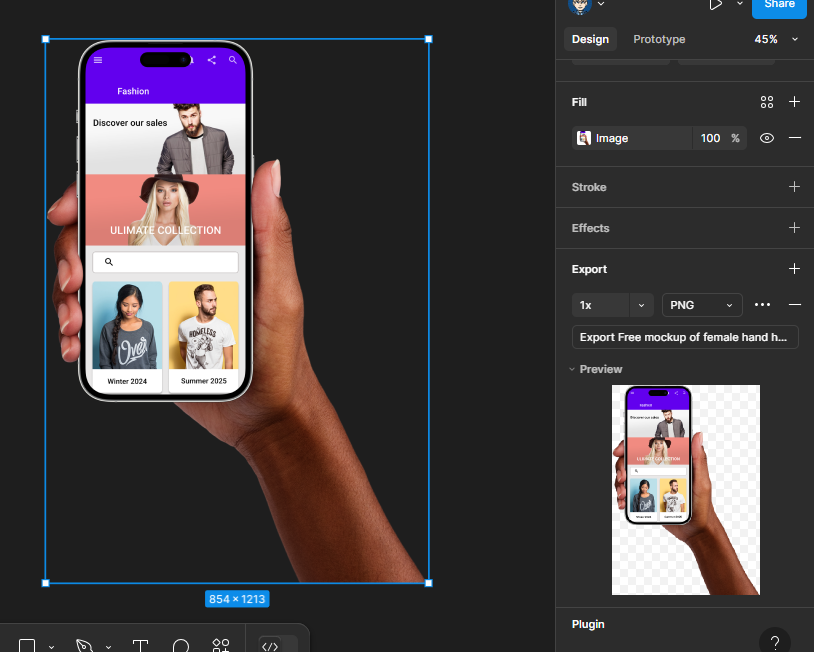
You can export the mock-up as an image (PNG or JPEG) to use in your reports, case studies, portfolios & presentations
4. Mock-up on Project Thumbnail
You can also use the mock-up on a ‘Project Cover’ Page.
Create a New Page & name it Cover, make sure it is the top page on the Page list - if not drag it up
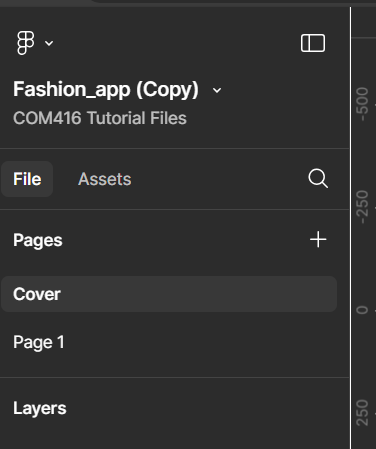
Create your design within a 1920 x 960 Frame,
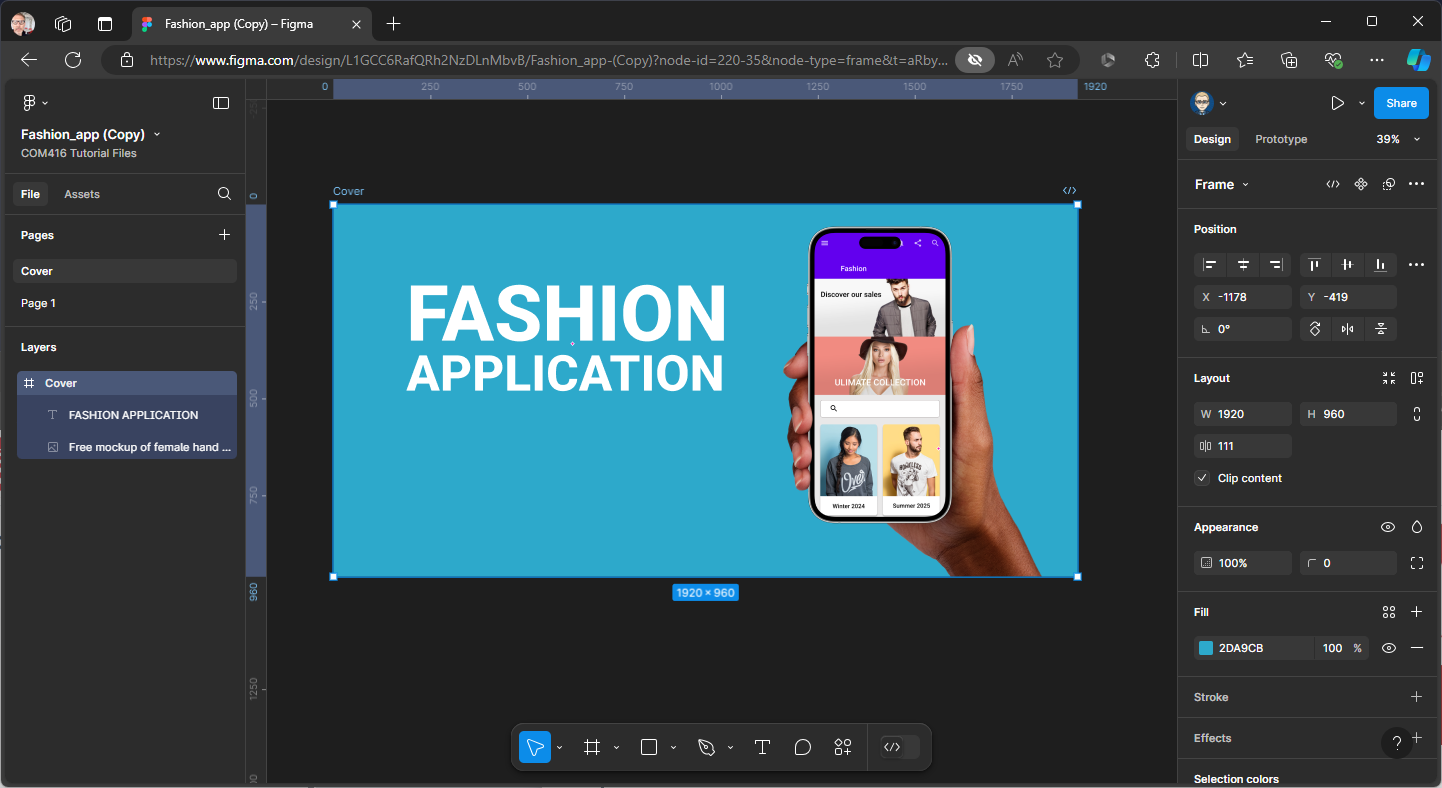
Once complete select the Frame & Right Mouse & select Set as Thumbnail
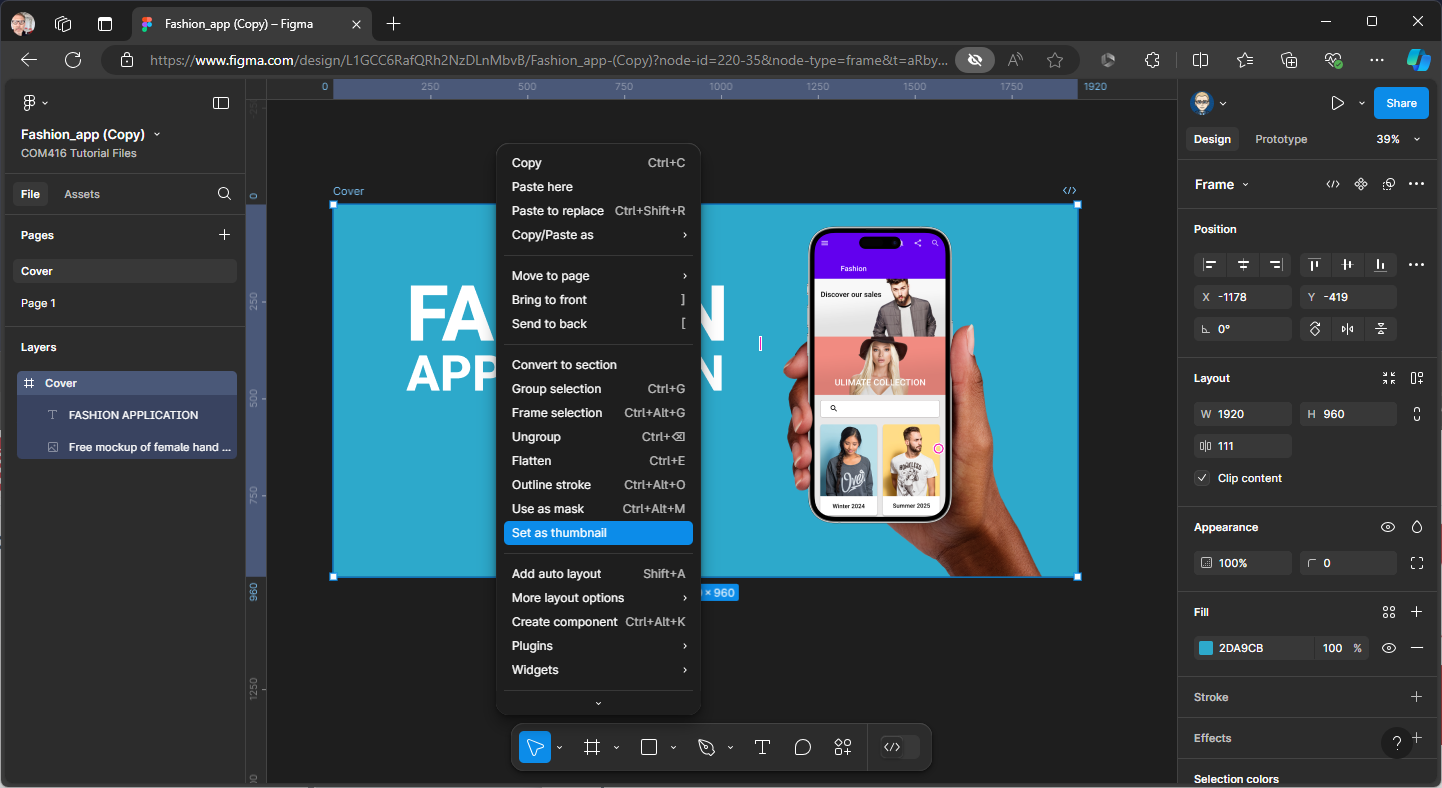
The Thumbnail icon will appear on both the Frame Label & in the Layers panel

Now go back to Files
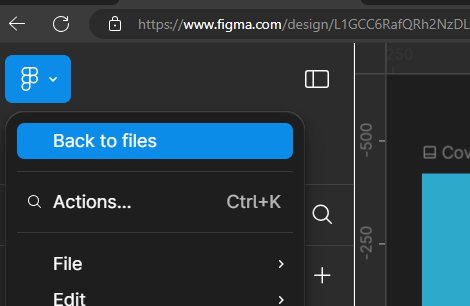
Your cover Thumbnail will now be presented on your Project File
