How to Create a Button Component in Figma
1. Set Up Your Document
- Open a new design file and name it Buttons.
- Click on ASSETS
- Click Library icon
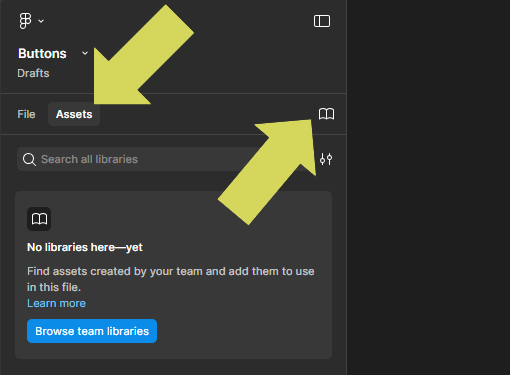
Search for Material Design Icons (Community) & click Add to file

The Library will appear in Assets Then click File to return to your design 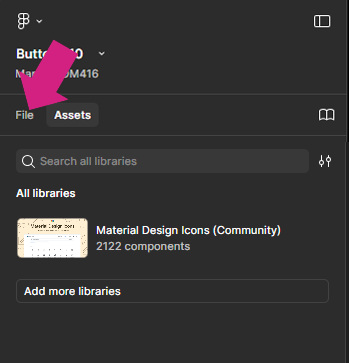
2. Create the Button Frame

- Use the toolbar or press F on your keyboard to draw a frame.
- Set the size to 150 x 38 in the properties panel.
- Add a corner radius of 6.
- Choose a fill colour.
- Name the frame Button in the layers panel or directly on the frame label.
3. Add an Icon
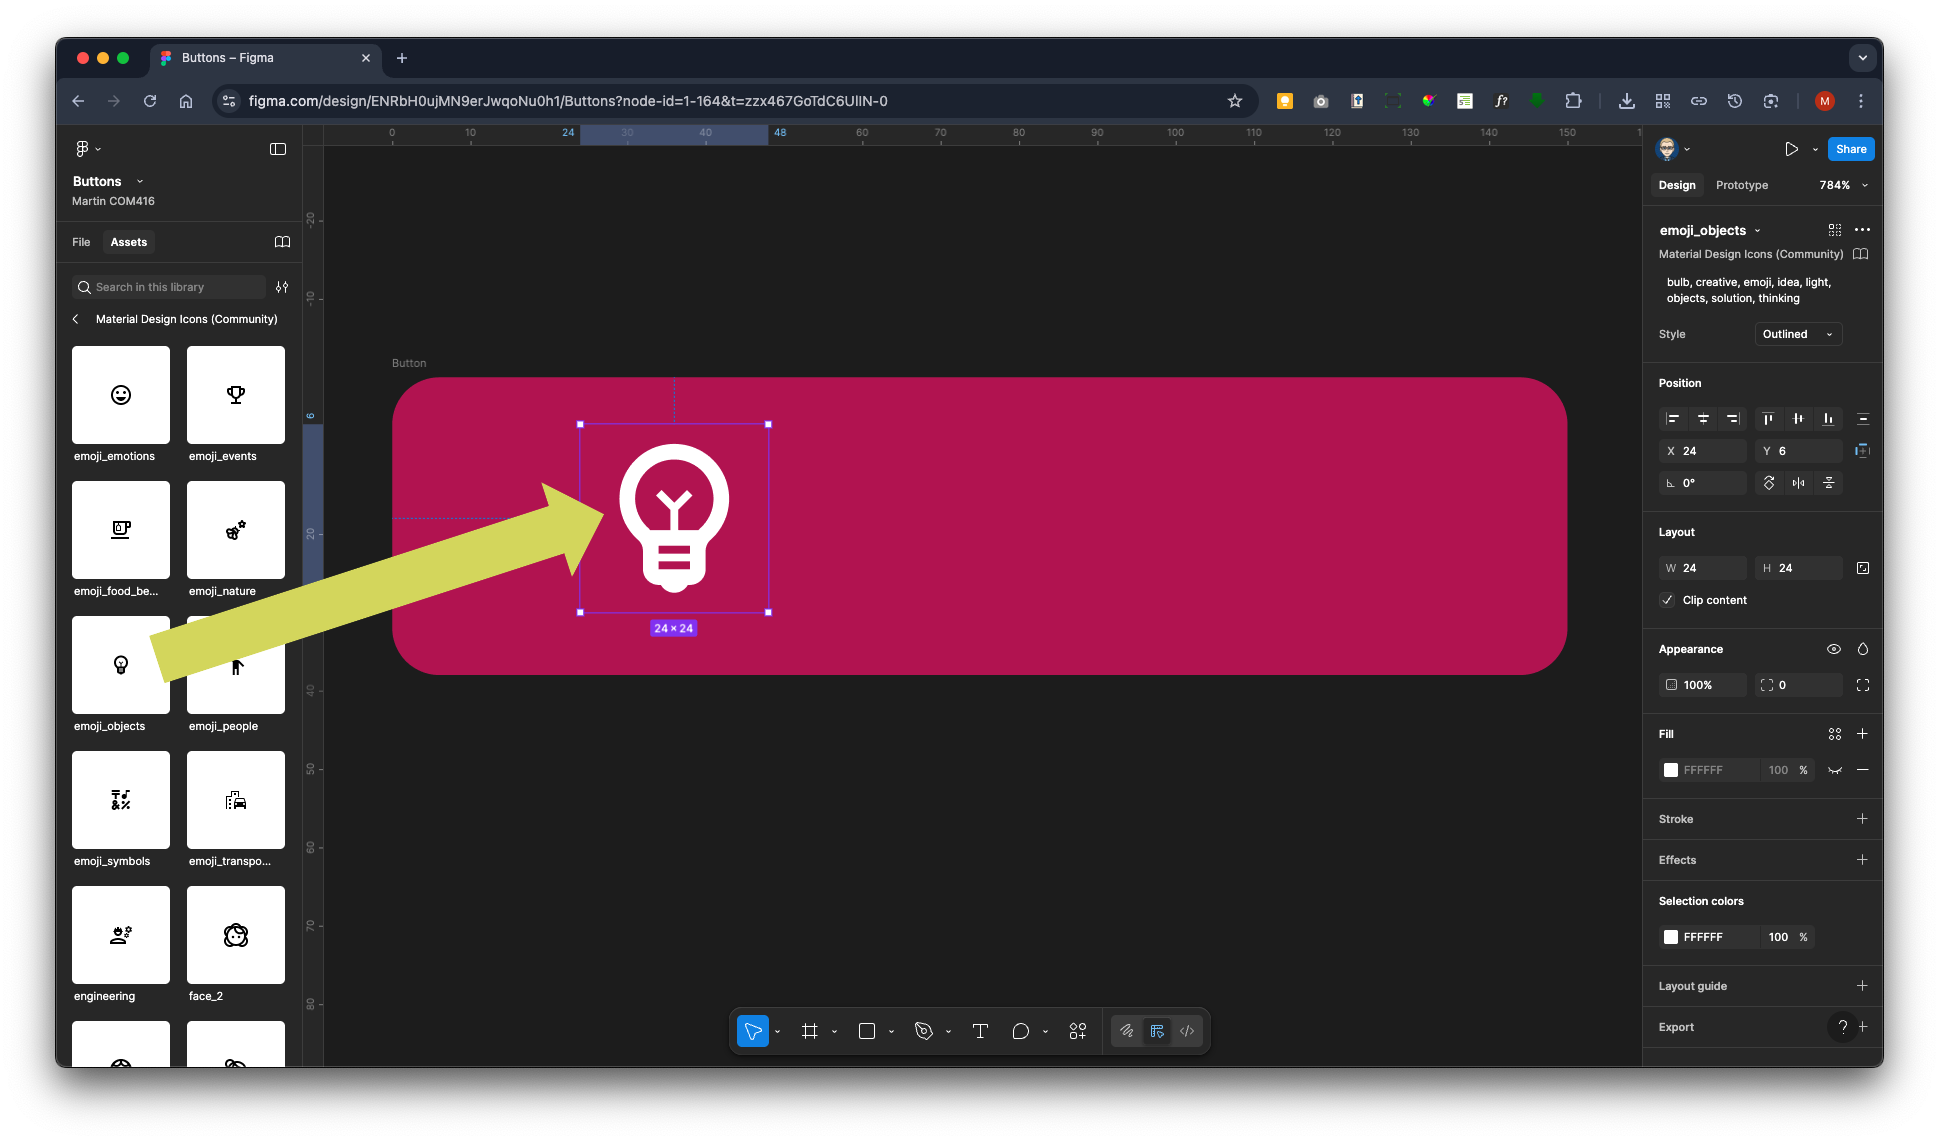
- Open the Assets panel on the right.
- Find the Material Design icons.
- Drag and drop an icon onto the Button frame.
- Make sure the icon is inside the frame (check the layers panel for indentation).
- If it’s not, drag it into place manually.
4. Add Text
- Select the text tool or press T.
- Click inside the Button frame and type BUTTON.
- In the Typography section, set the font to Roboto, style Bold, size 18pt.
5. Apply Auto Layout
- Select the Button frame.
- In the Auto Layout section of the properties panel, set alignment to Centre.
6. Fix the Frame Height
- Make sure the frame height is exactly 38.
- Change the layout setting from Hug to Add max height to lock it at 38.
7. Convert to Component
- Right-click the frame and choose Create Component.
- Or use the Frame section in the properties panel to do the same.
Add Properties to Make It Interactive
8. Icon On/Off Switch
- Select the icon inside the Button frame (you may need to drill down in the layers panel).
- In the Appearance section, click + New variable/property.
- Name it Show icon and click Create Property.
9. Editable Text Label
- Select the button text.
- In the Text section, click Add variable/property.
- Click + New variable/property.
- In the panel that appears, change Text to Label.
- The Label property will now be added.
10. Icon Swap (Optional)
- You can also add a property to swap the icon if needed, using the same method as above.
Quick Summary
- Frame: 150 x 38
- Text: BUTTON – Roboto – Bold – 18pt
- Icon added
- Auto Layout applied
- Frame converted to Component
- Label text property added
- Icon swap property added
- Icon show/hide property added