Vertical & Horizontal Scrolling Walk-through
 Introduction
Walkthrough Video
1. Set-up
This walkthrough is to set-up/create components and layout to create a drag scroll interaction.
- Create a new Figma file (project)
- Give it a name
- Rename Page 1 to Components and create a new page and call this layout
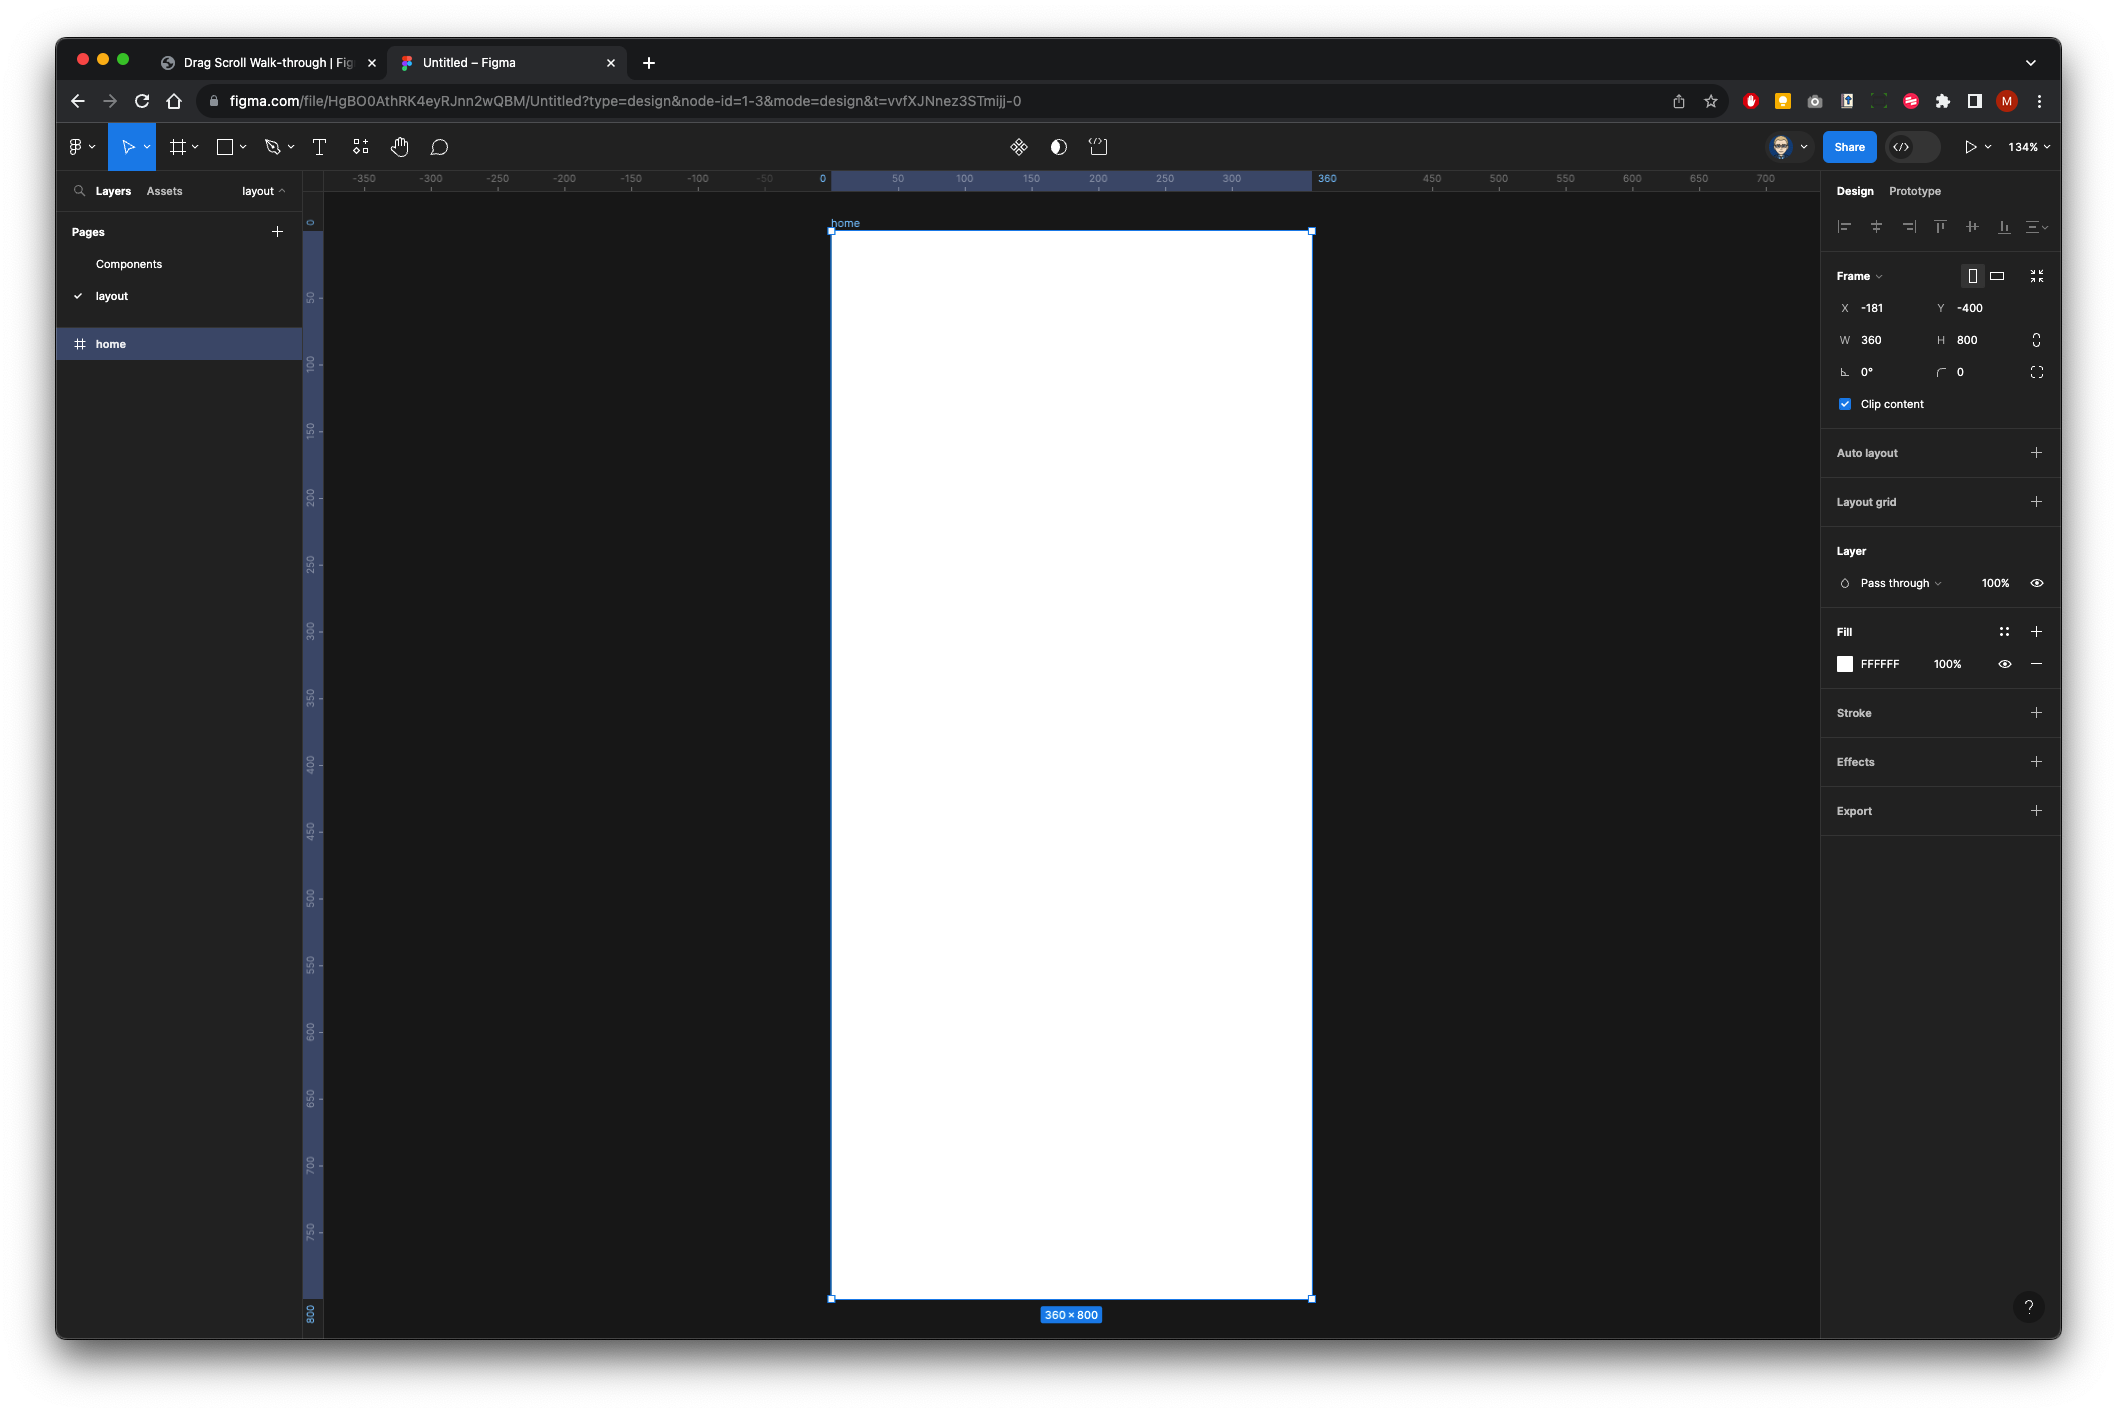
- Create a Frame by pressing
Fon keyboard, using the Android Large template from the Properties panel Android large 360 x 800
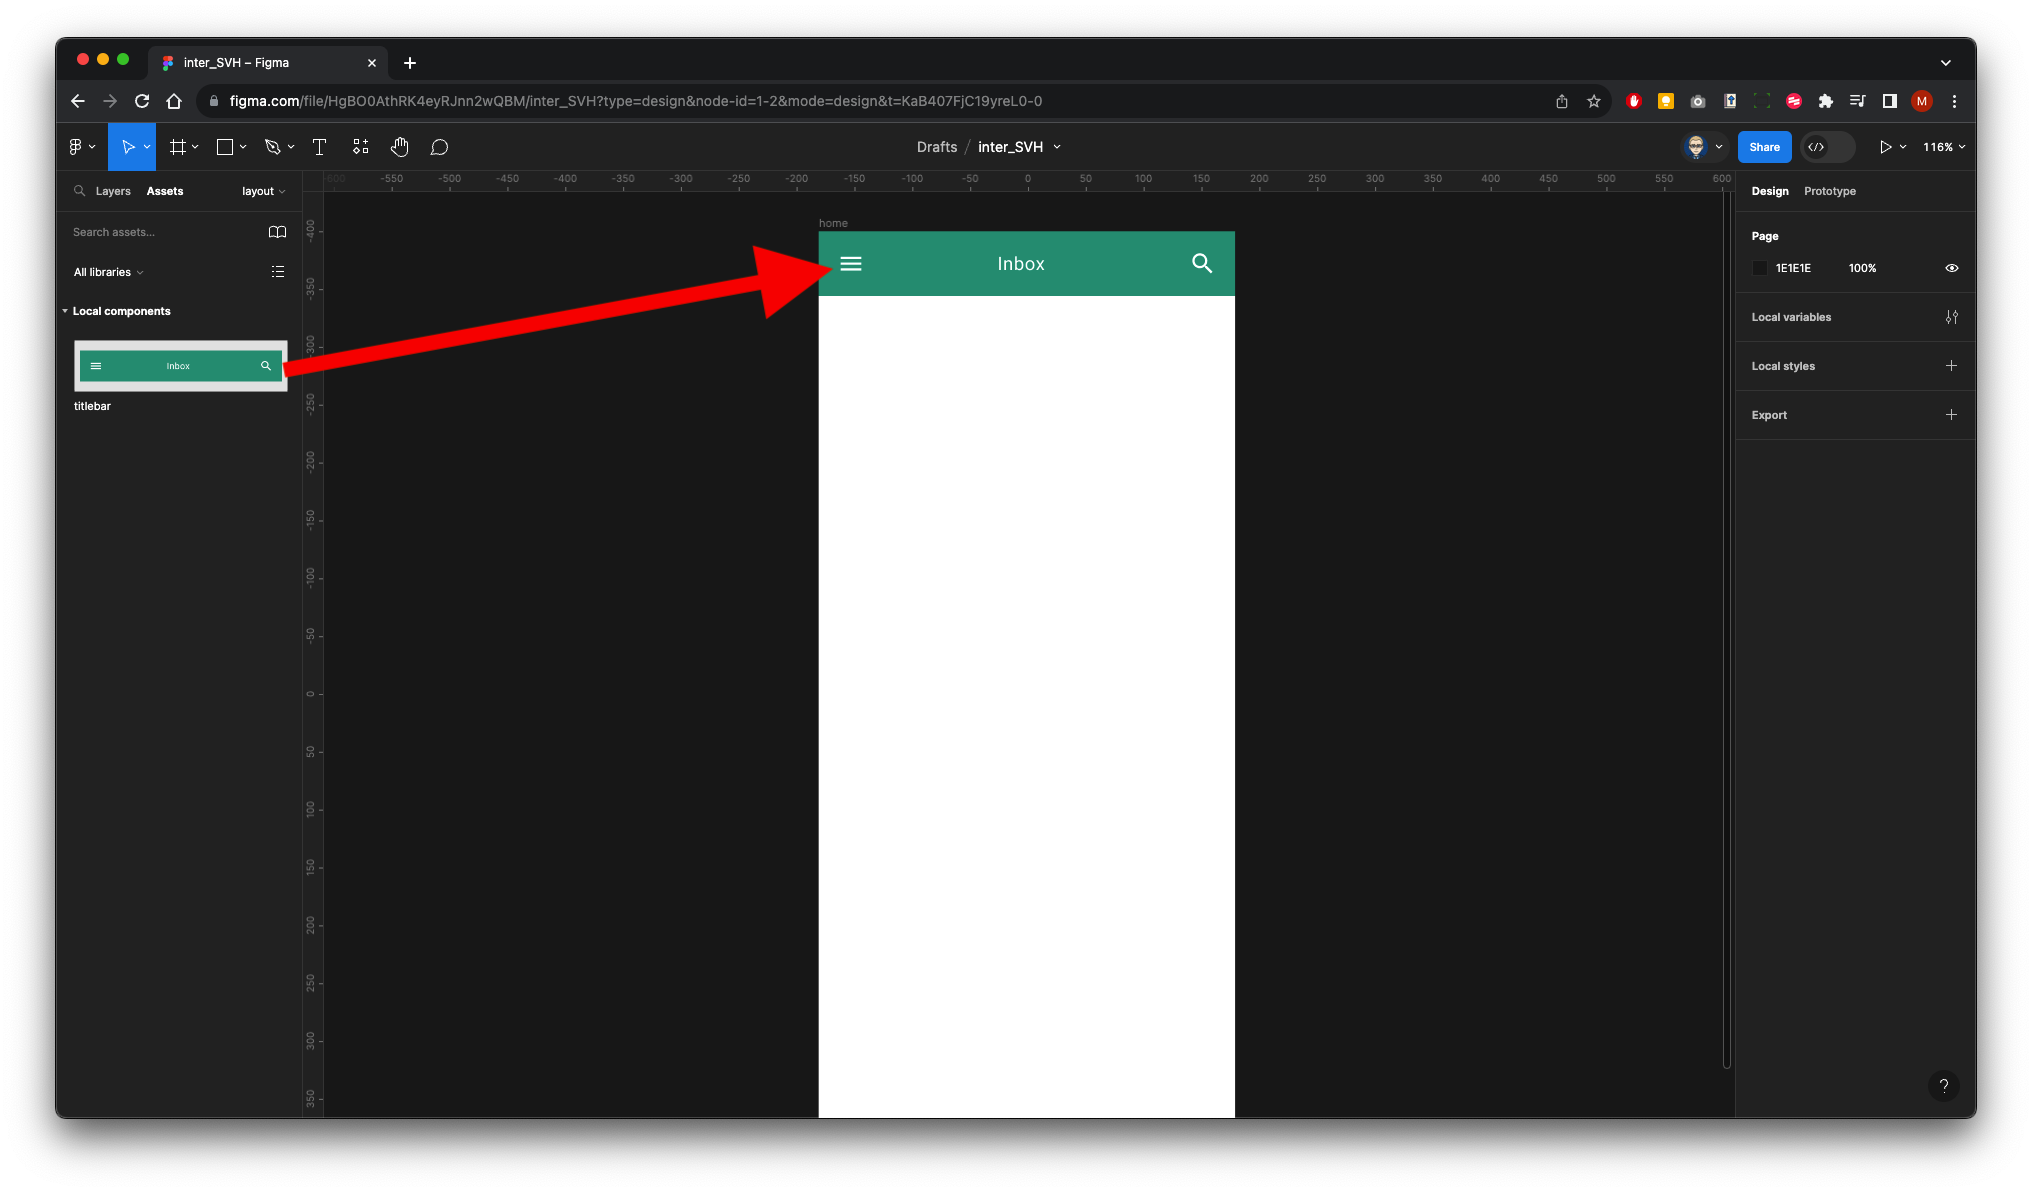
On the Components page, create a Title Bar 360 x 56 and turn it into a Component. Or import one from a shared library.

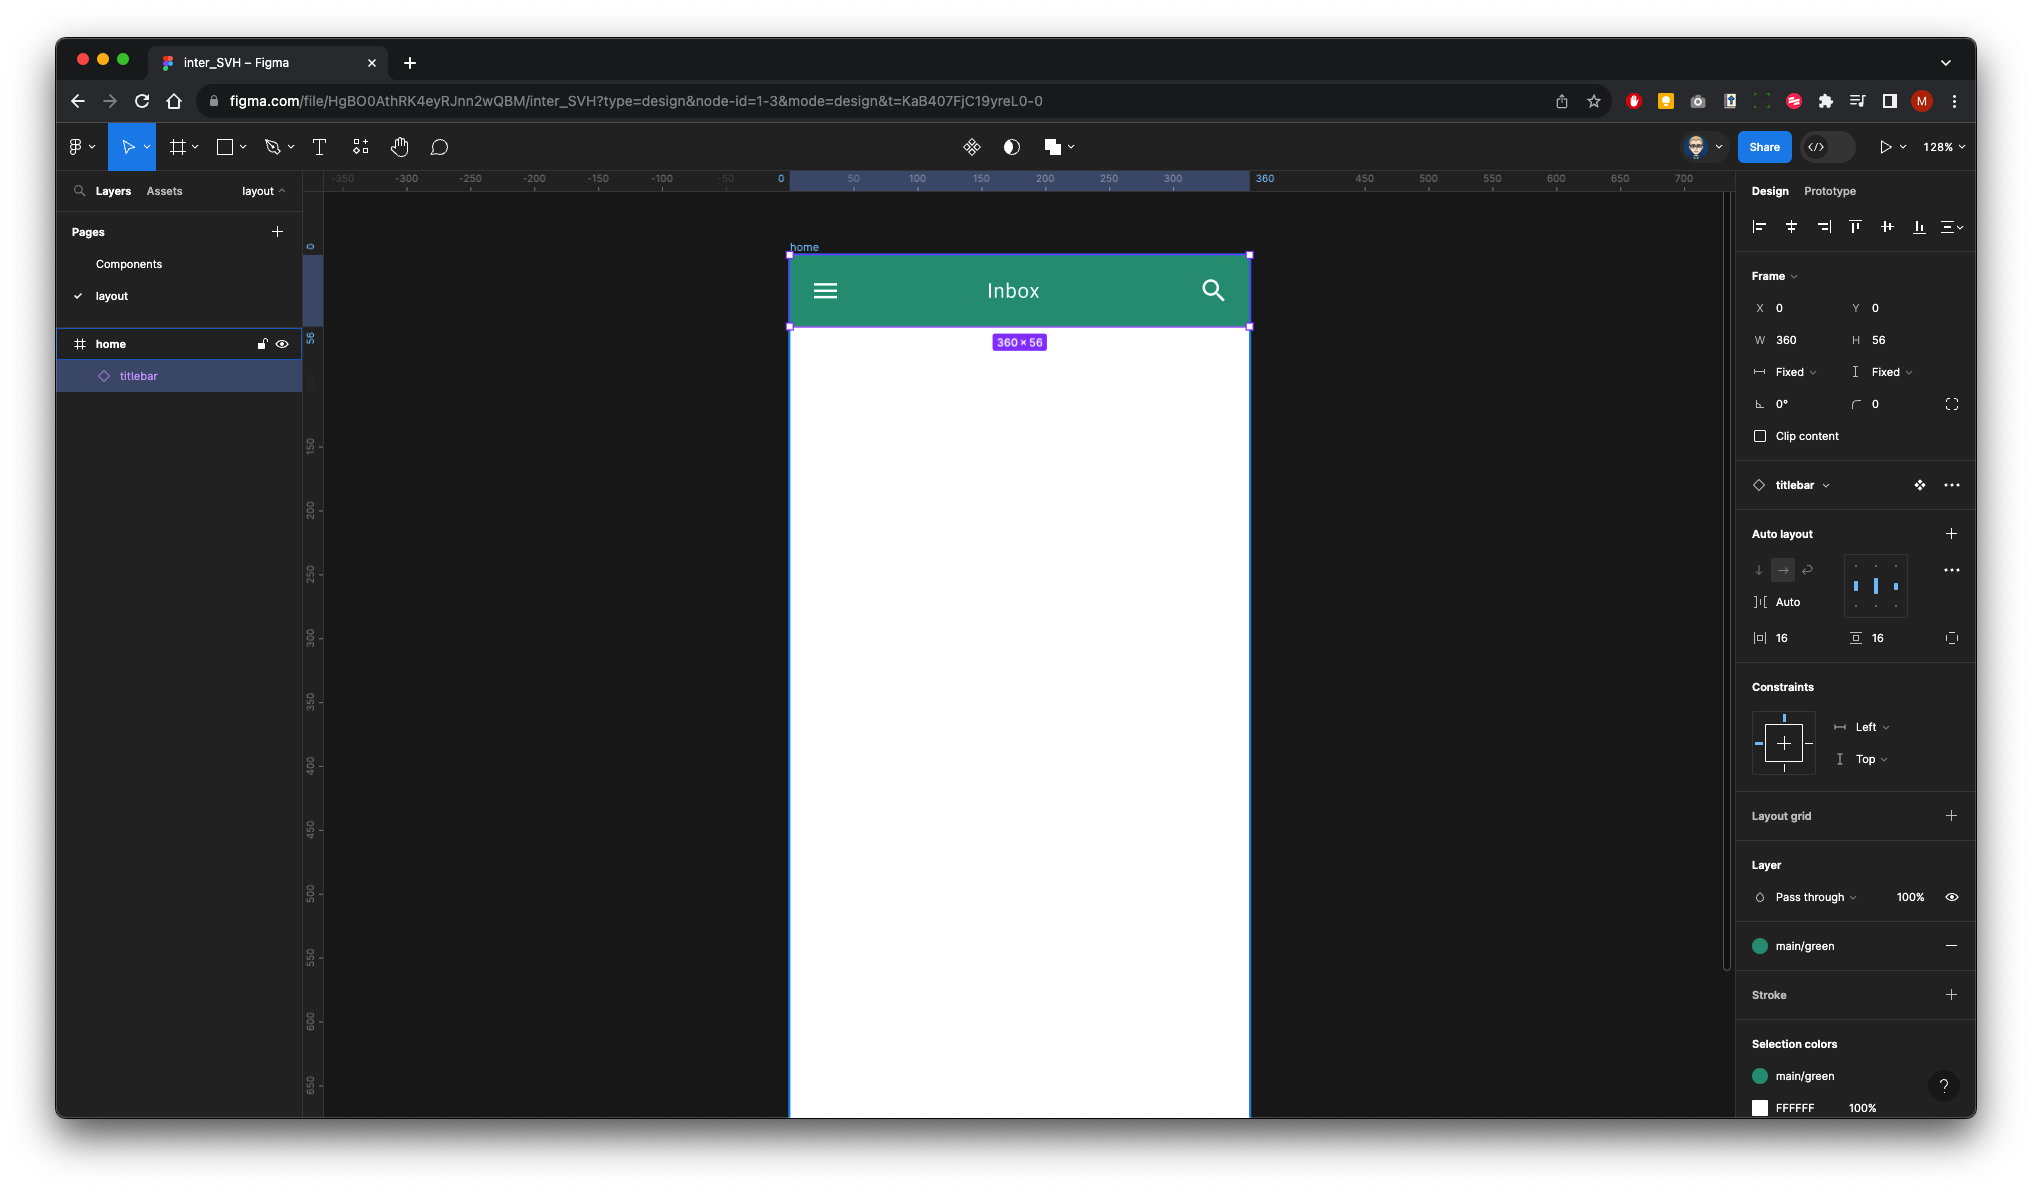
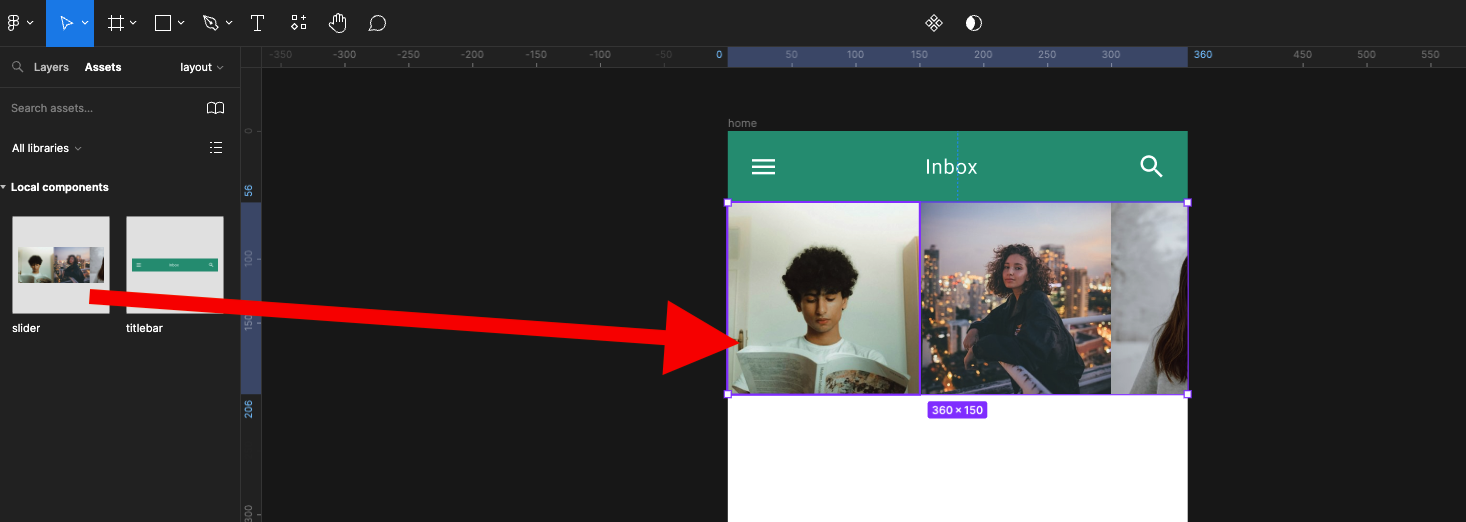
Go to Assets in the left panel and drag out the title bar onto your screen
Now go back to the Layers panel
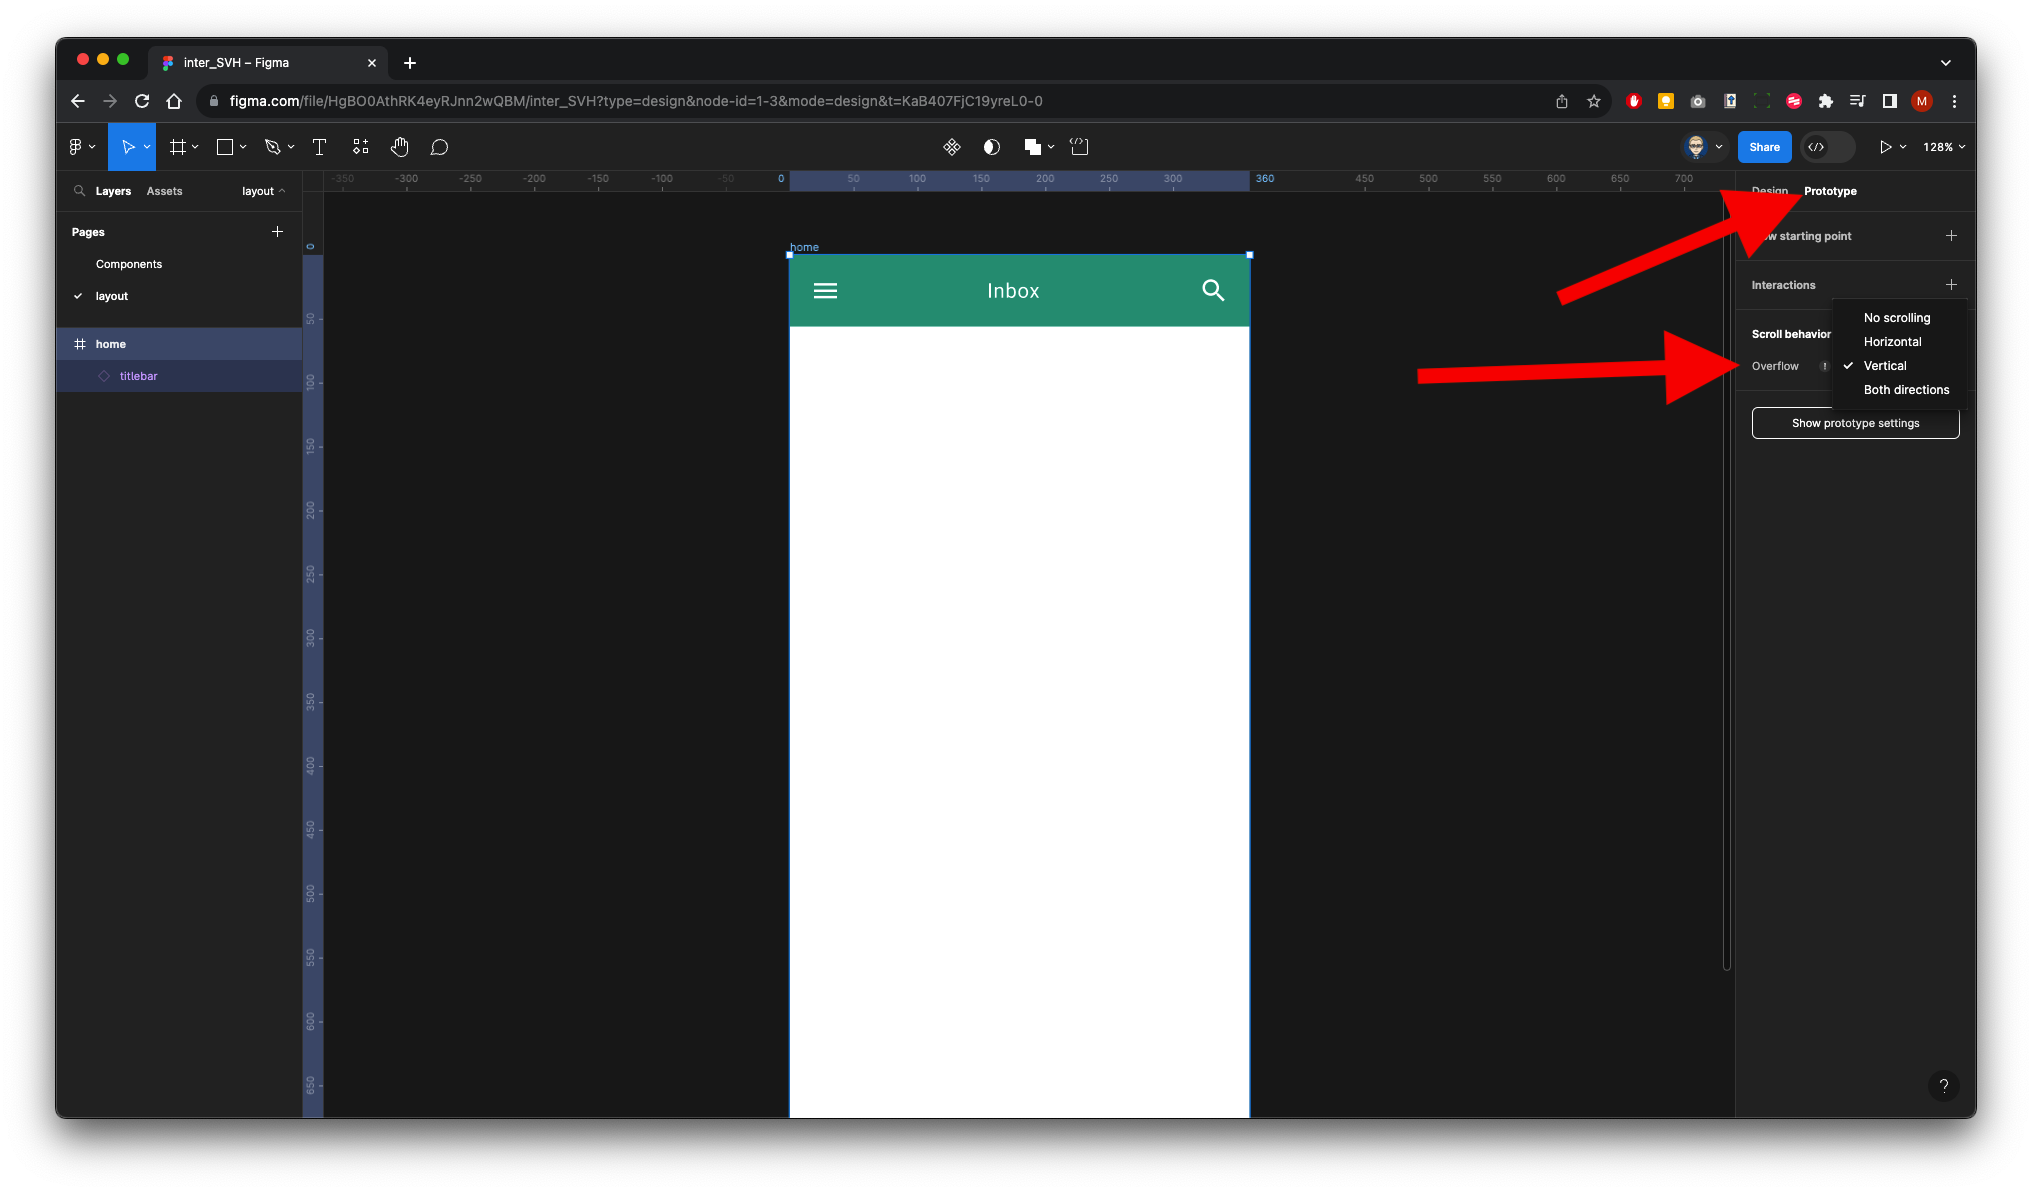
Select the Home frame, then in the Properties panel on the right select Prototype
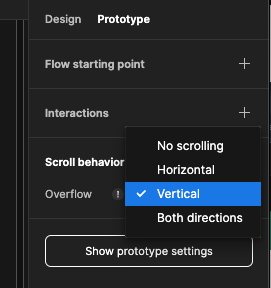
In the Scroll Behaviour section Change Overflow to vertical - You will receive an error message, this is because this container does not contain any child elements that are larger (overflowing) the frame. We will fix this later when we have content.
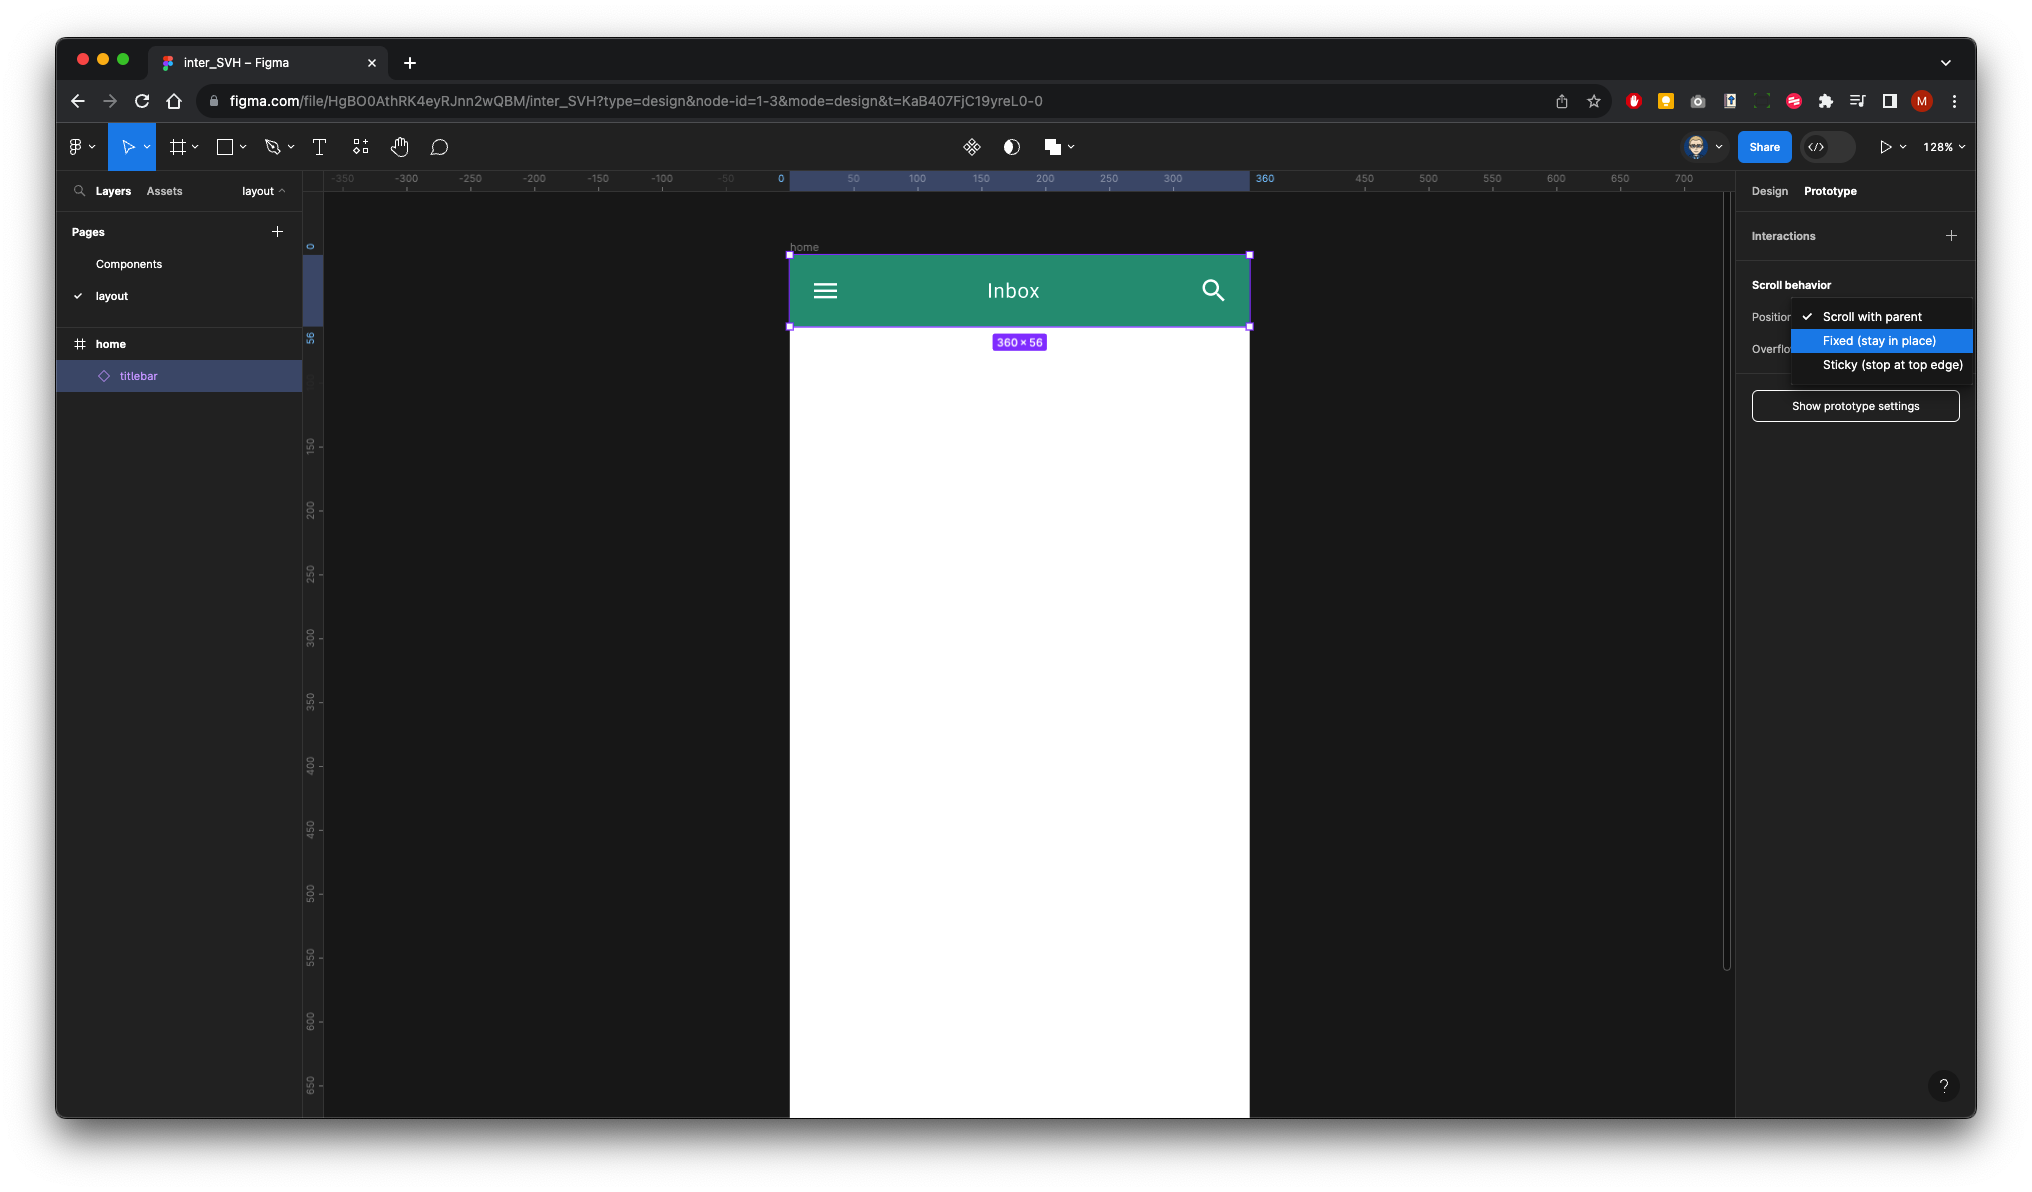
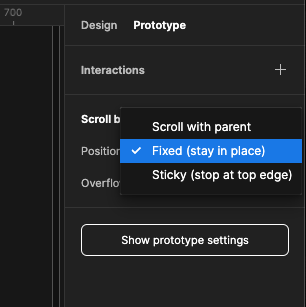
Now select the title bar again in the Prototype properties within the Scroll behaviour section, change Scroll with parent to Fixed (stay in place)
We will now go back to the com Component page to select a horizontal scrolling component 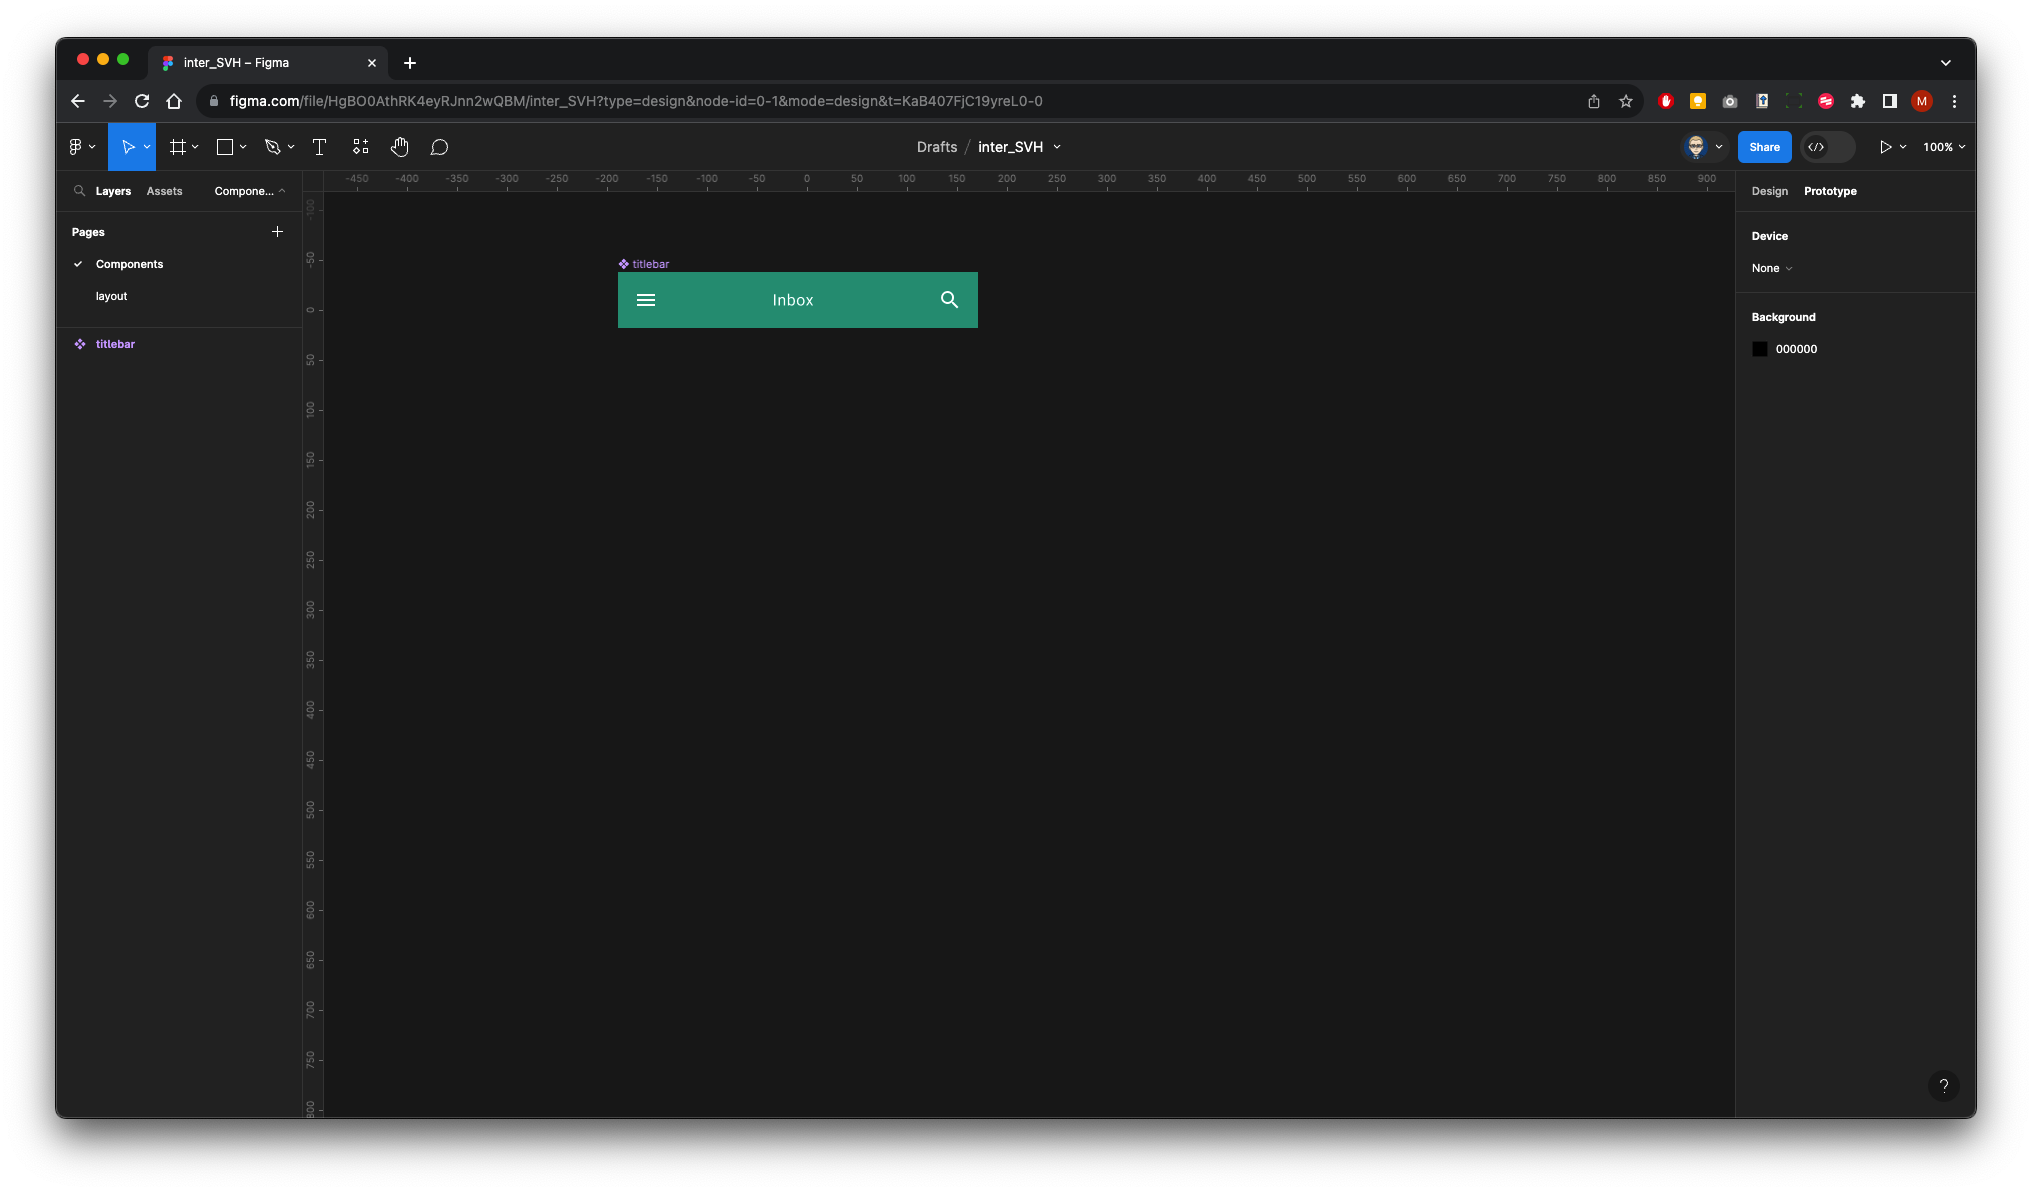
Create a square frame by holding the shift key and dragging diagonally get the size near enough 150 and then refine the size In the Design properties panel
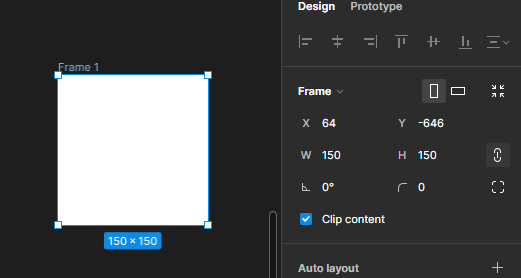
We need to duplicate this frame by holding shift + alt and dragging out a copy, continue until you have either five or six frames they should all be touching each other on the left sides

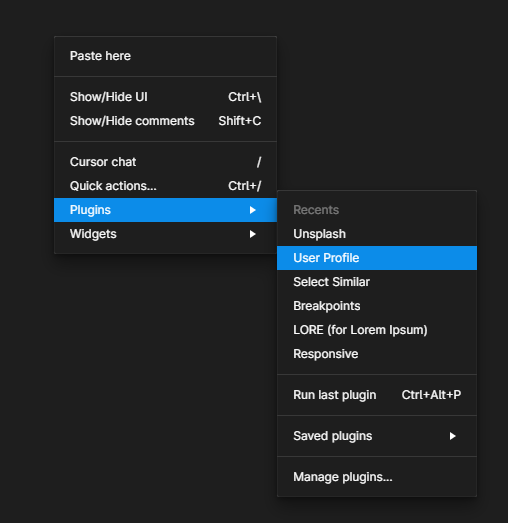
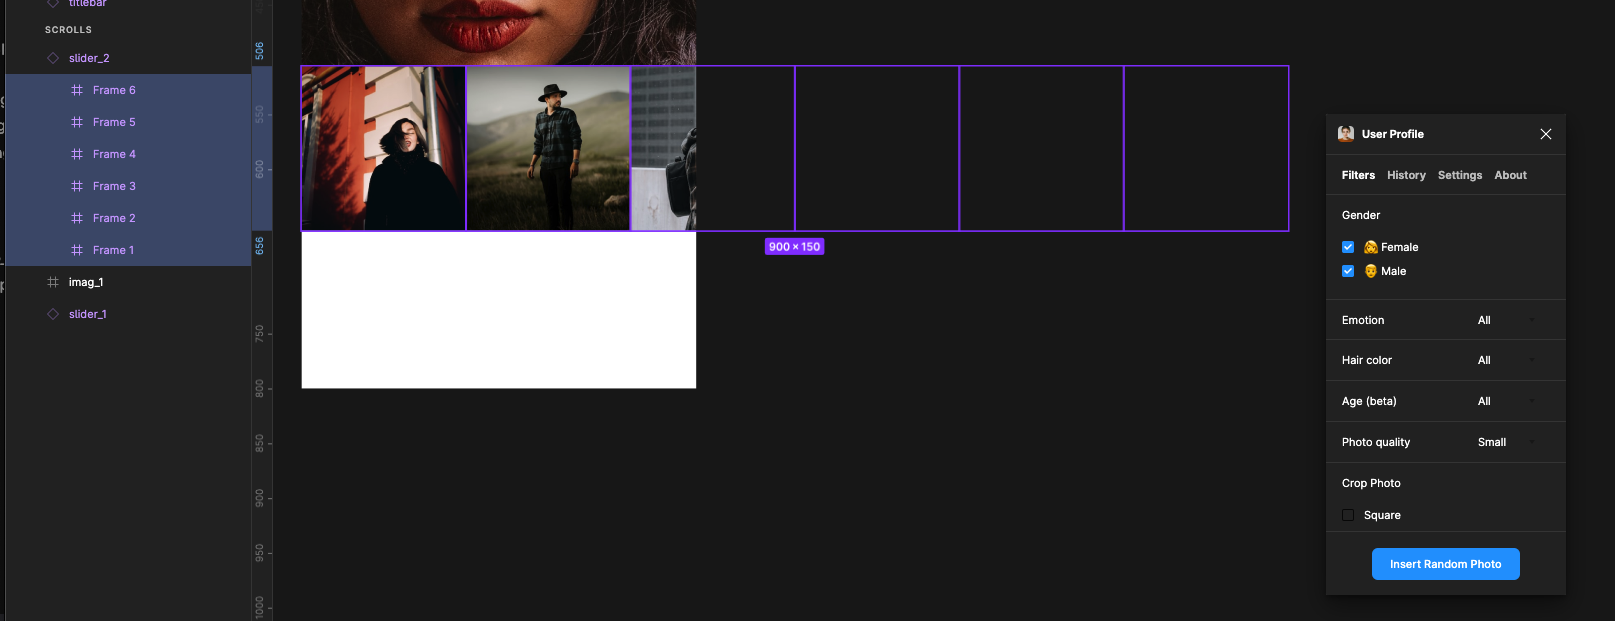
To do the next step, we will use User Profiles plug-in which is available in Figma community, once installed, you need to right mouse click on the pasteboard and go to plug-ins User Profile
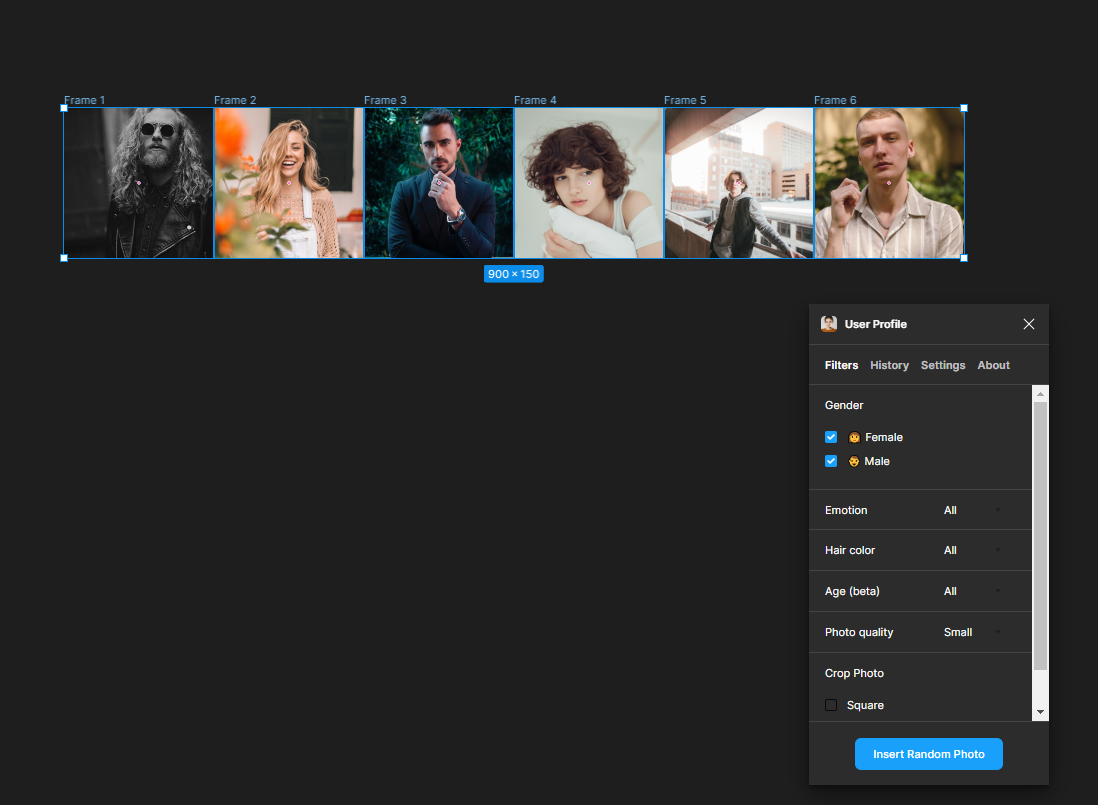
Customise as you see fit and then click the Insert Random Photo button - You can continue to click the button until you are satisfied with the random image selection.
Each of the frames is now populated with an image.
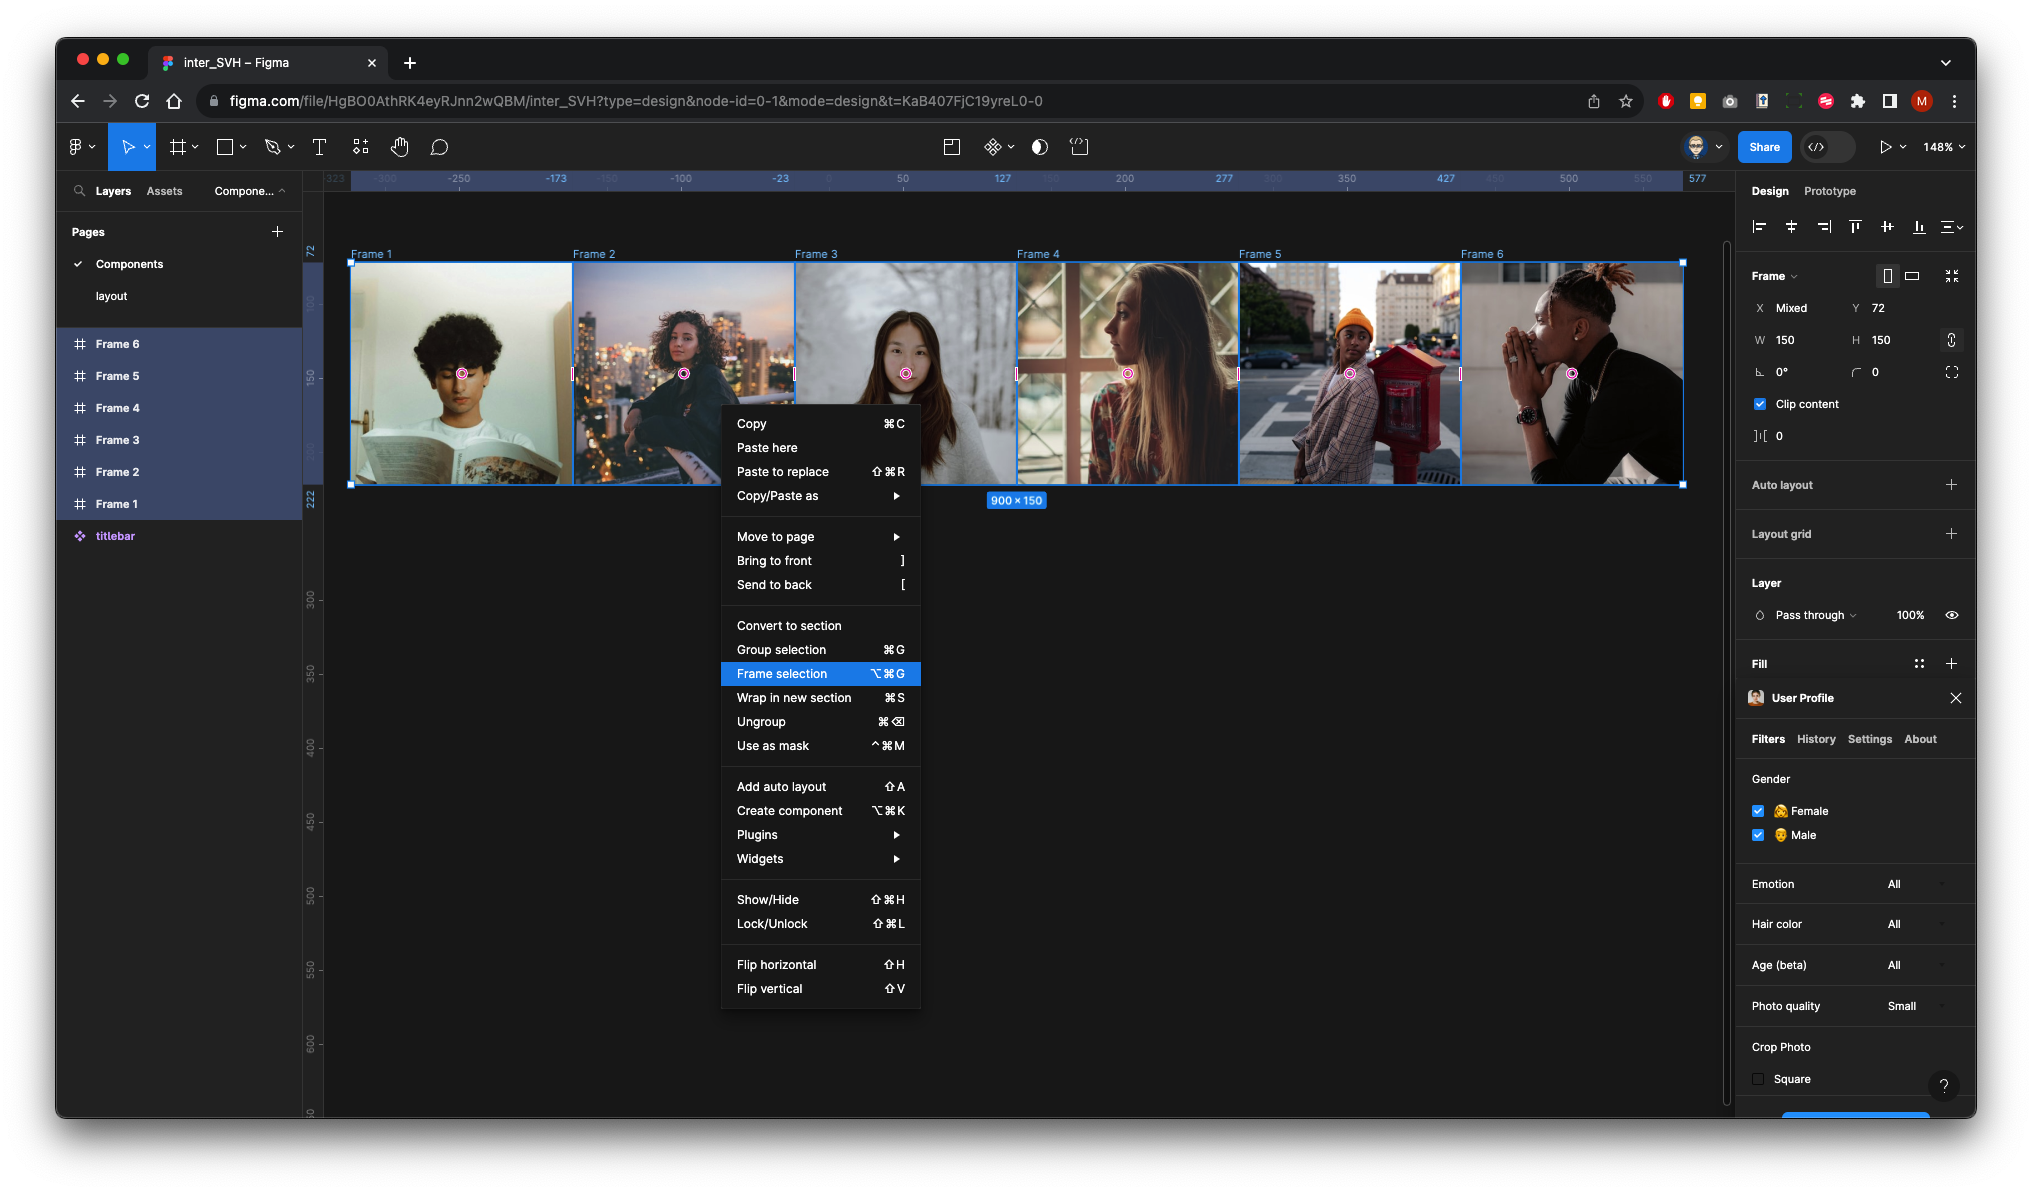
Now we need to create a Container for these frames - Make sure you have all the frames selected, then right mouse click, and from the pop-up click on frame selection
Name the container slider
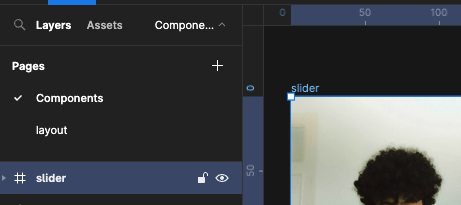
With the container element selected in the Design properties on the right check clip content.

We will now resize this container to 360 wide. This will allow clipping (masking) which will make the contents scrollable.
Currently the container is 900 wide

Change the width to 360 in the Properties panel

We now need to make this element scrollable horizontally
In the Properties panel on the right, select Prototype within the Scroll behaviours change overflow to horizontal
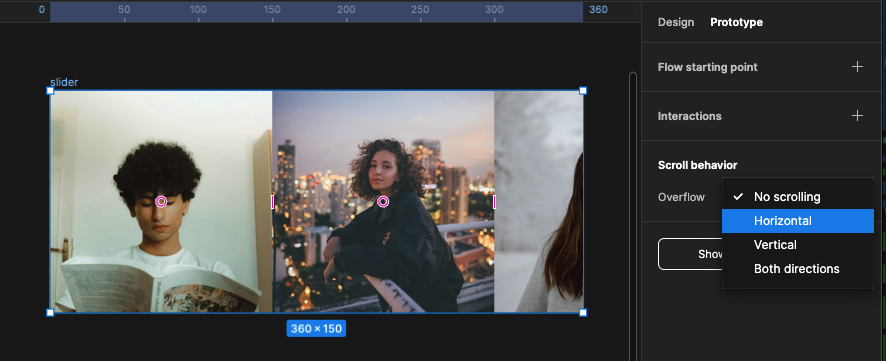
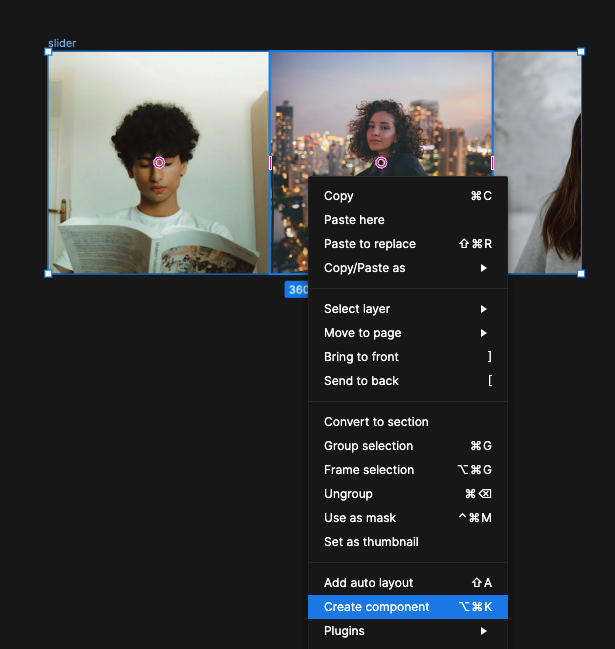
Finally, we will convert this element into a Component
Right mouse click on the element and click on Create Component
We will now go back to the layout page, select Assets from the left panel and drag out the Slider component onto your screen
We need to preview by running and presenting our prototype. Make sure you select Prototype from the properties panel on the right and click Play button to run.

It should now horizontal scroll when dragged left or right

We will now add more content to allow vertical scrolling.
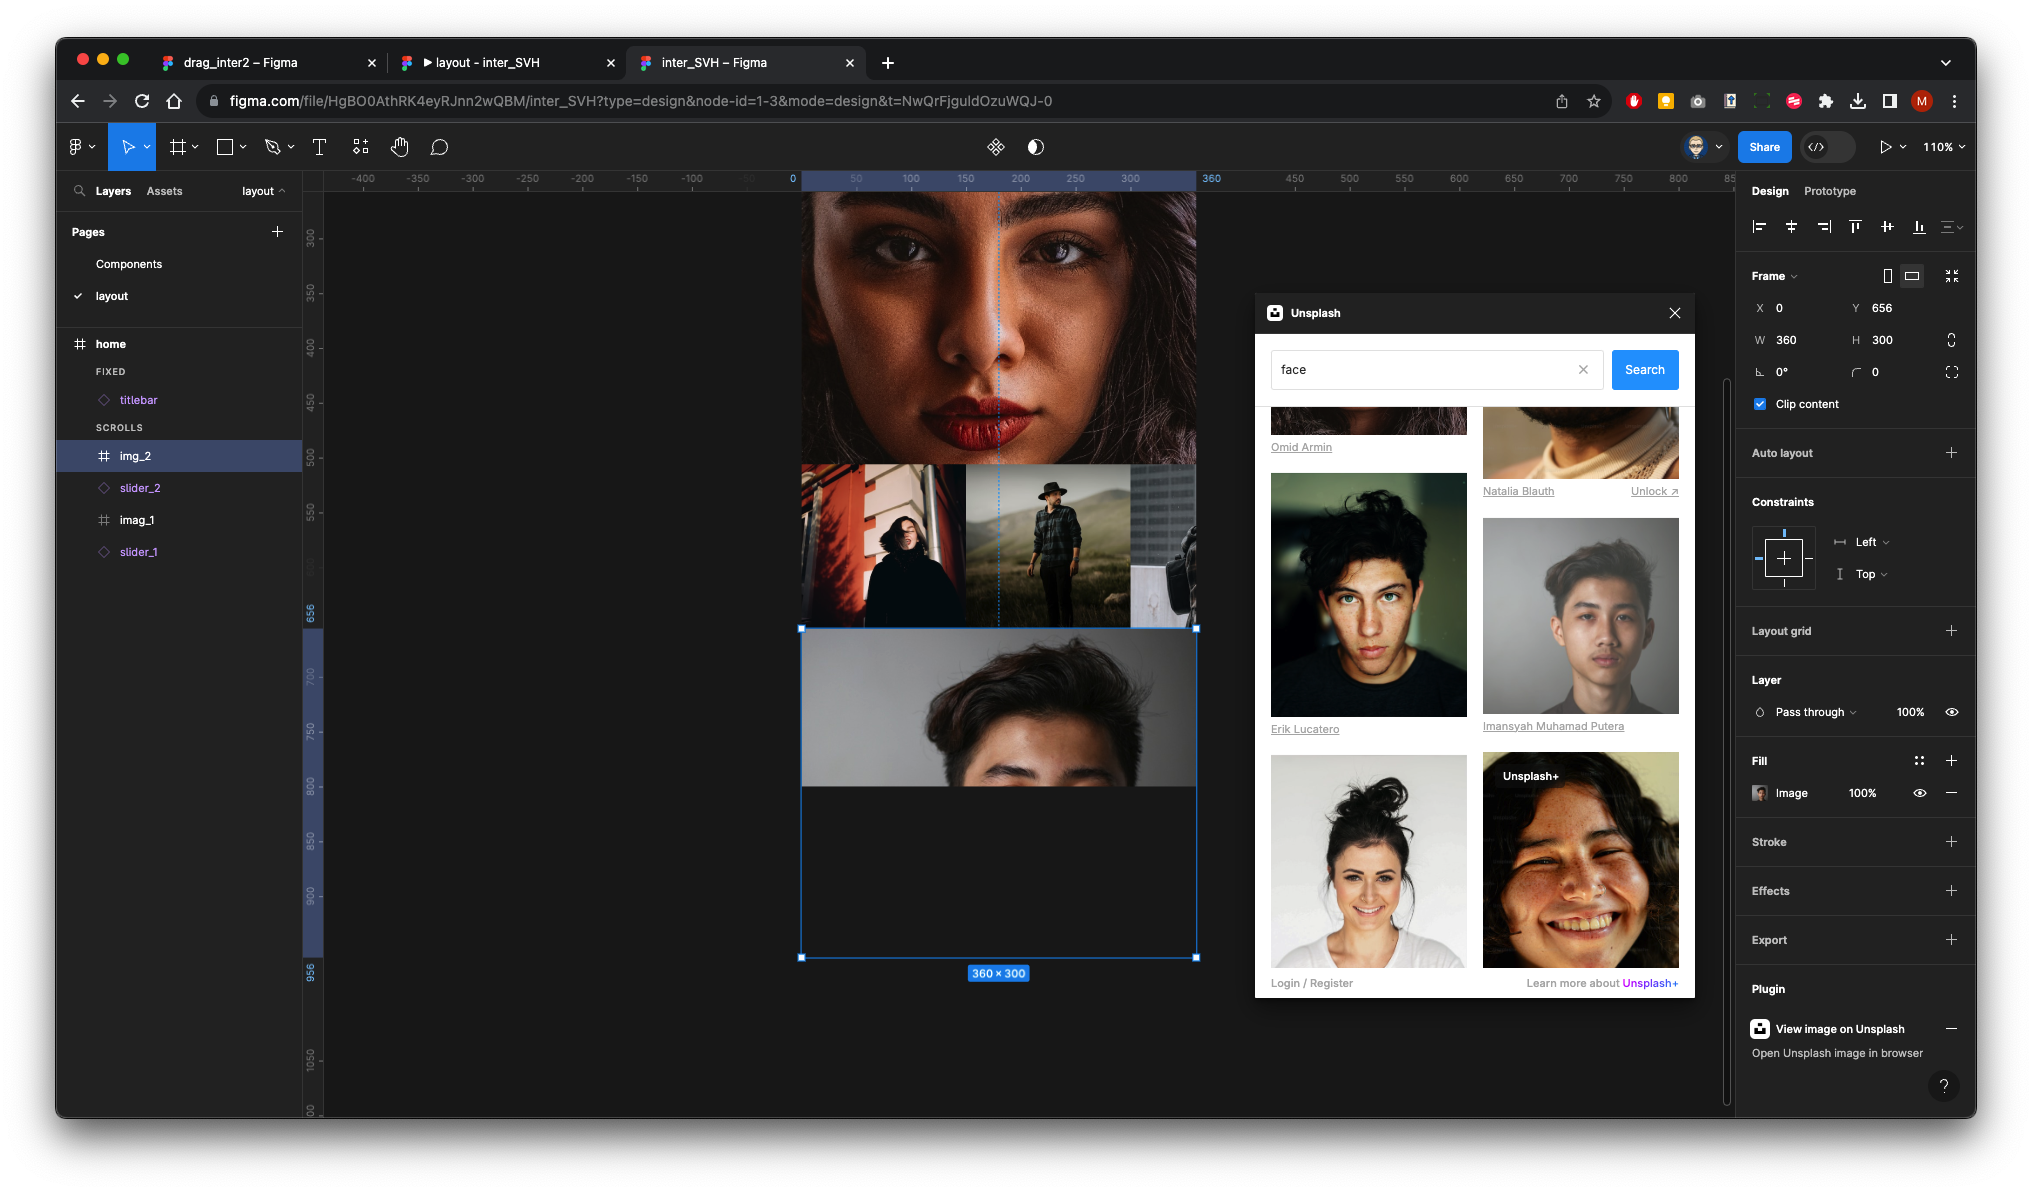
Create a new frame 360 wide by 300 high
You can either add an image from the User Profile or Unsplashed plug-ins

In the panel on the left, click on Assets and drag out another slider component underneath the image you have just created

Now select the Layers from the left panel and rename both of the sliders 1 and 2, so we can differentiate between them
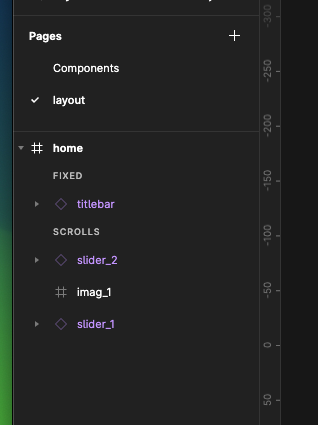
As the images are all the same in Slider t2, as in slider 1, we need to select the individual frames inside this container and change them using the User Profile plug-in
In the Layers panel on left, click each of the frames within the Slider container.
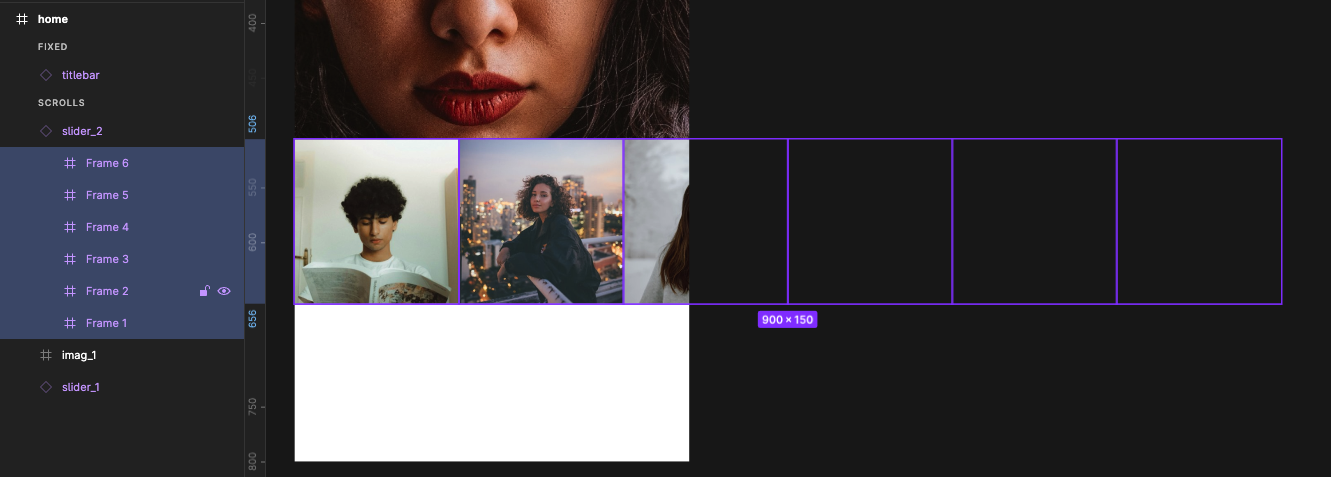
Then right-mouse click on the paste board and select the User Profile plug-in and insert random images.
We need to preview by running and presenting our prototype. Make sure you select Prototype from the properties panel on the right and click Play button to run.

Test the scroll on the second slider

As we did previously, we will add another Frame and add another image below the second slider. Make sure you have the Home screen frame selected before you create the frame so it is inside the container. It will clip the image which will allow us to vertical scroll.
Time to preview for the last time - You should be able to vertical and also Horizontal scroll on both the sliders with the title bar staying in position.
