Simple Menu - Auto-Layout - Walk-through
Create a frame 170w x 58h
Name it Button
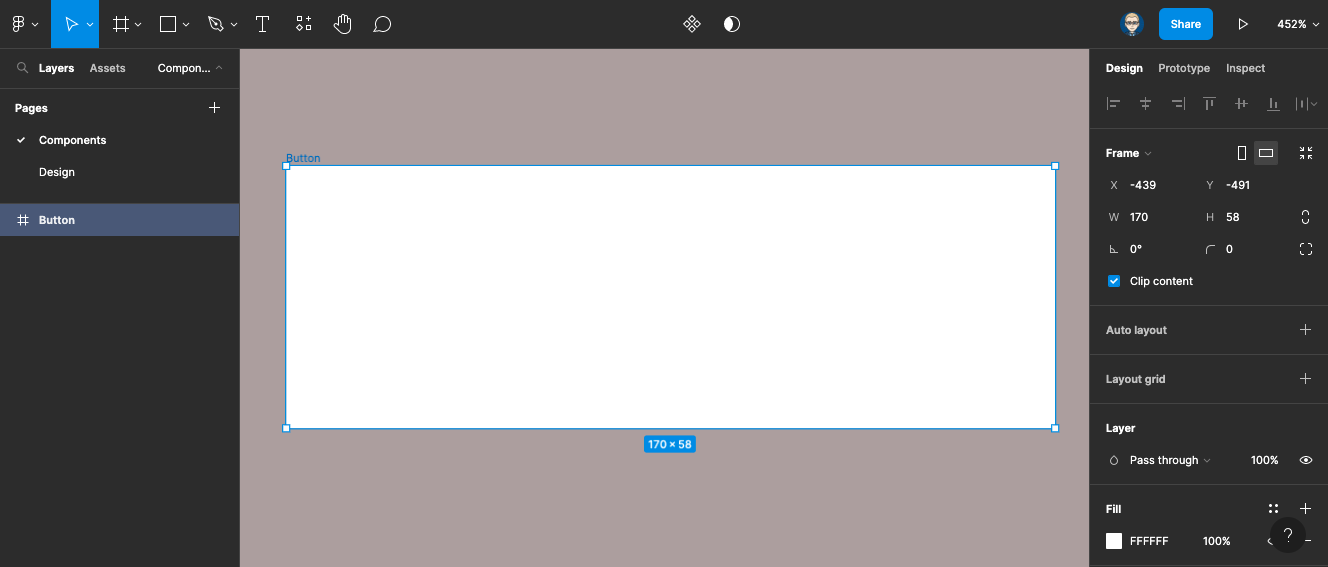
Click Auto-layout in properties panel

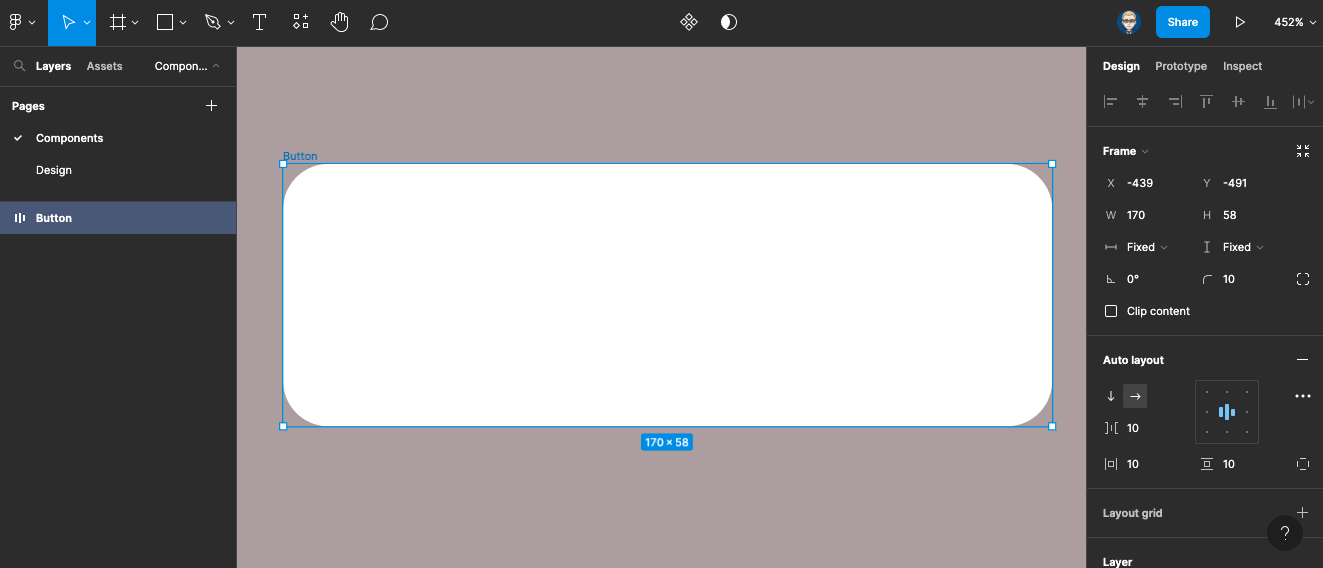
Auto-layout centre
W & H to fixed (from Hug)
Corner Radius 10
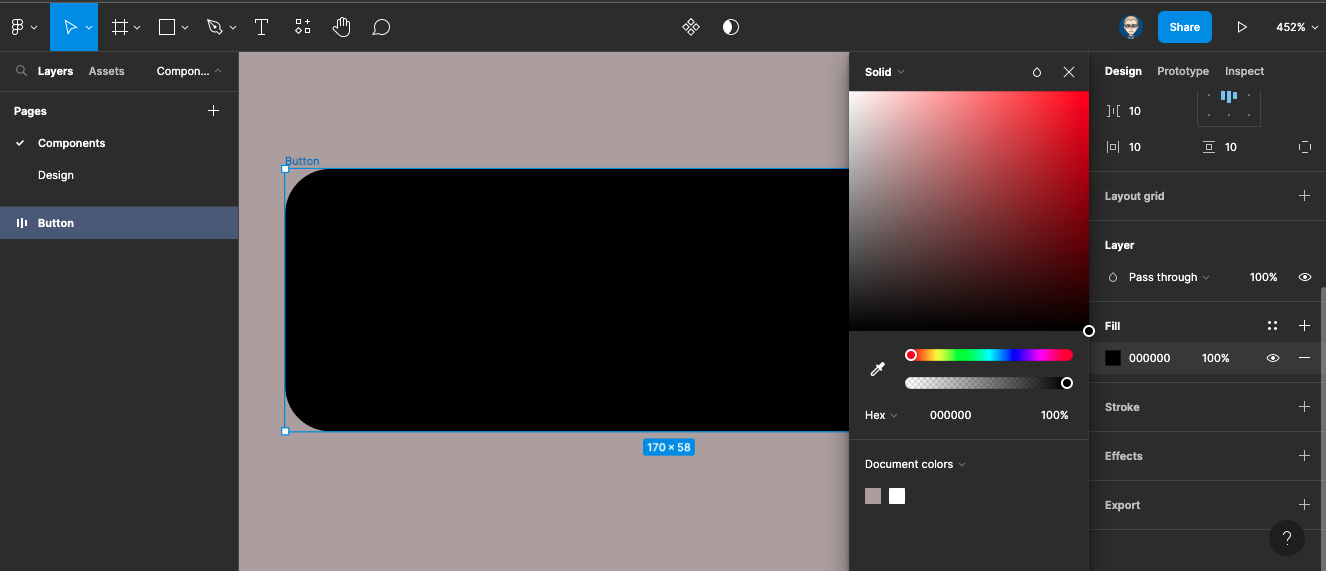
Fill colour Black
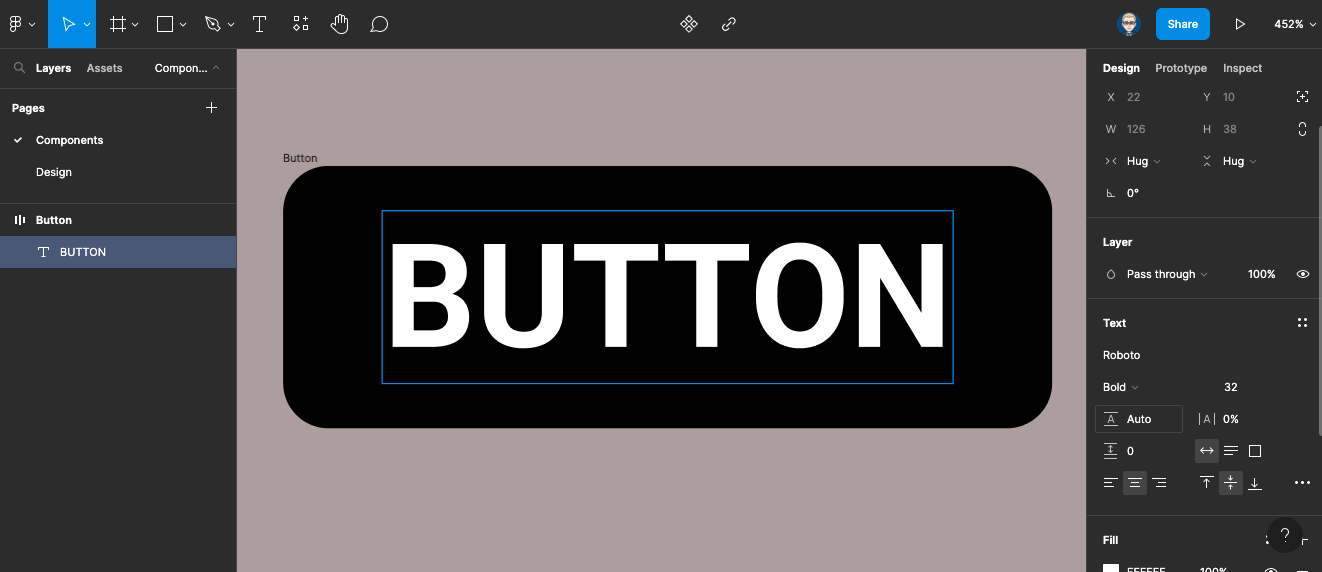
Select Text tool from menu or T on keyboard
Type in the word BUTTON
Select Parent Frame “Button” Click on its name/title or pressed \ on keyboard
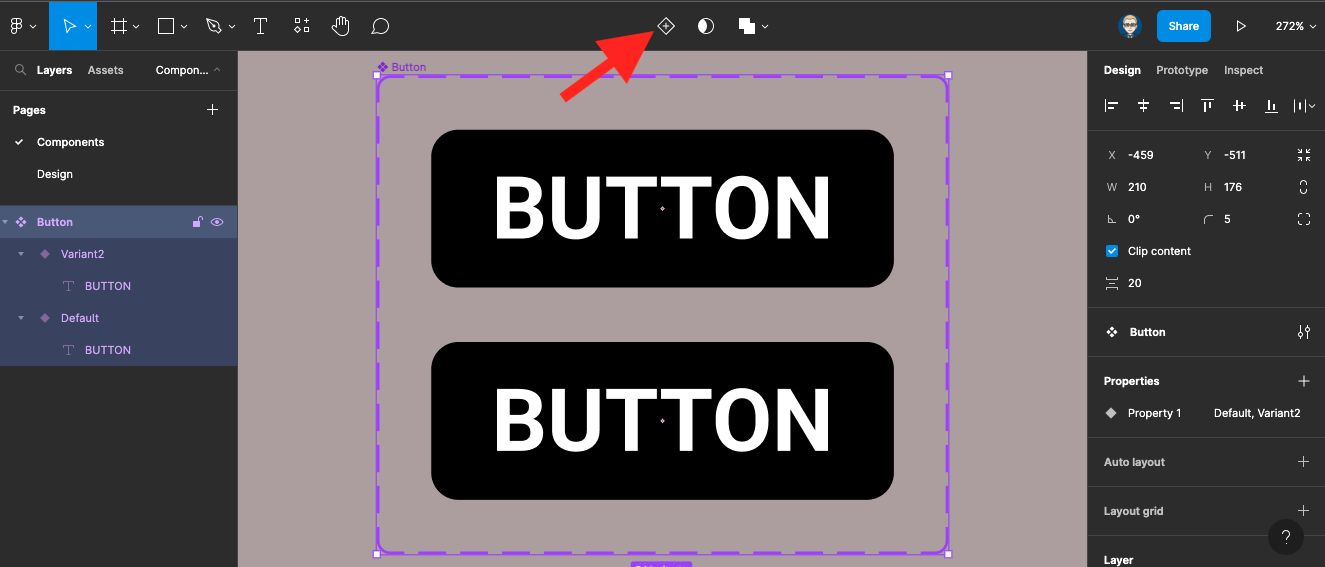
Make the button a component Click on Component icon or Mac: Alt + Cmd +k or PC: Alt + Ctrl +k
![]()
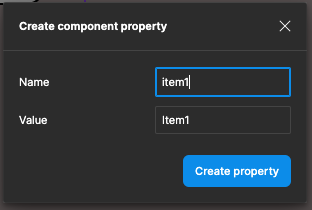
Select text layer either click it or Enter if Parent is selected, in the Properties click Content property icon
![]()
Call it Label & click create Property
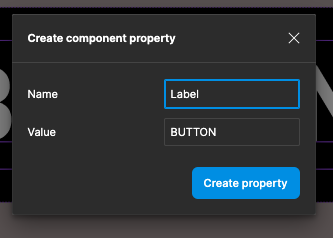
Now create it as a Add Variant
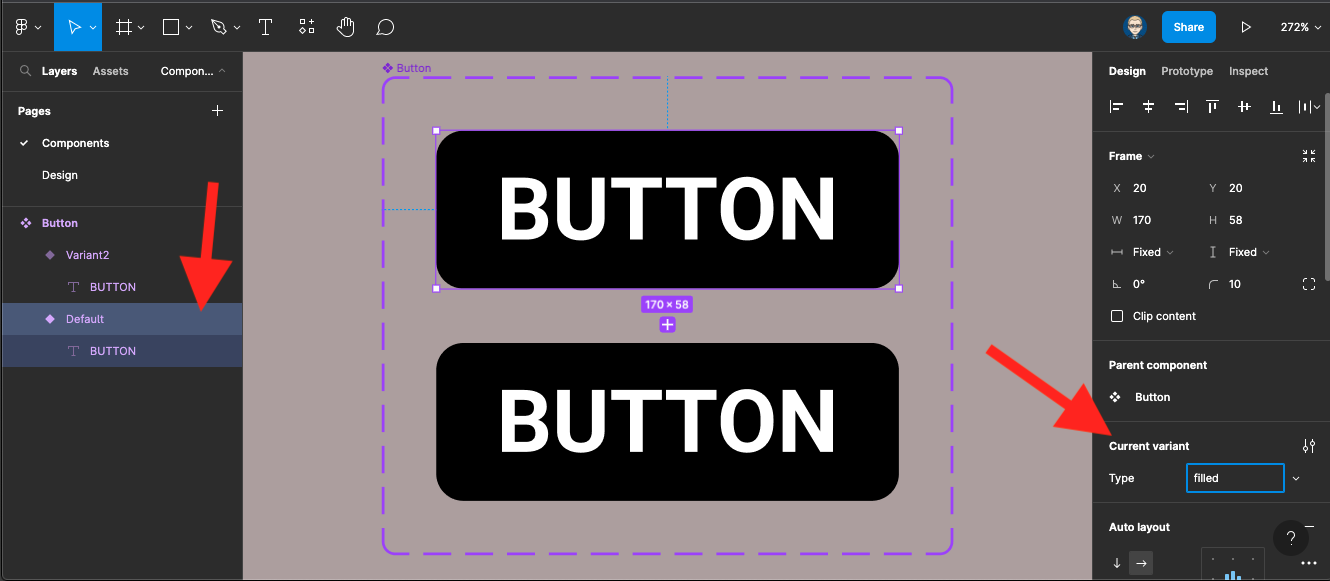
Select the Default layer button
In the Properties panel in the Current Variant section - change Property to Type and called it filled
Now select Variant2 layer and called the Type outlined
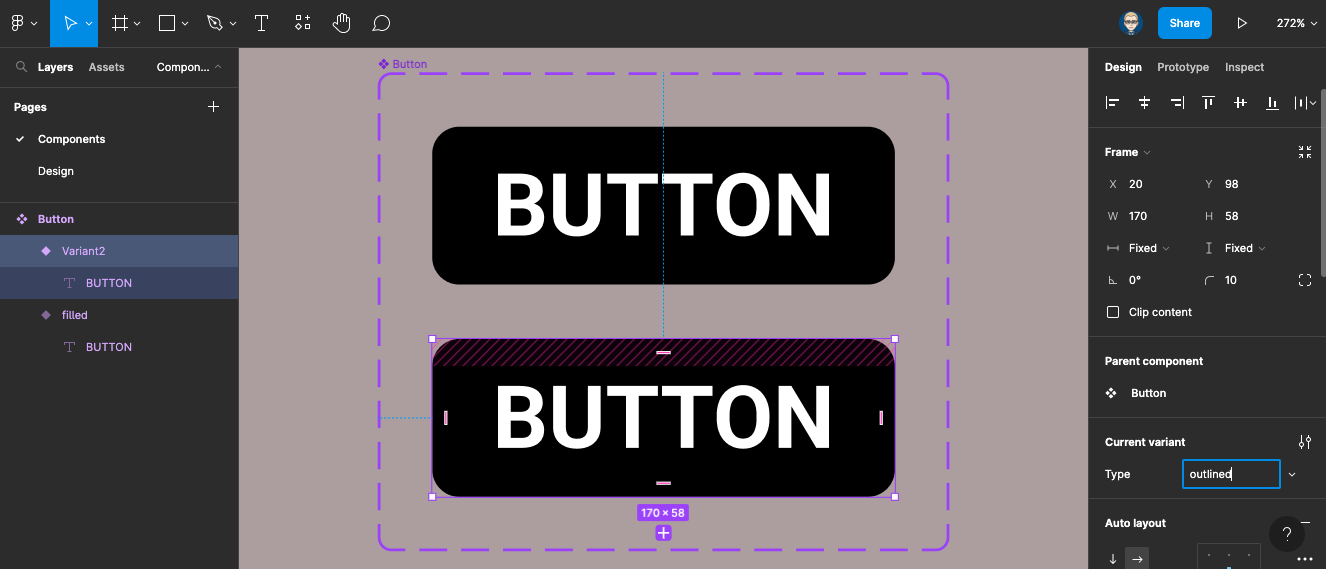
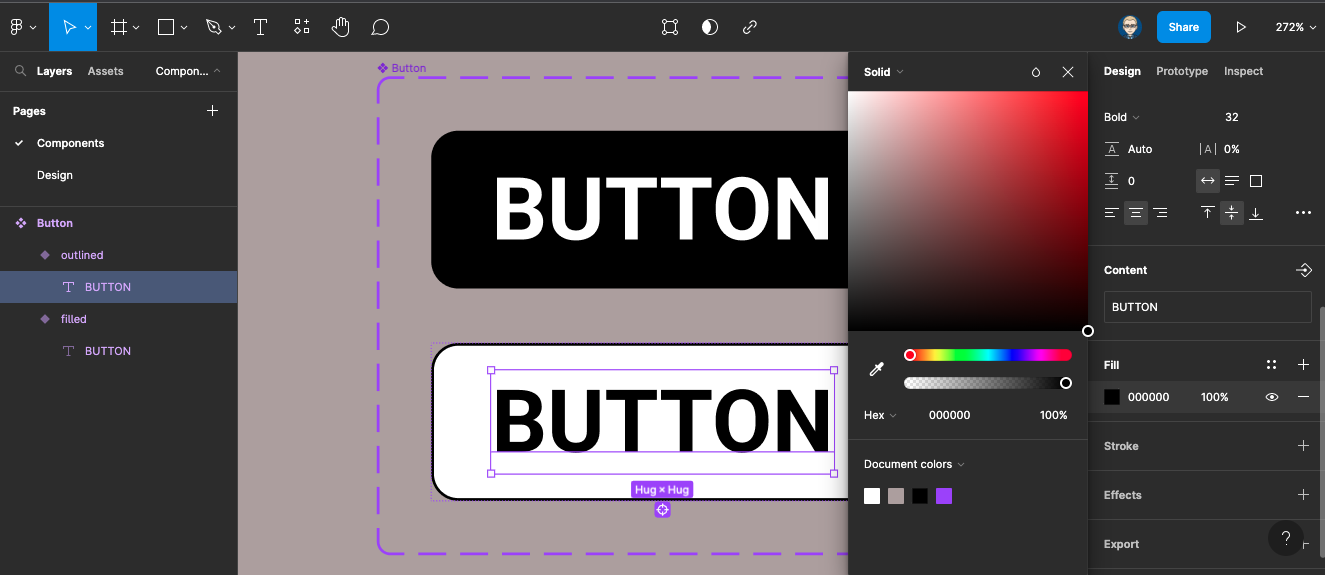
Select the outlined buton change Fill to white
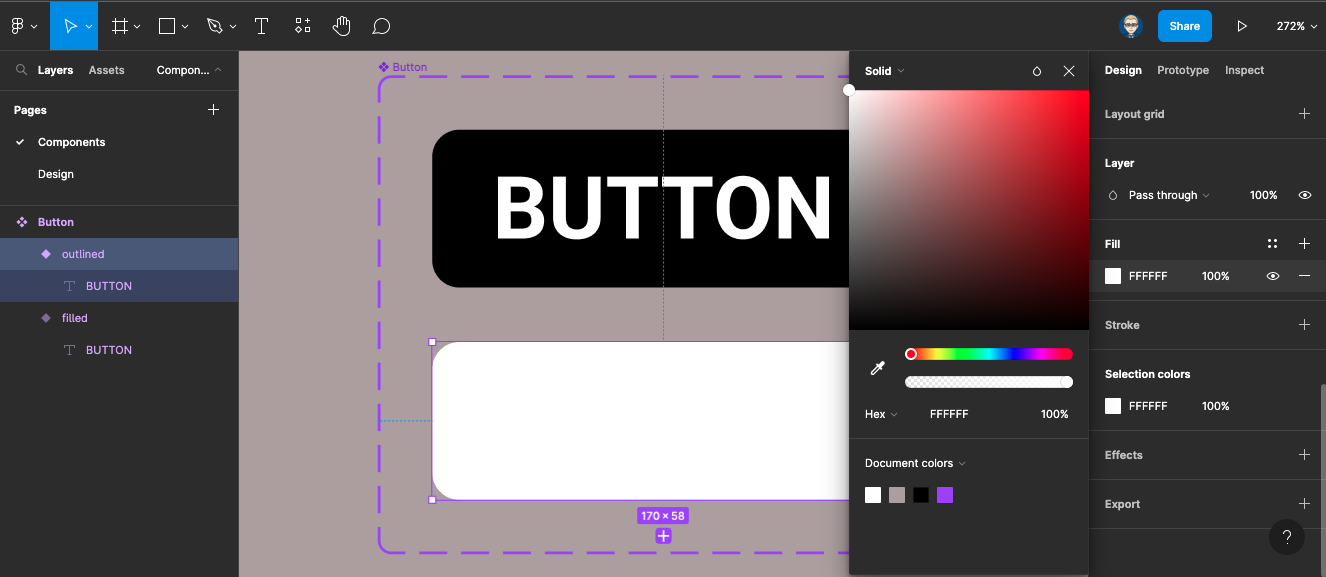
Add Stroke (black) 1pt
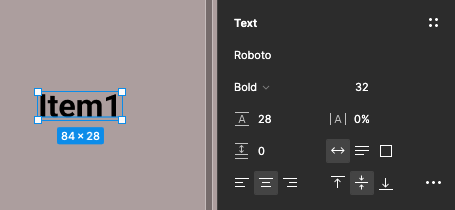
Create a text box by hitting T on your keyboard or clicking on the text tool. Type Item1 with the type settings below
Press Shift + Alt on your keyboard and drag to copy. You can then drag again or Mac: Cmd + D or Pc: Ctrl + D to duplicate 3rd element.
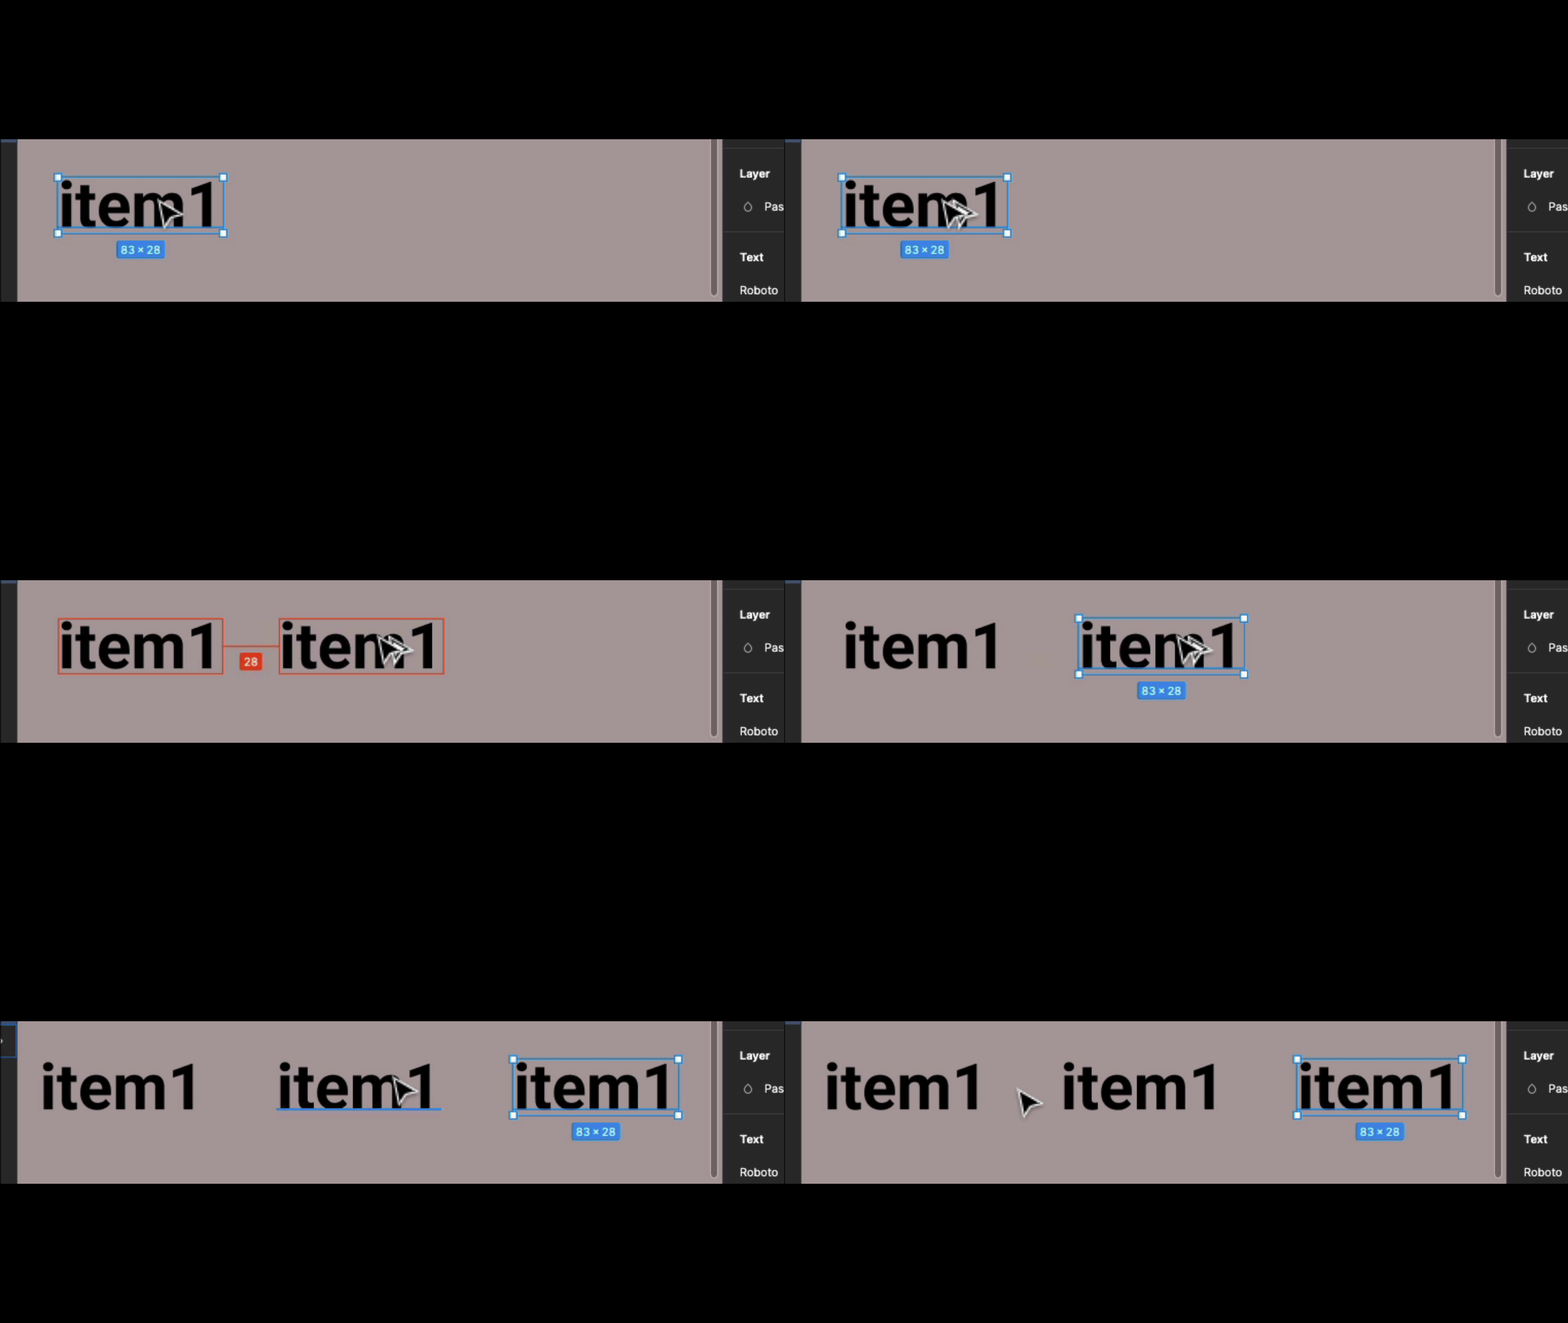
You will now have 3 items

Re-number them

Select all 3 items

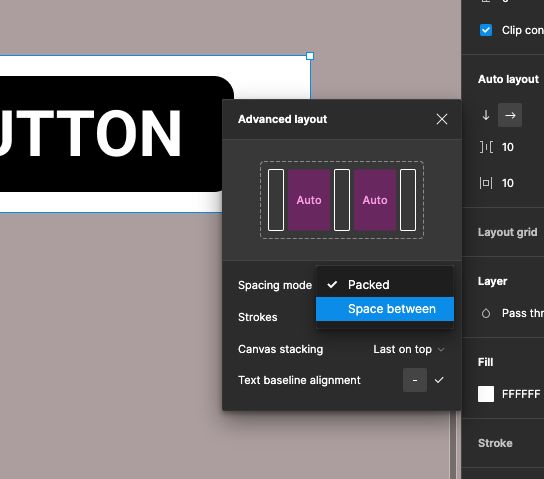
Apply Auto Layout

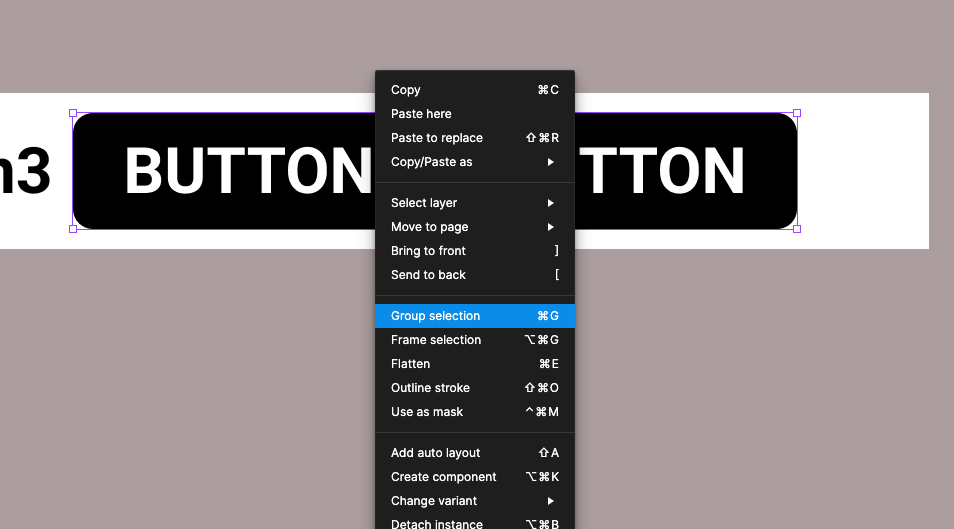
With the items still selected make them into a Component

Name this Component Menu

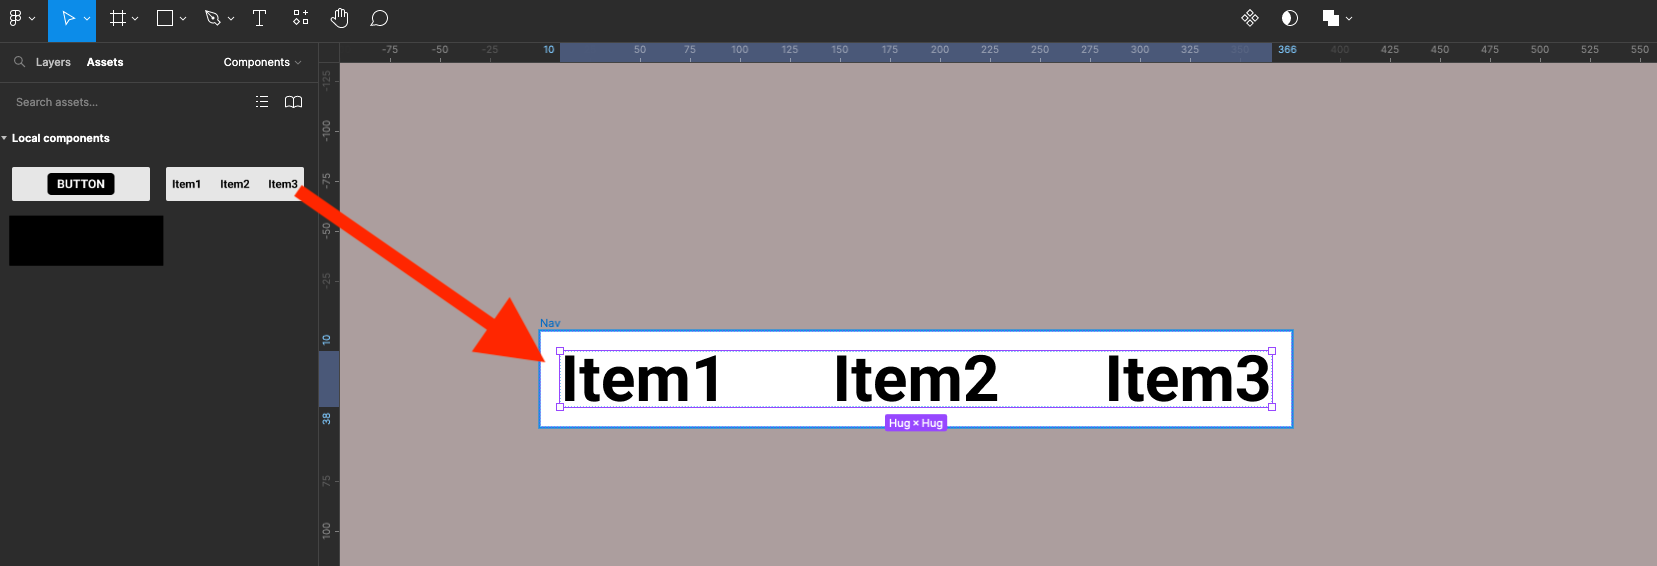
Create a new frame, call it Nav with Auto Layout centred middle. Then open Assets panel on left and drag the Menu component on to this frame






![]()